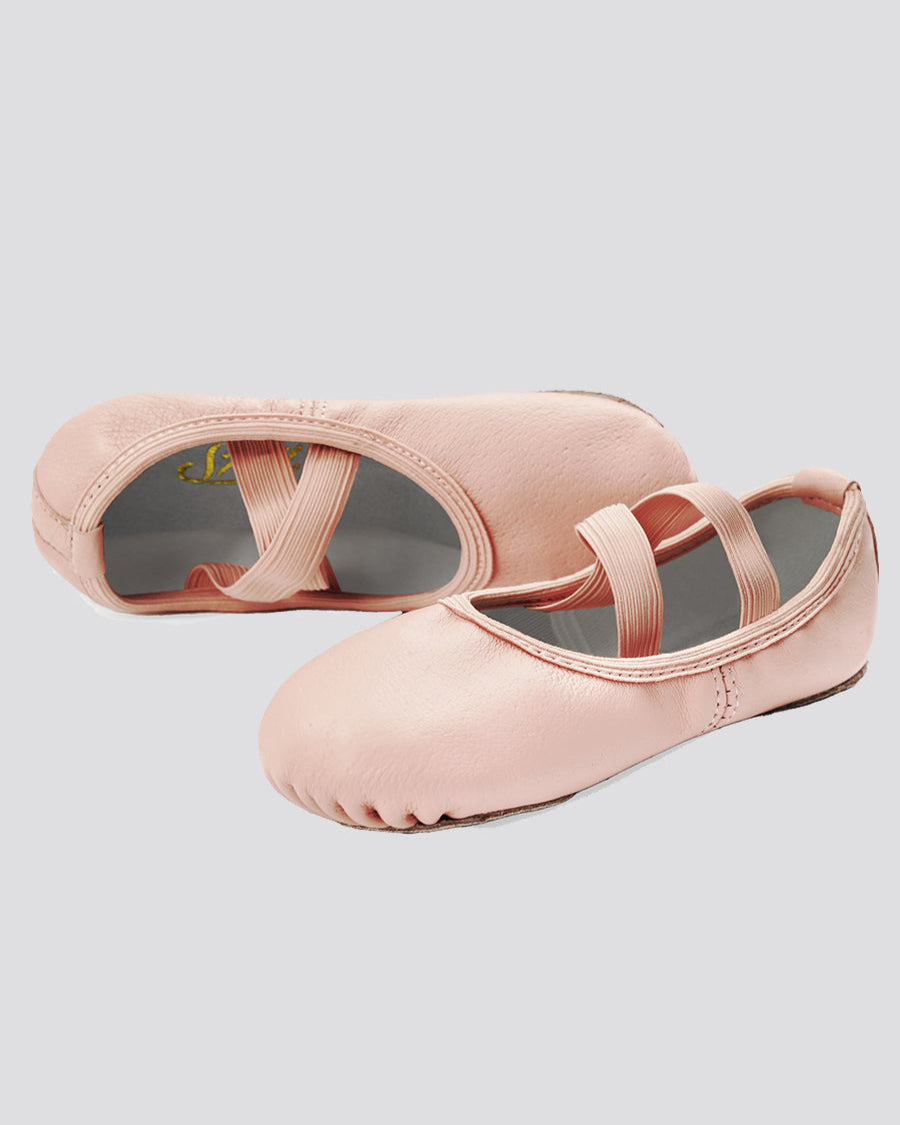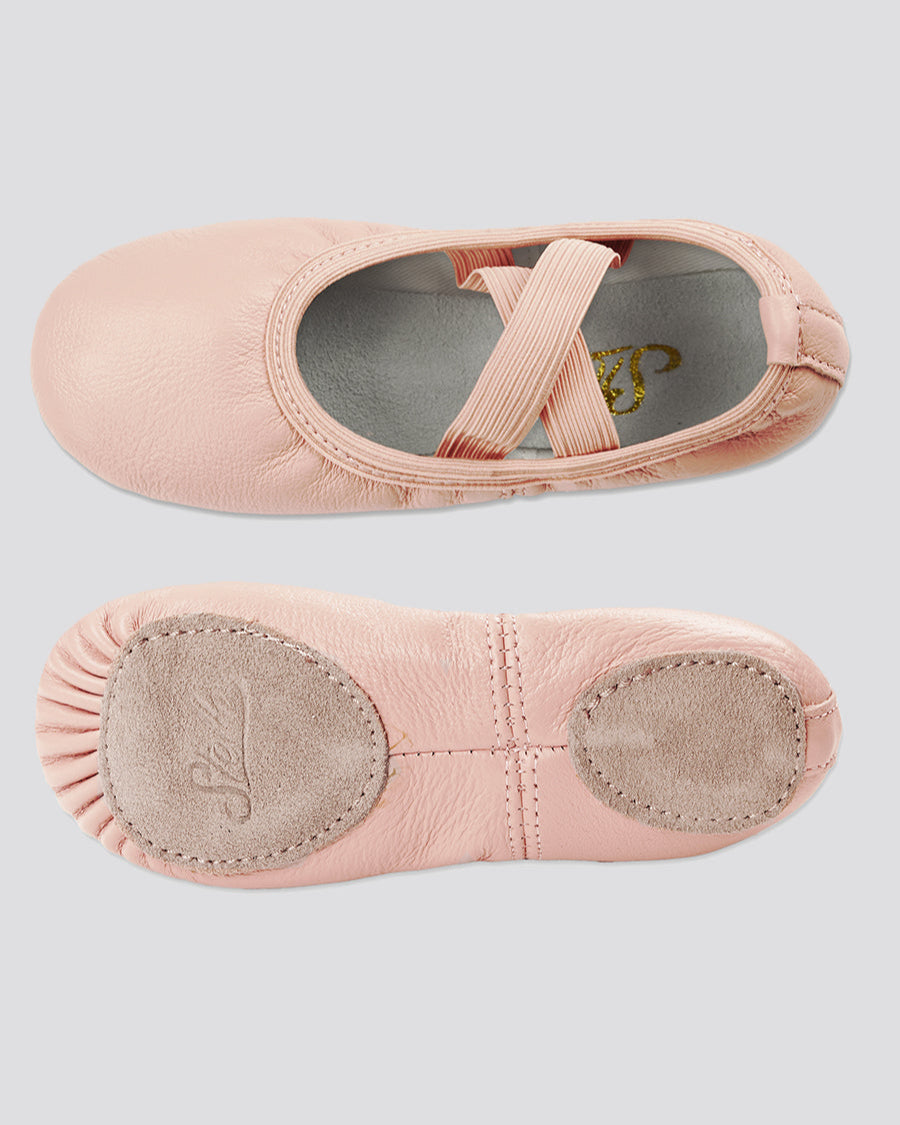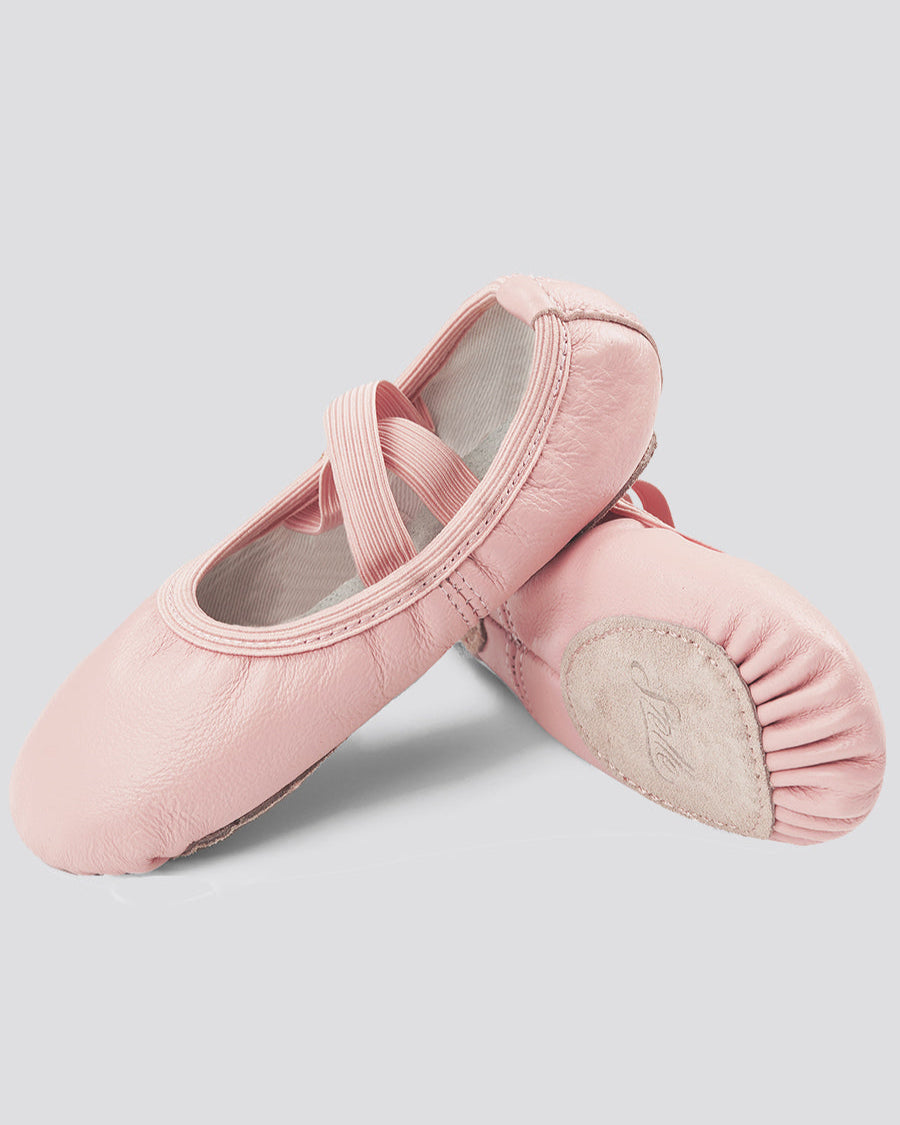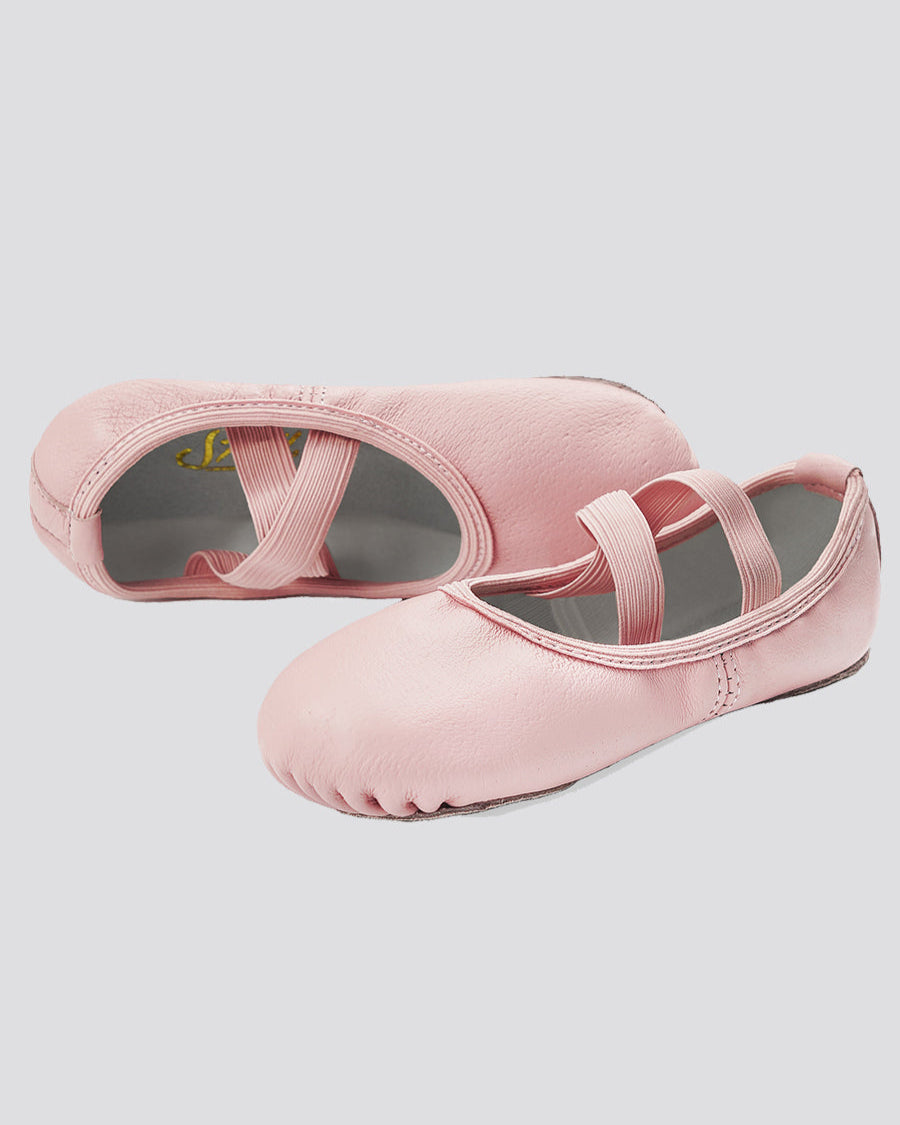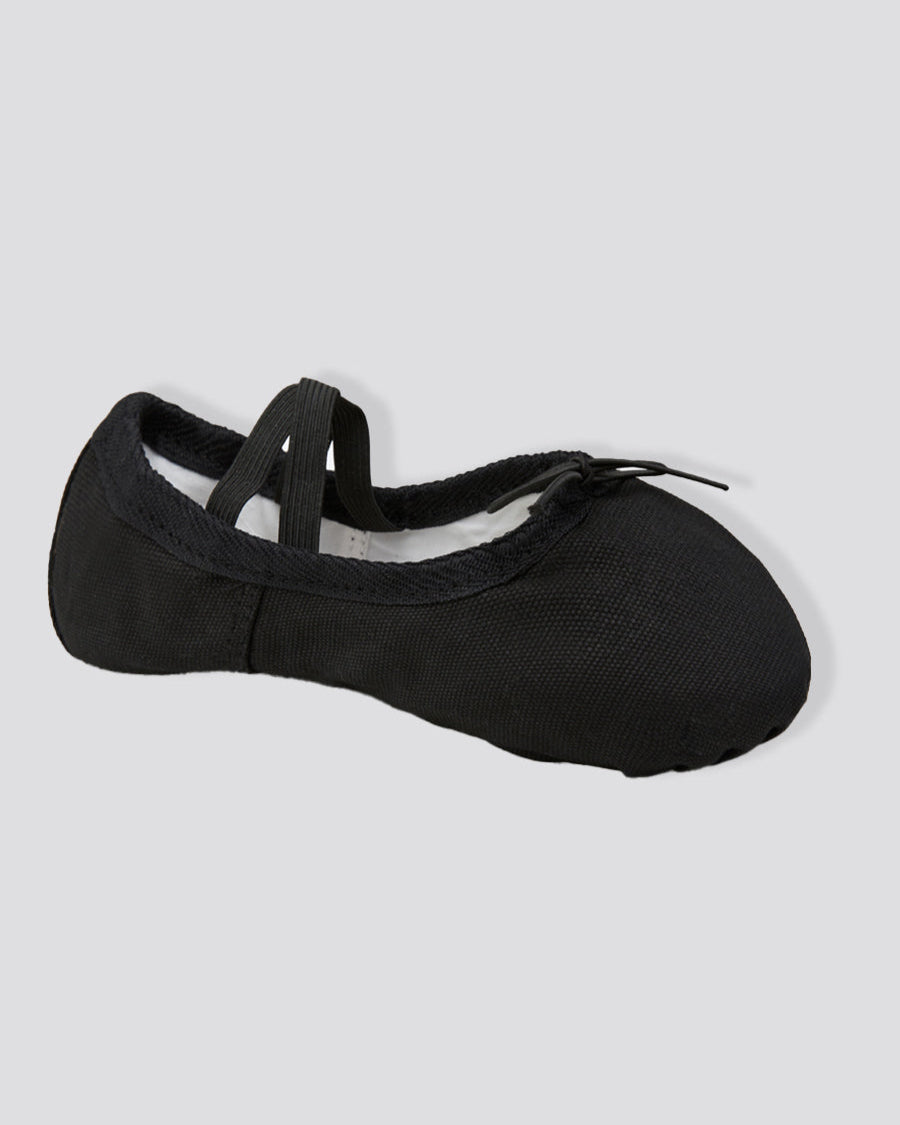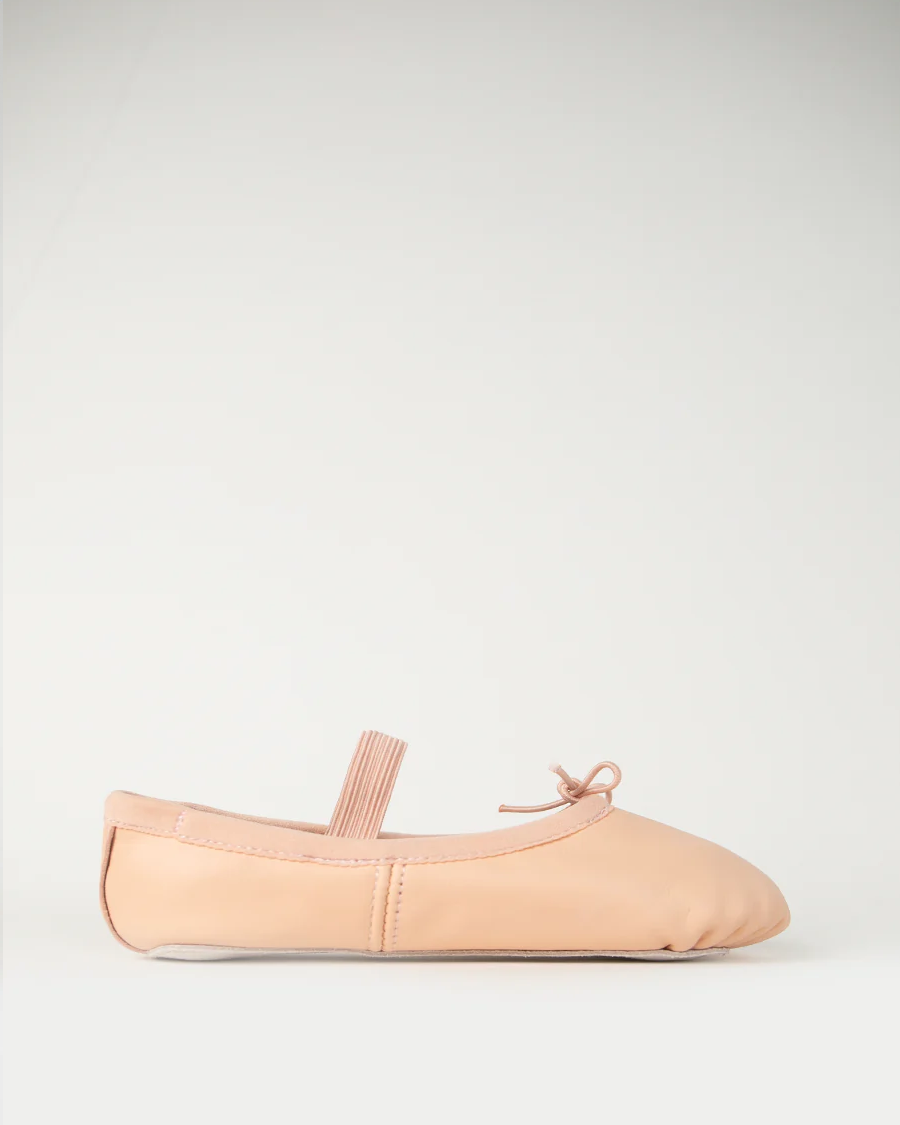




How to Draw Ballet Shoes and a Ballet Dancer: Easy Steps for Kids
Table of contents
Quick answer
Two overlapping ovals with crossed ribbons make a pair of ballet shoes, and a circle-plus-triangle stick figure makes a ballerina; both take about ten minutes with paper, a pencil, and an eraser. The guides below break the steps for how to draw ballet shoes and a simple dancer into one line at a time, written so you can read them out loud while your child draws. Step-by-step illustrations are coming to this post soon, but the written directions are designed to stand on their own.
If your dancer loves art as much as class time, learning how to draw ballet shoes is one of those quiet-afternoon activities that costs almost nothing and keeps a kid busy well past the drawing itself: coloring, decorating, and turning the result into cards or room art. This ballet drawing is easy enough for early elementary kids, with a slightly trickier dancer figure for older ones.
Key takeaways
-
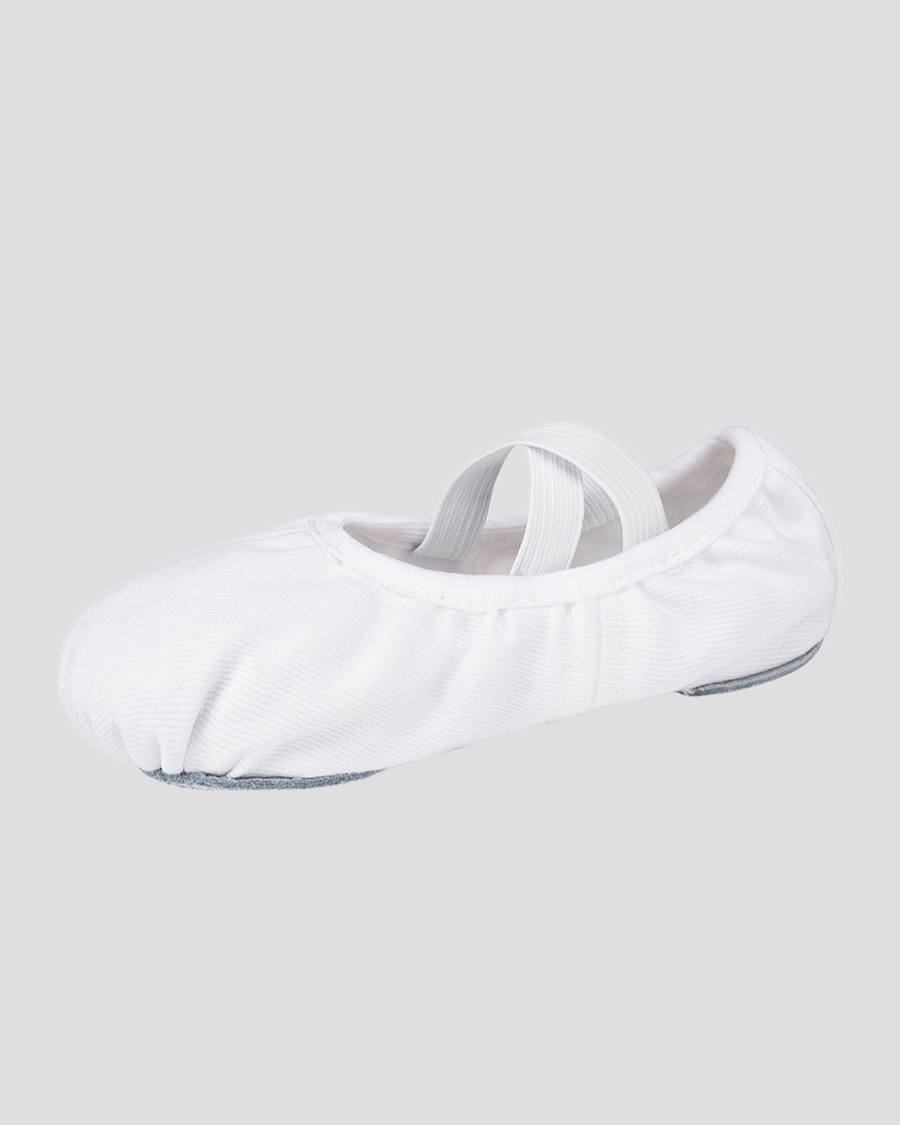
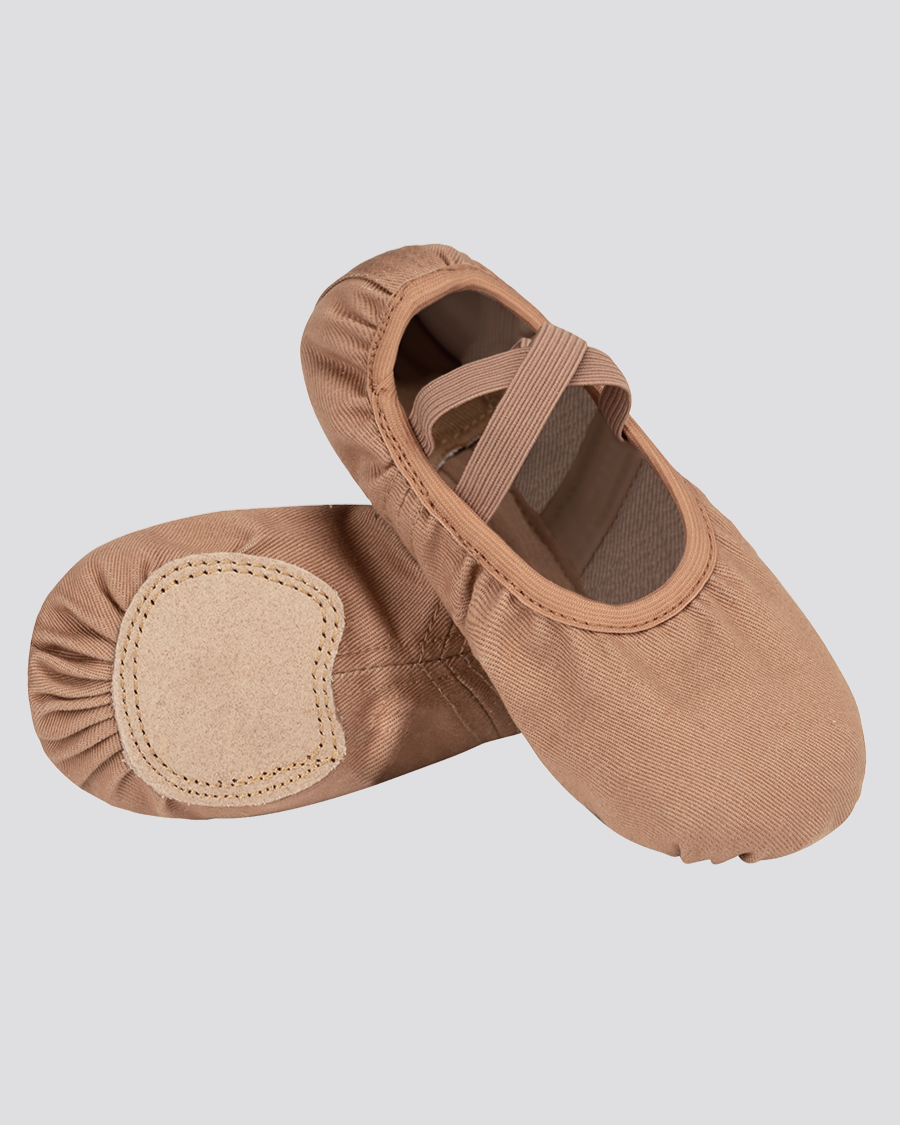
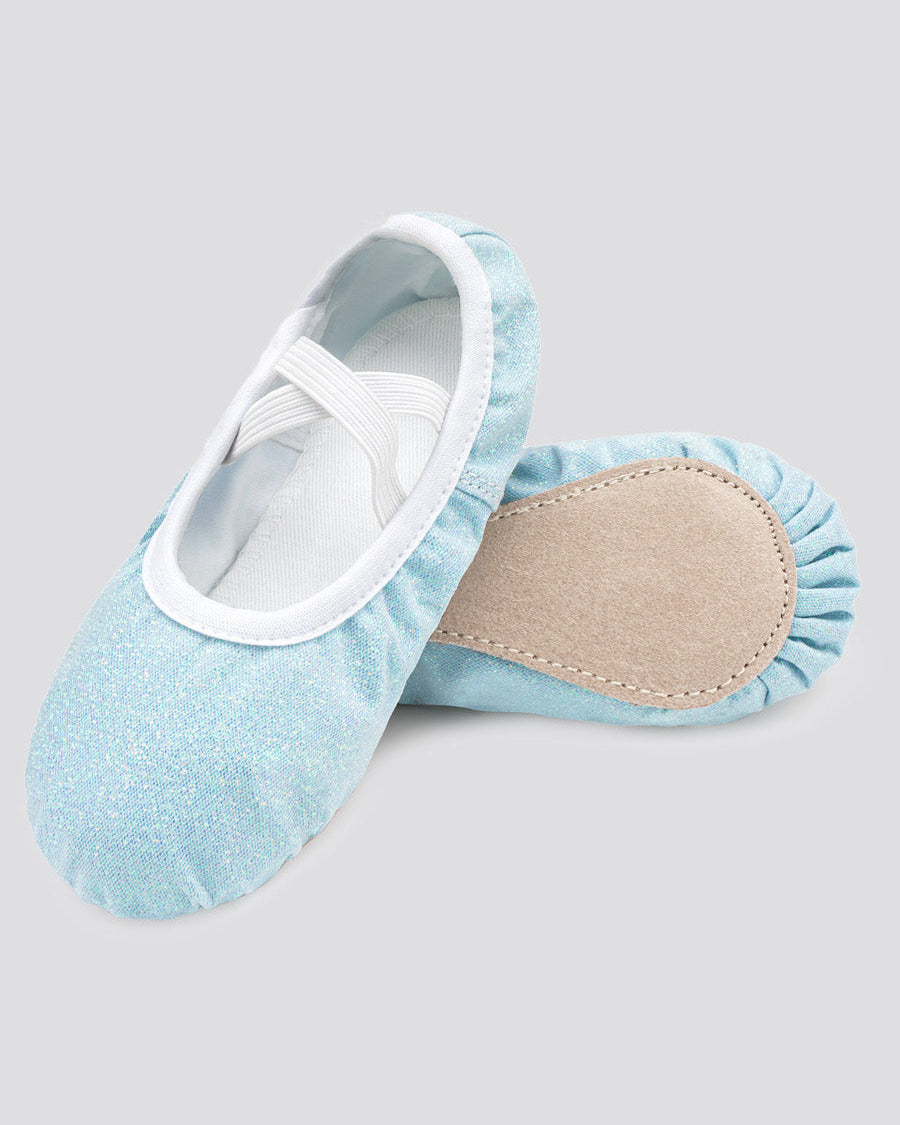
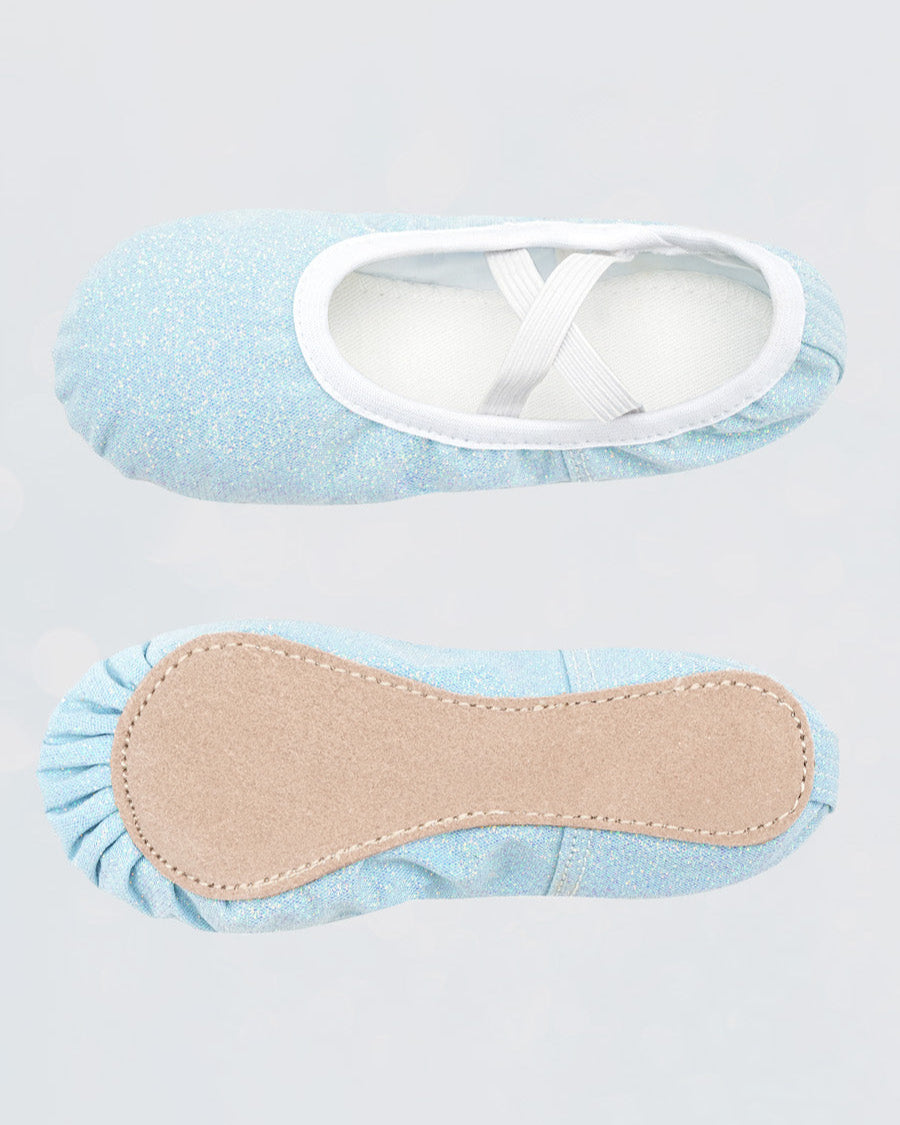
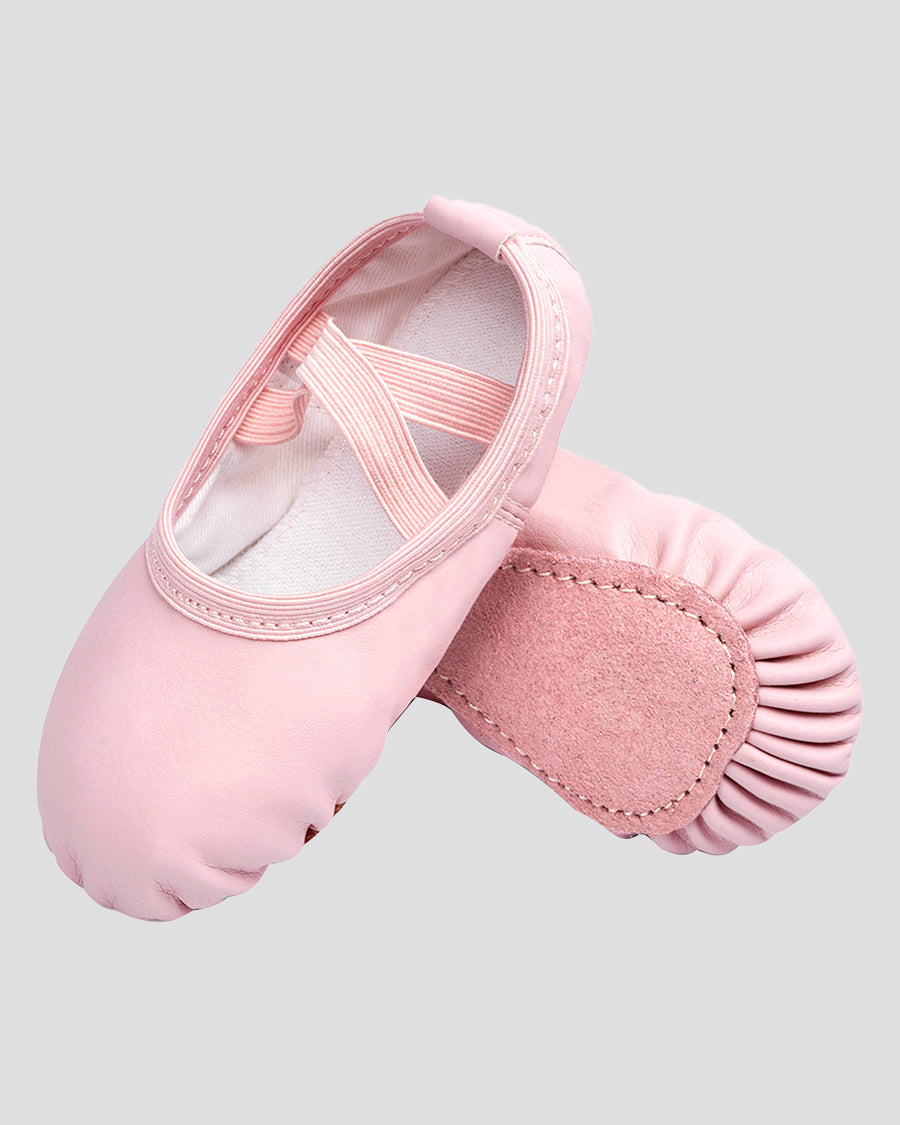
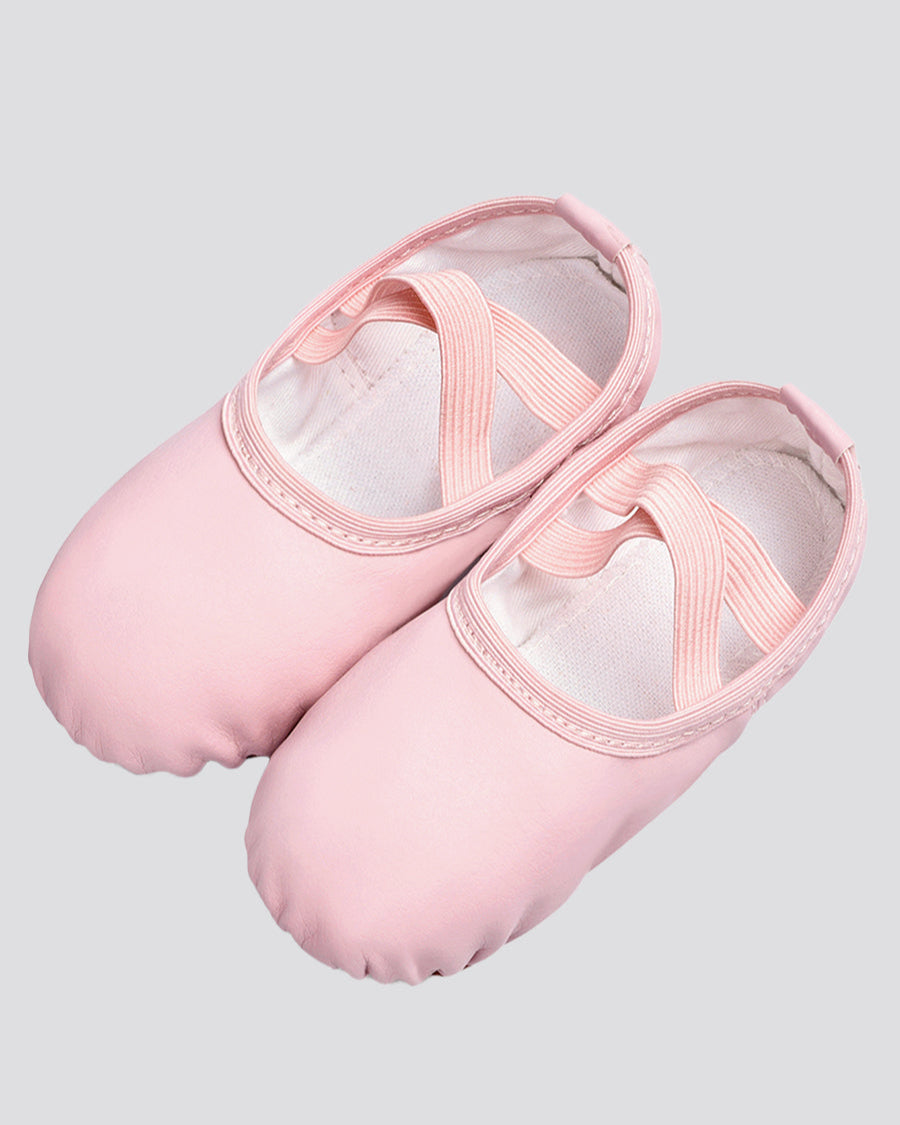
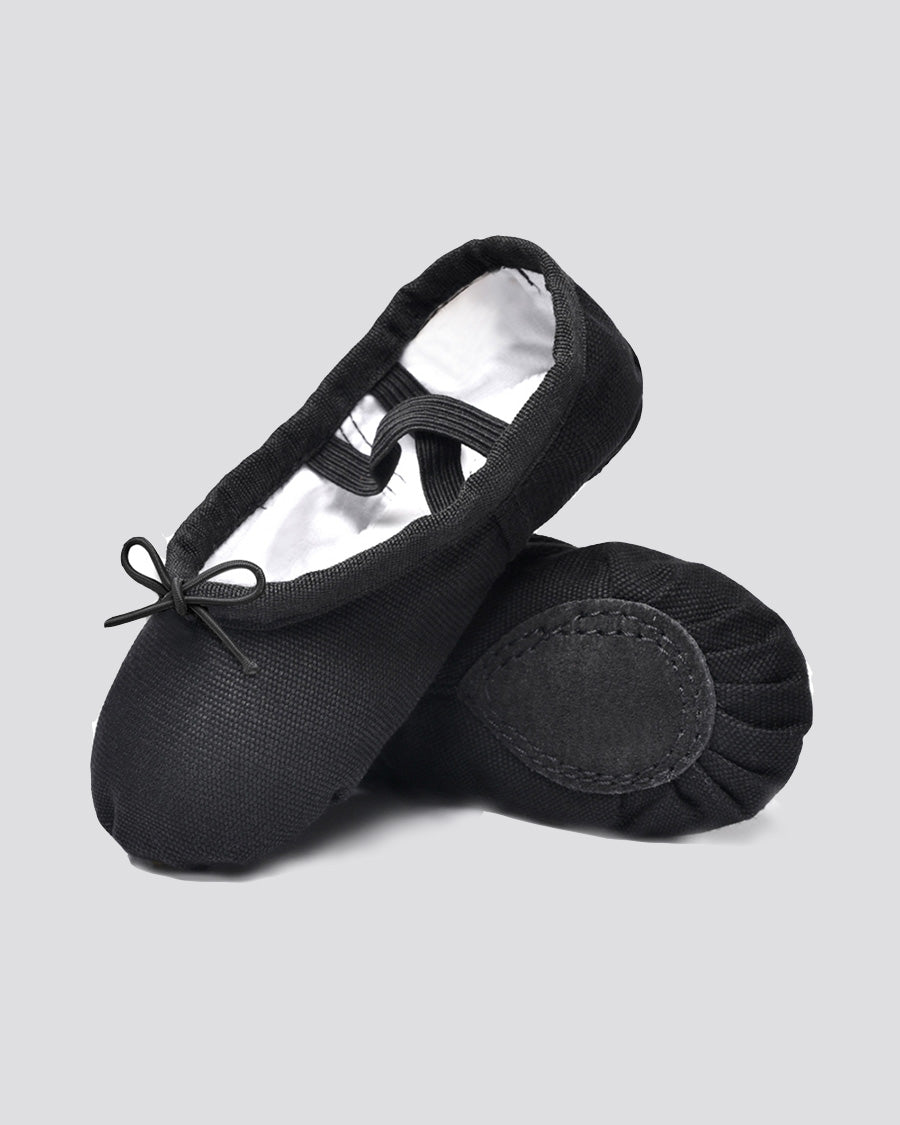
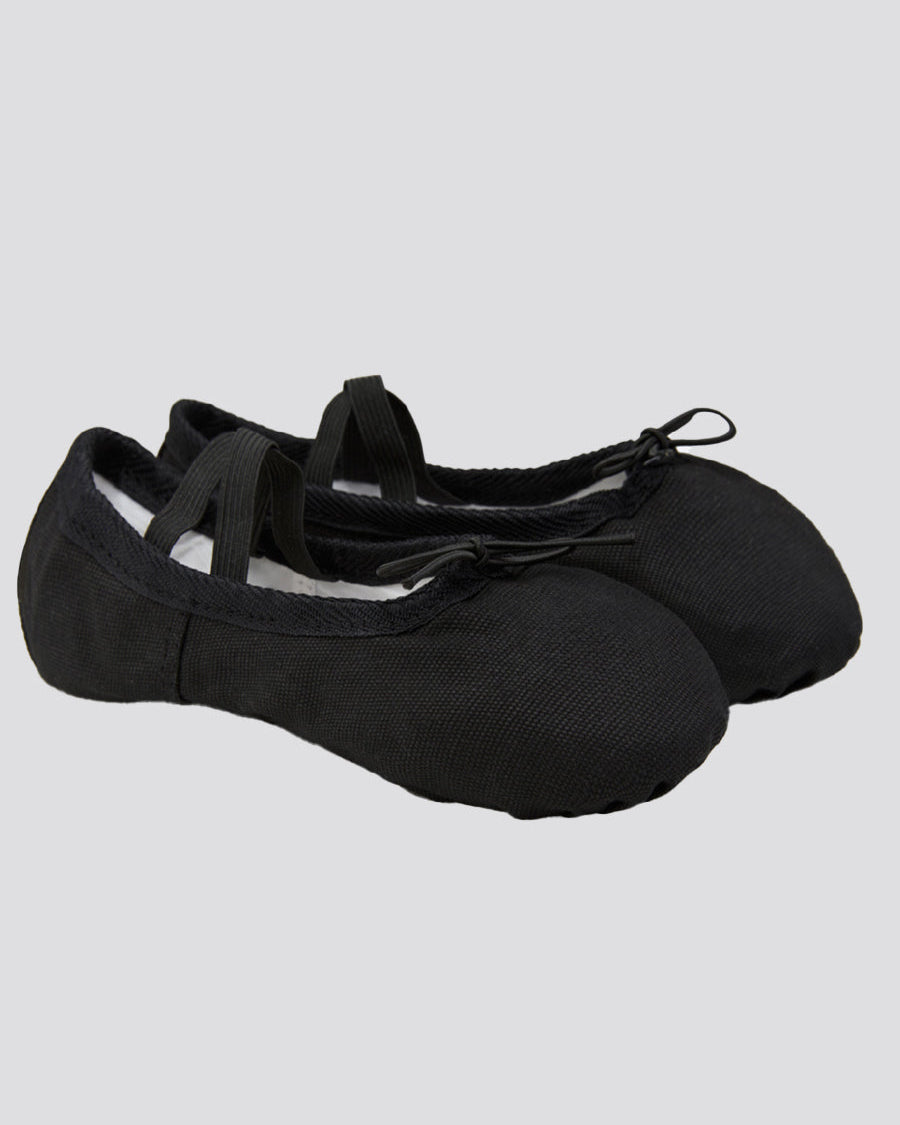
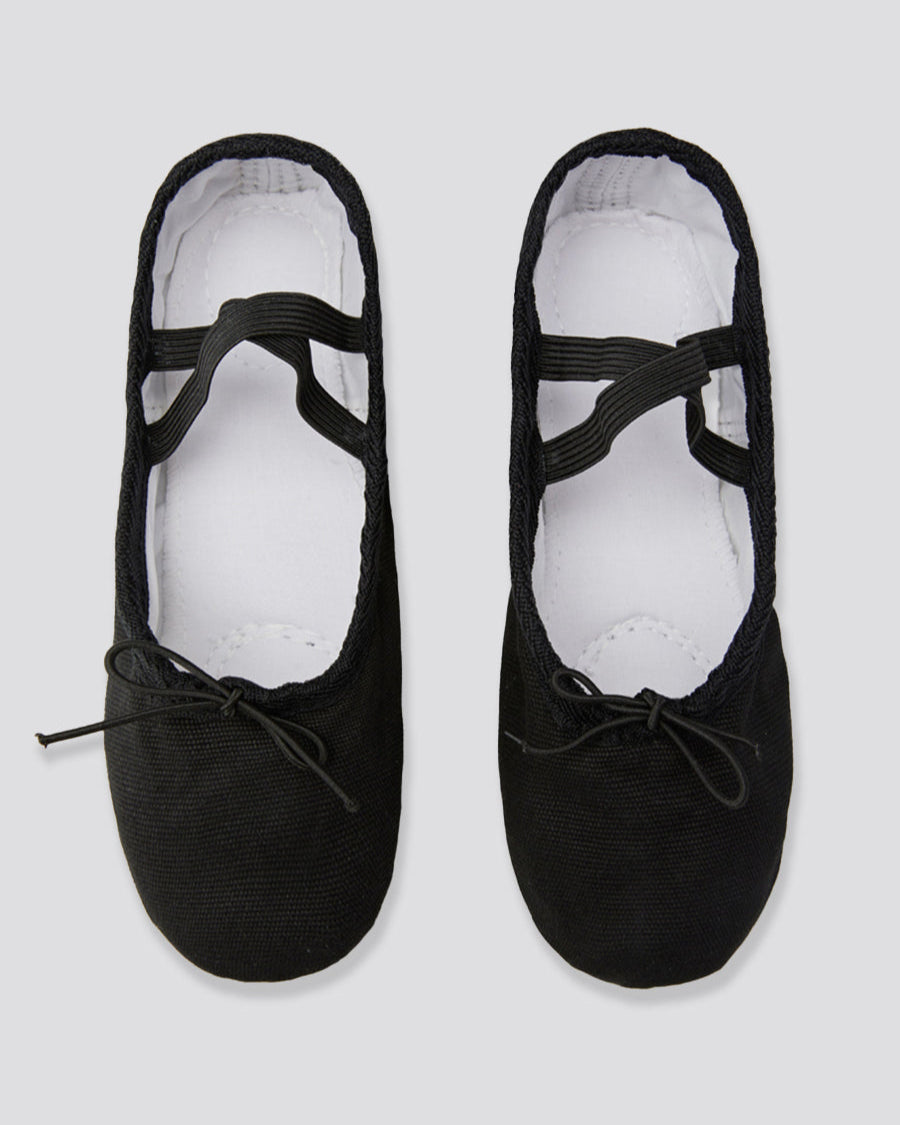
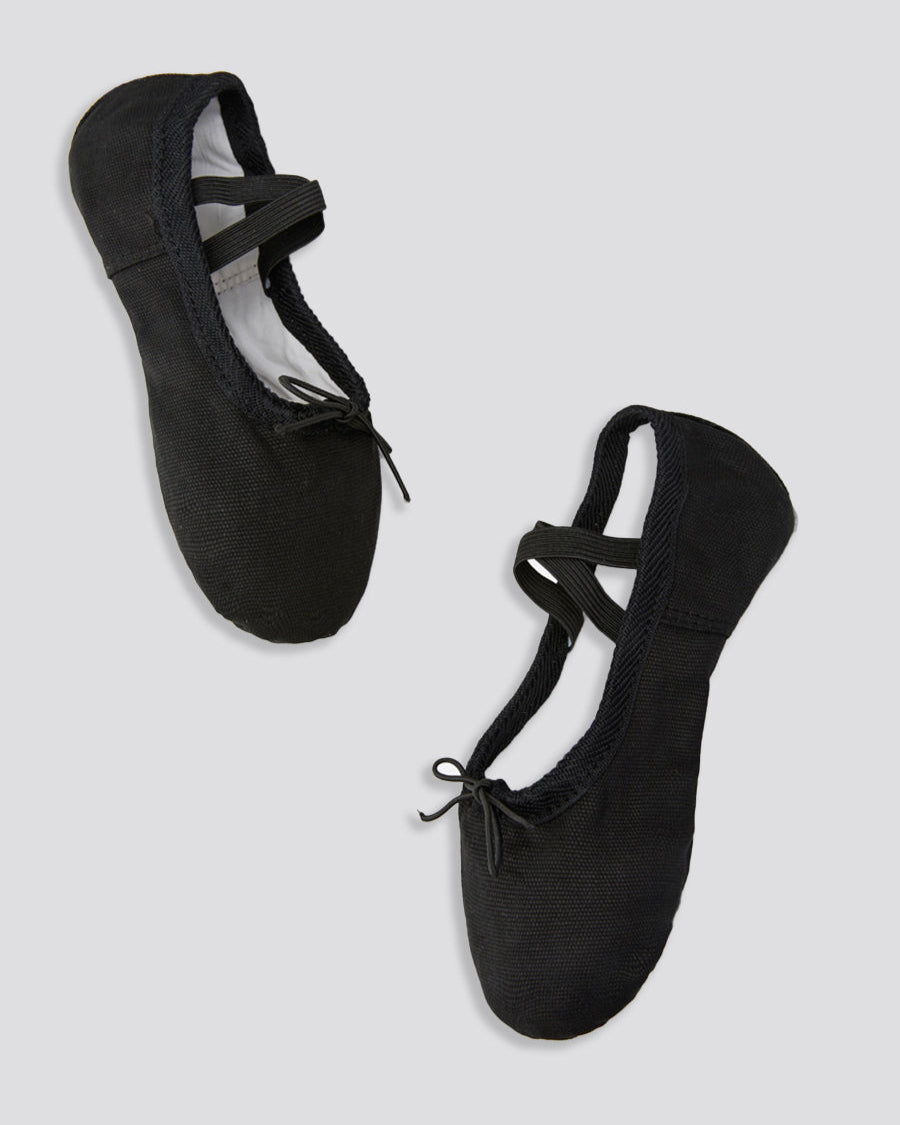
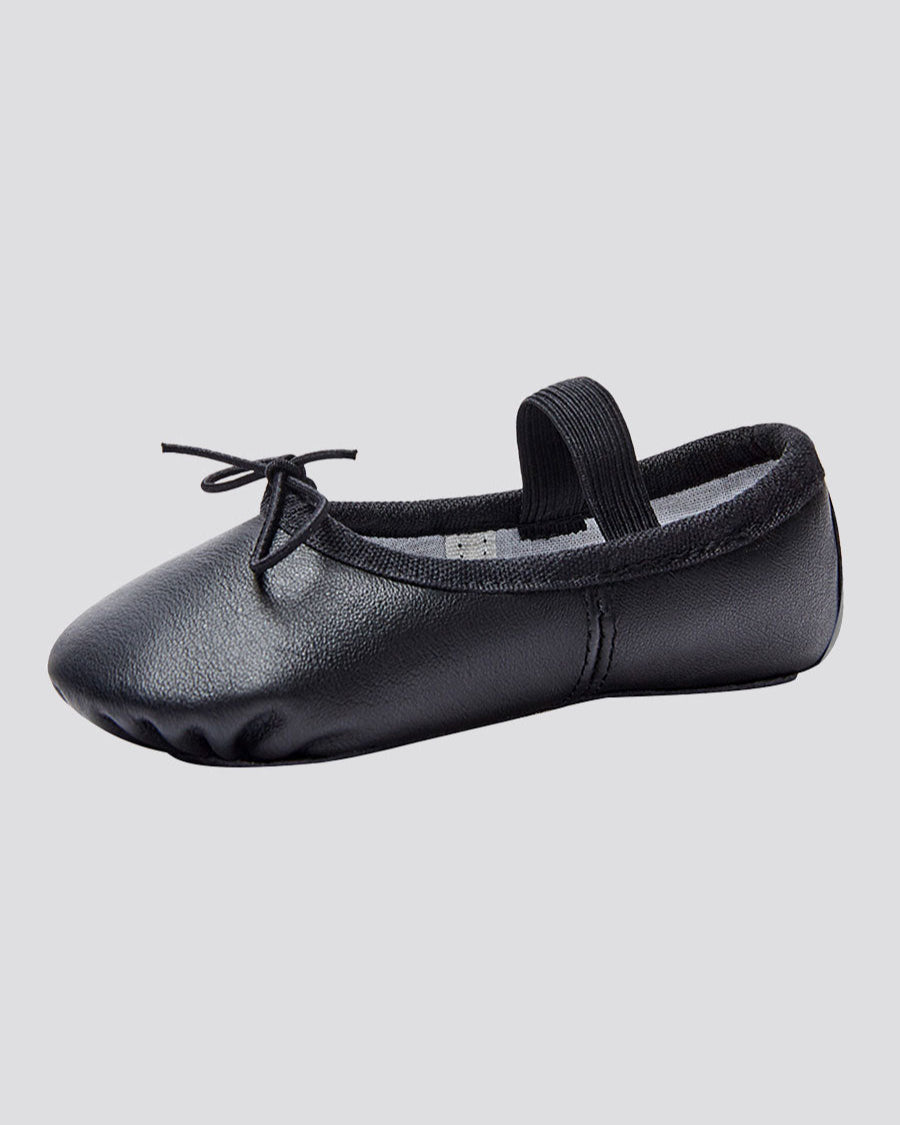
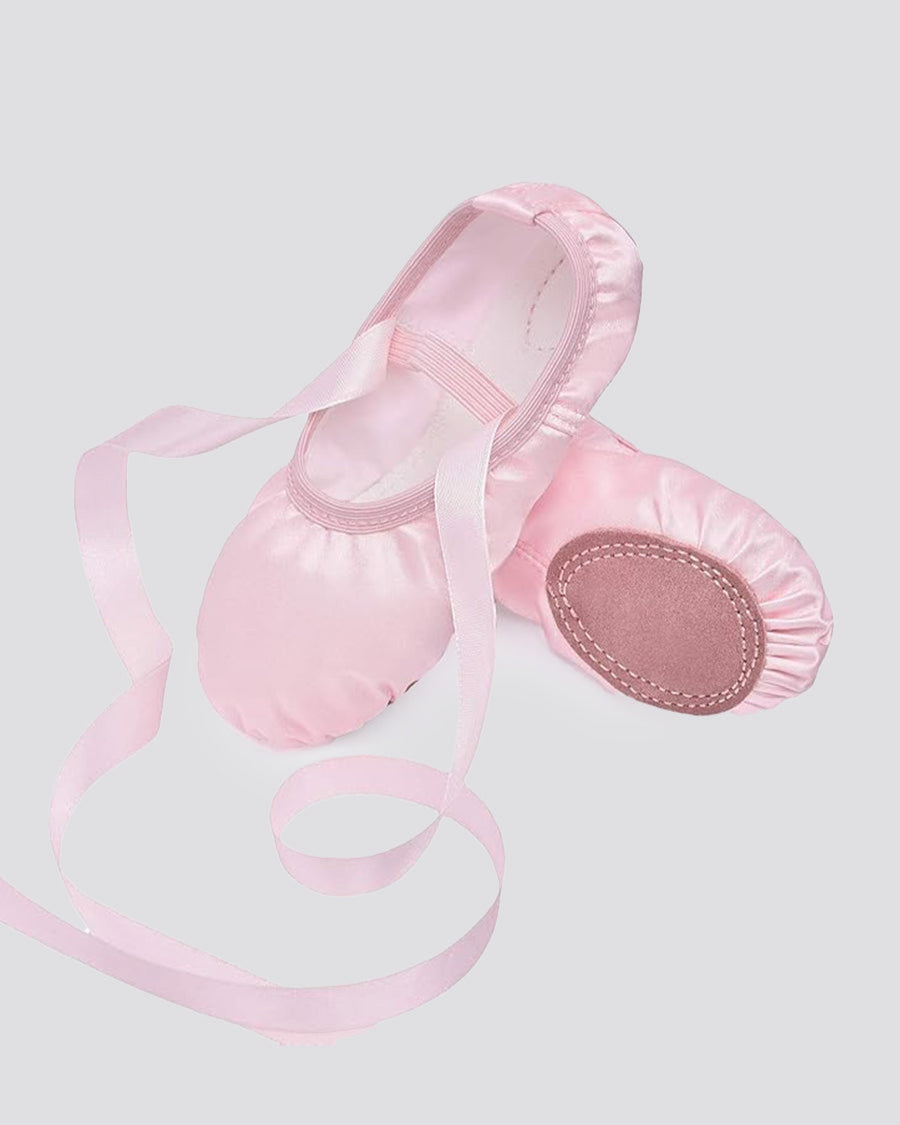
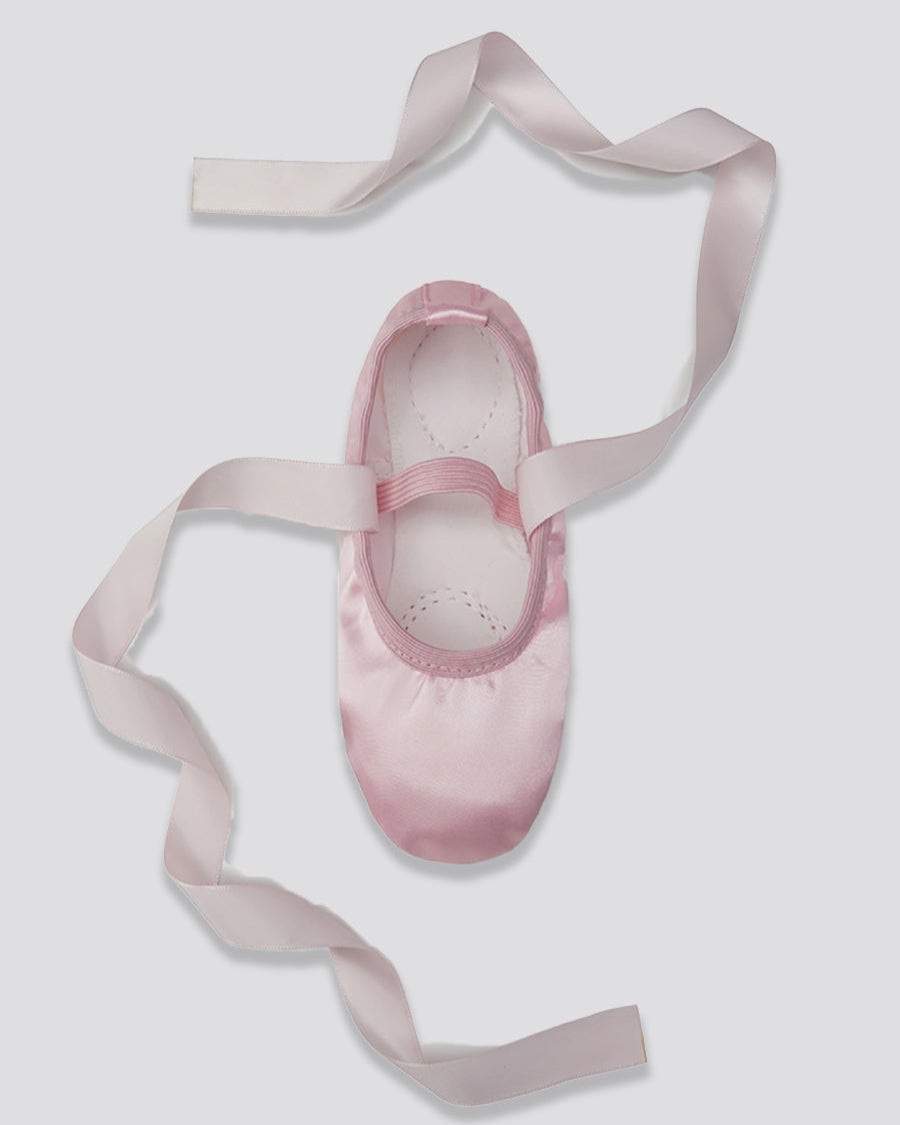
A pair of ballet shoes breaks down into two tilted ovals, a U-shaped opening in each, a tiny bow, and long ribbons that cross in an X.
-
A simple ballerina is a circle head, a bun, a fitted bodice, a wide triangle tutu, curved arms, and two thin legs with pointed toes.
-
One sentence per step keeps young kids from getting lost; read each step aloud and let them finish it before you read the next.
-
Real ballet details (a drawstring bow, a tutu that sticks straight out, an arabesque leg) make the drawing look "right" without making it harder.
-
The finished art extends into a second activity: coloring, a card for a dance teacher, or a mini gallery wall.
What you need
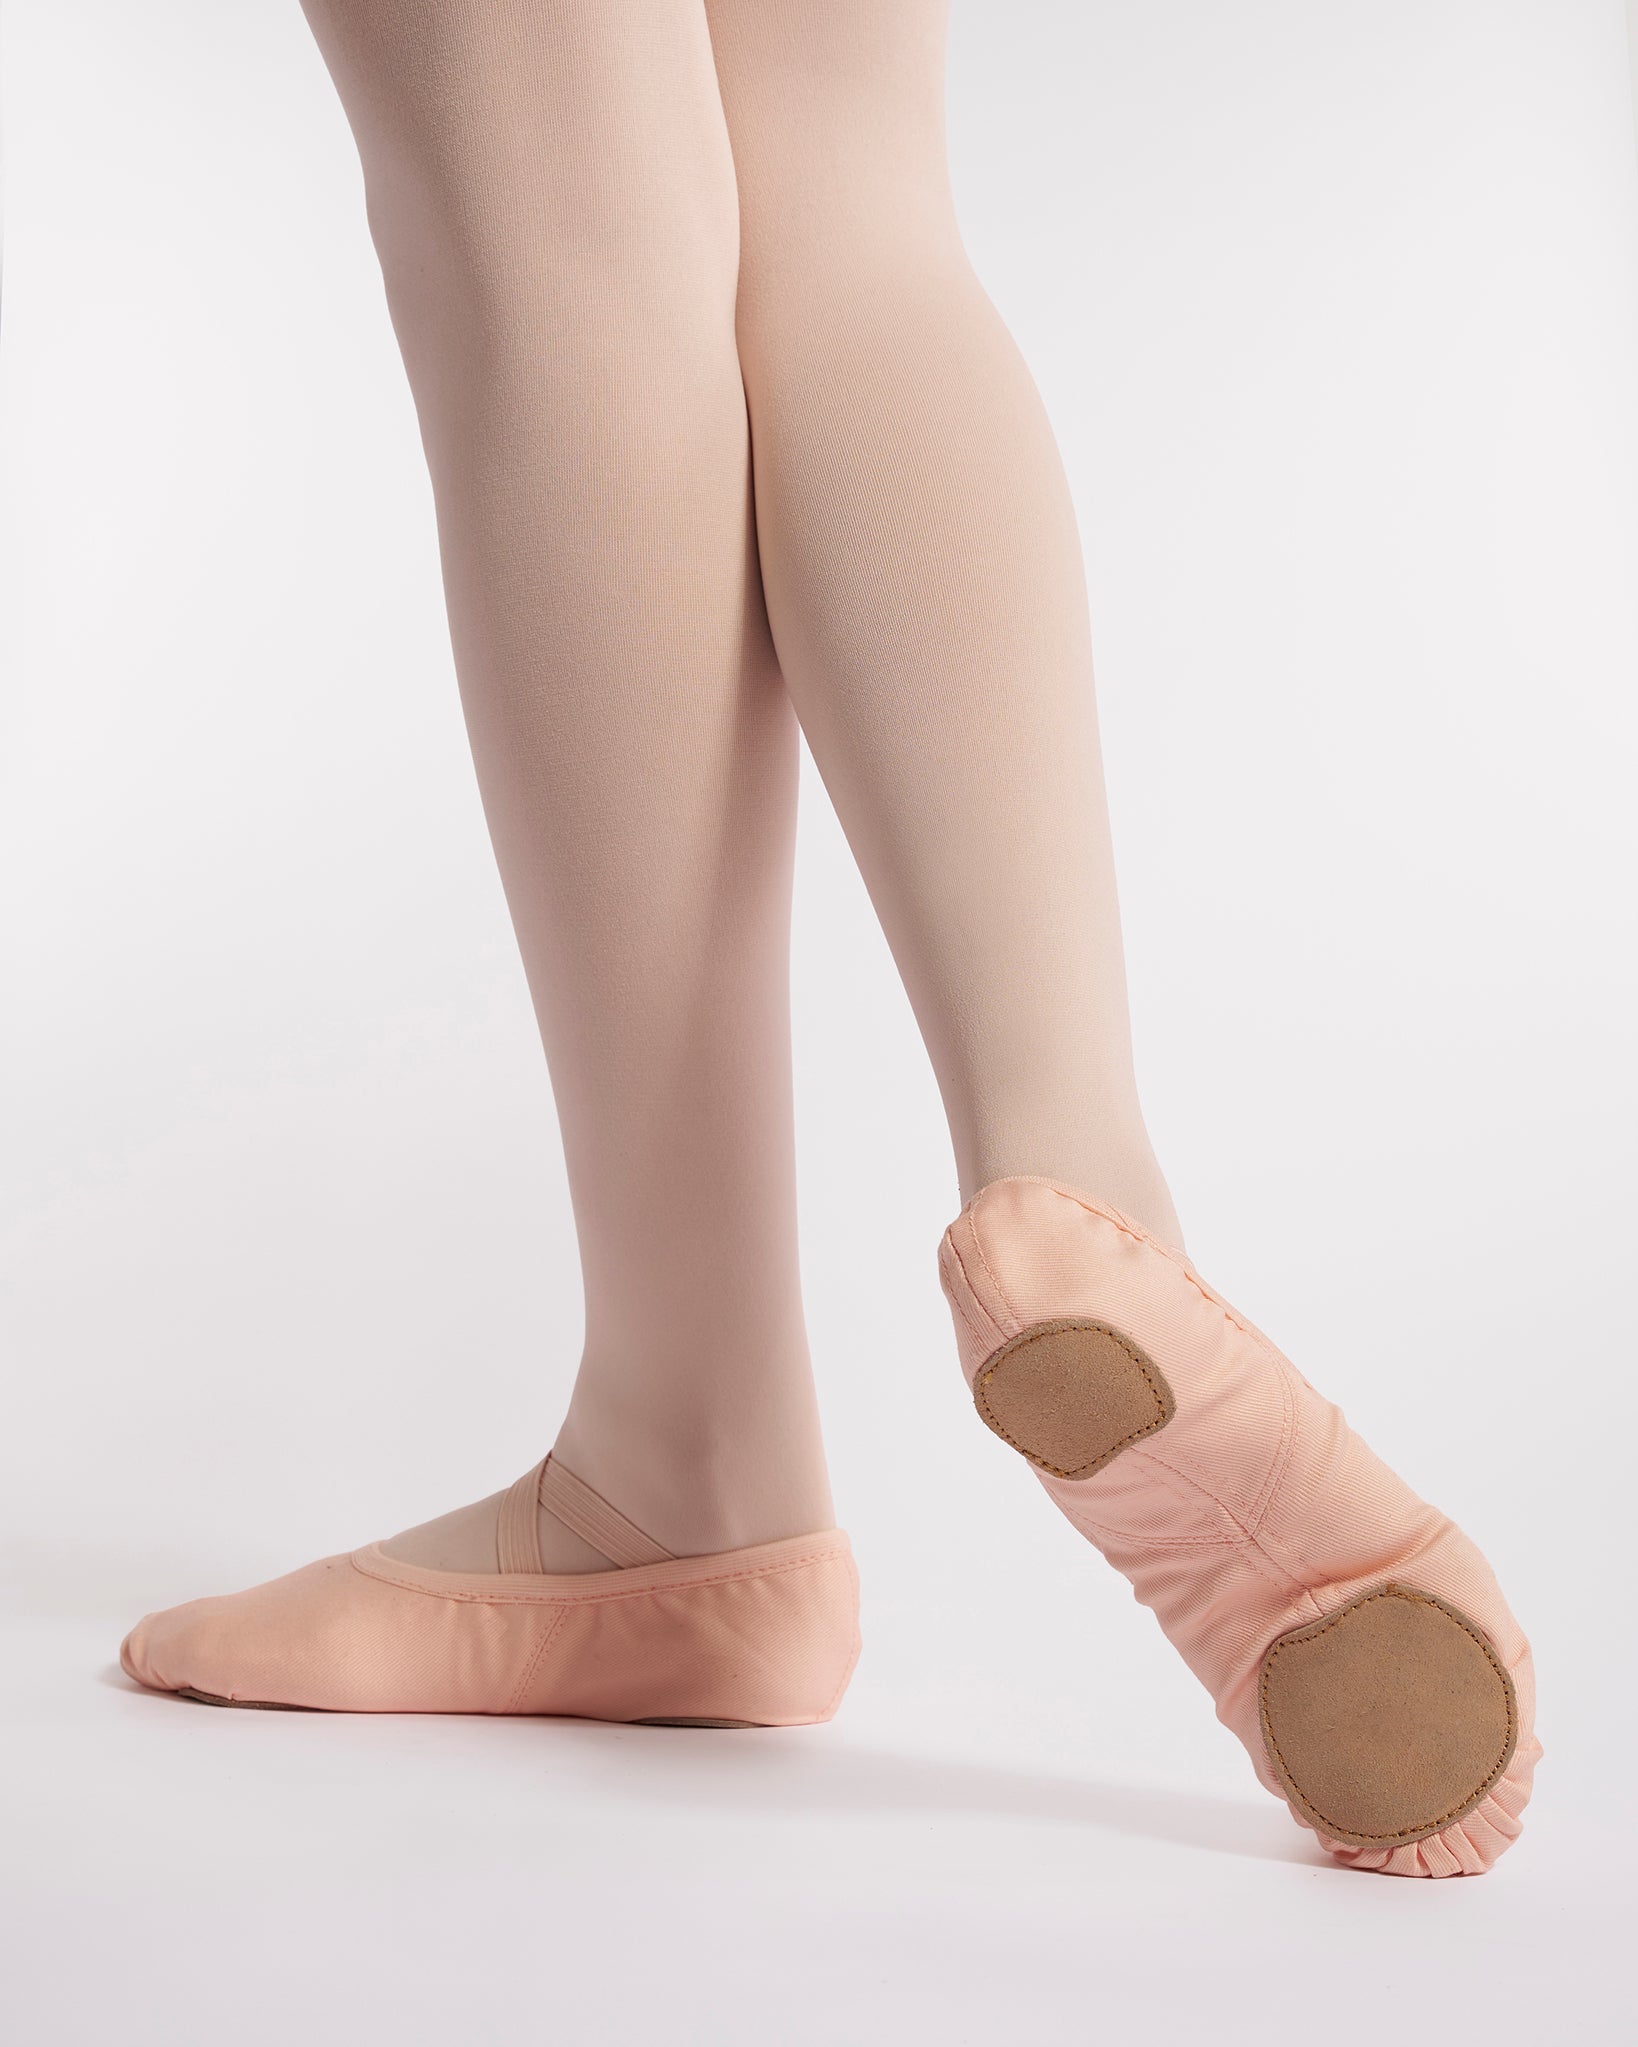
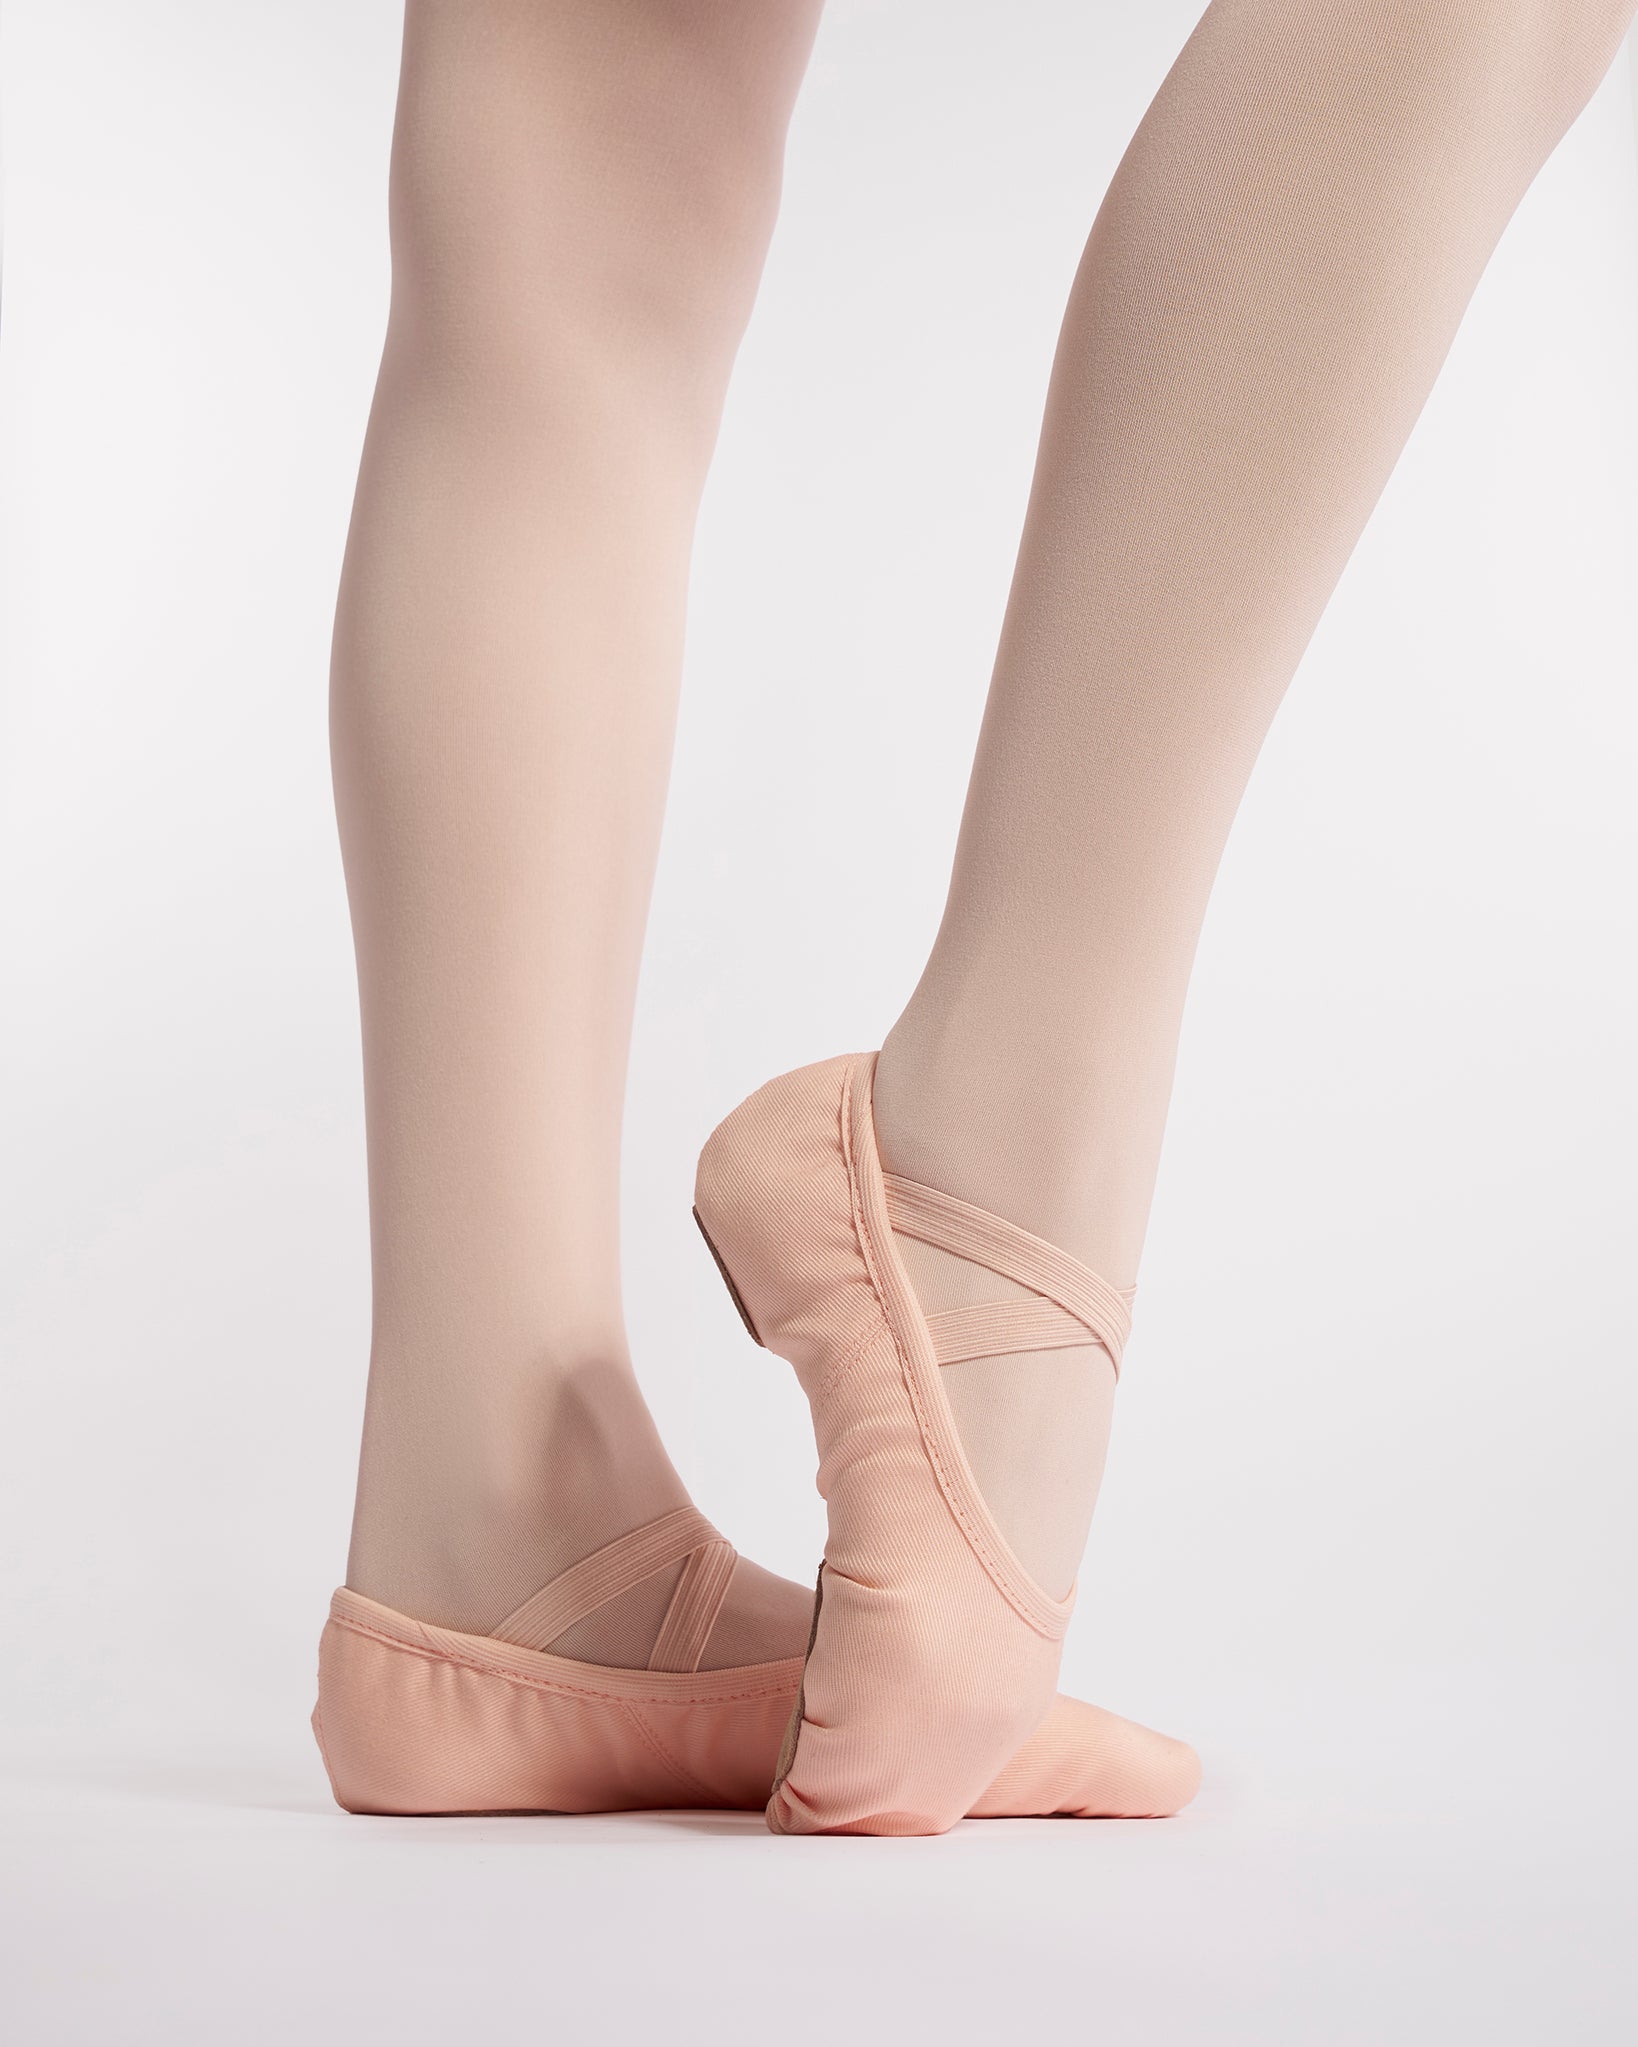
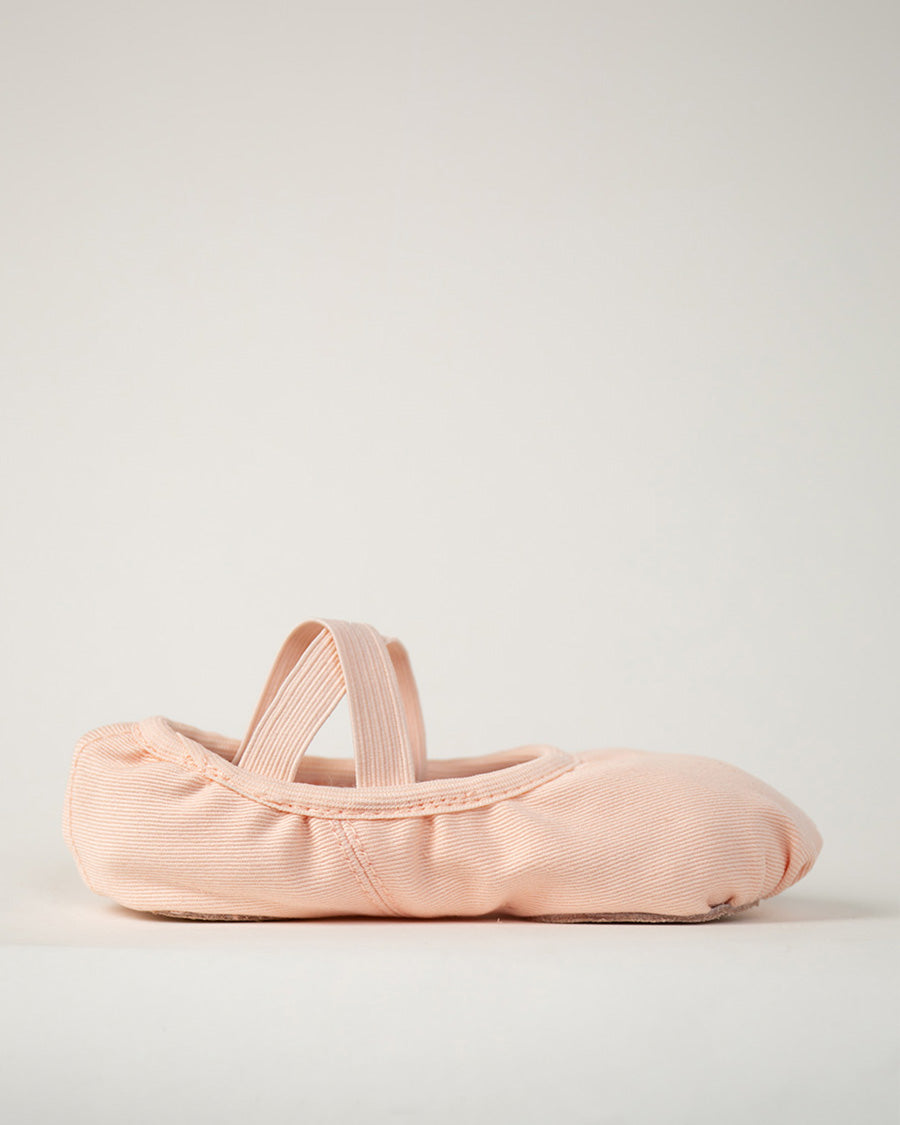
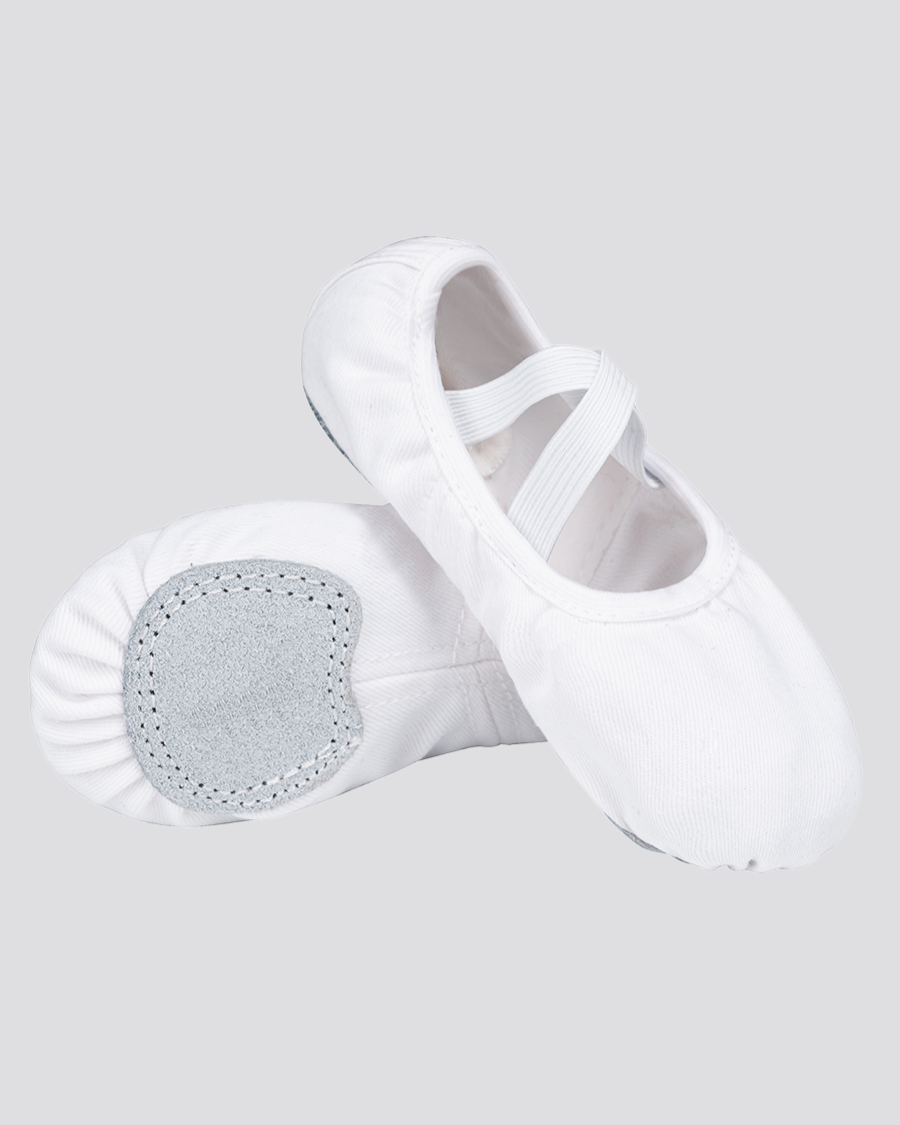
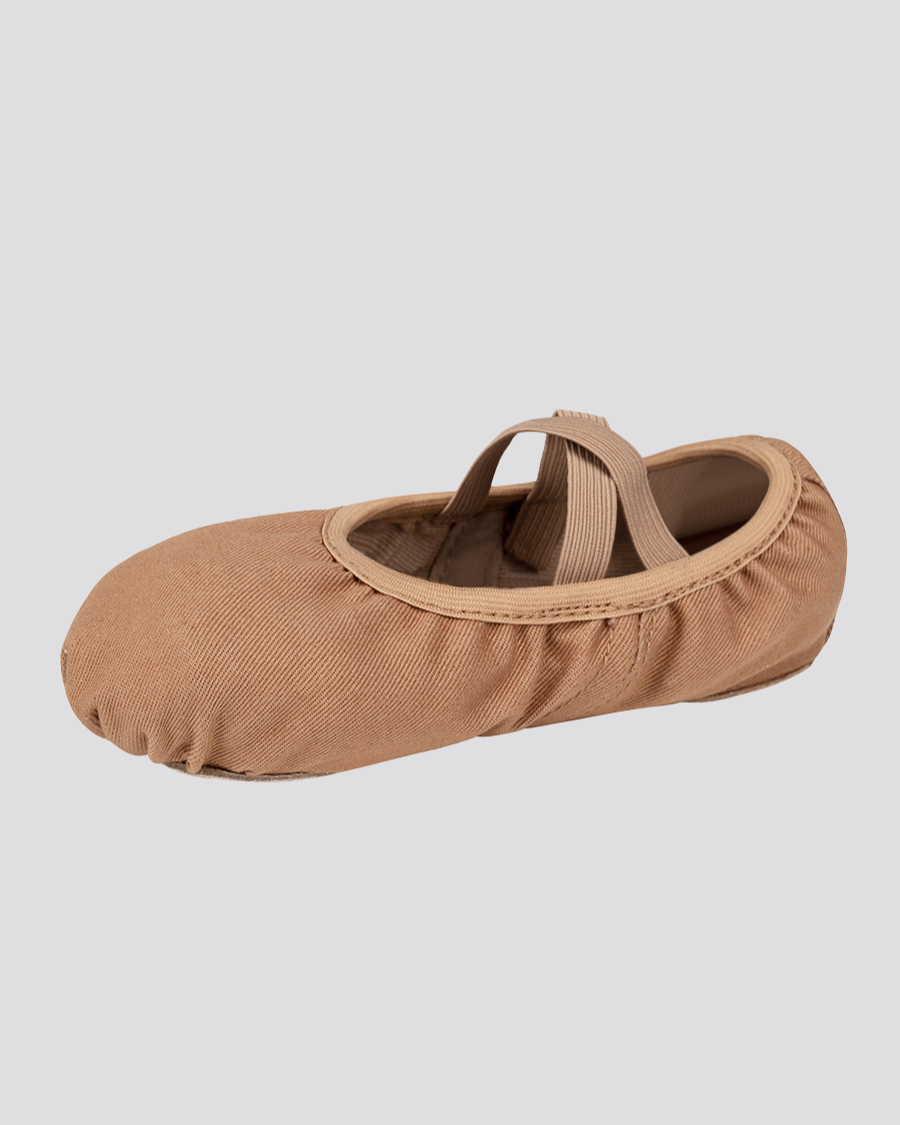
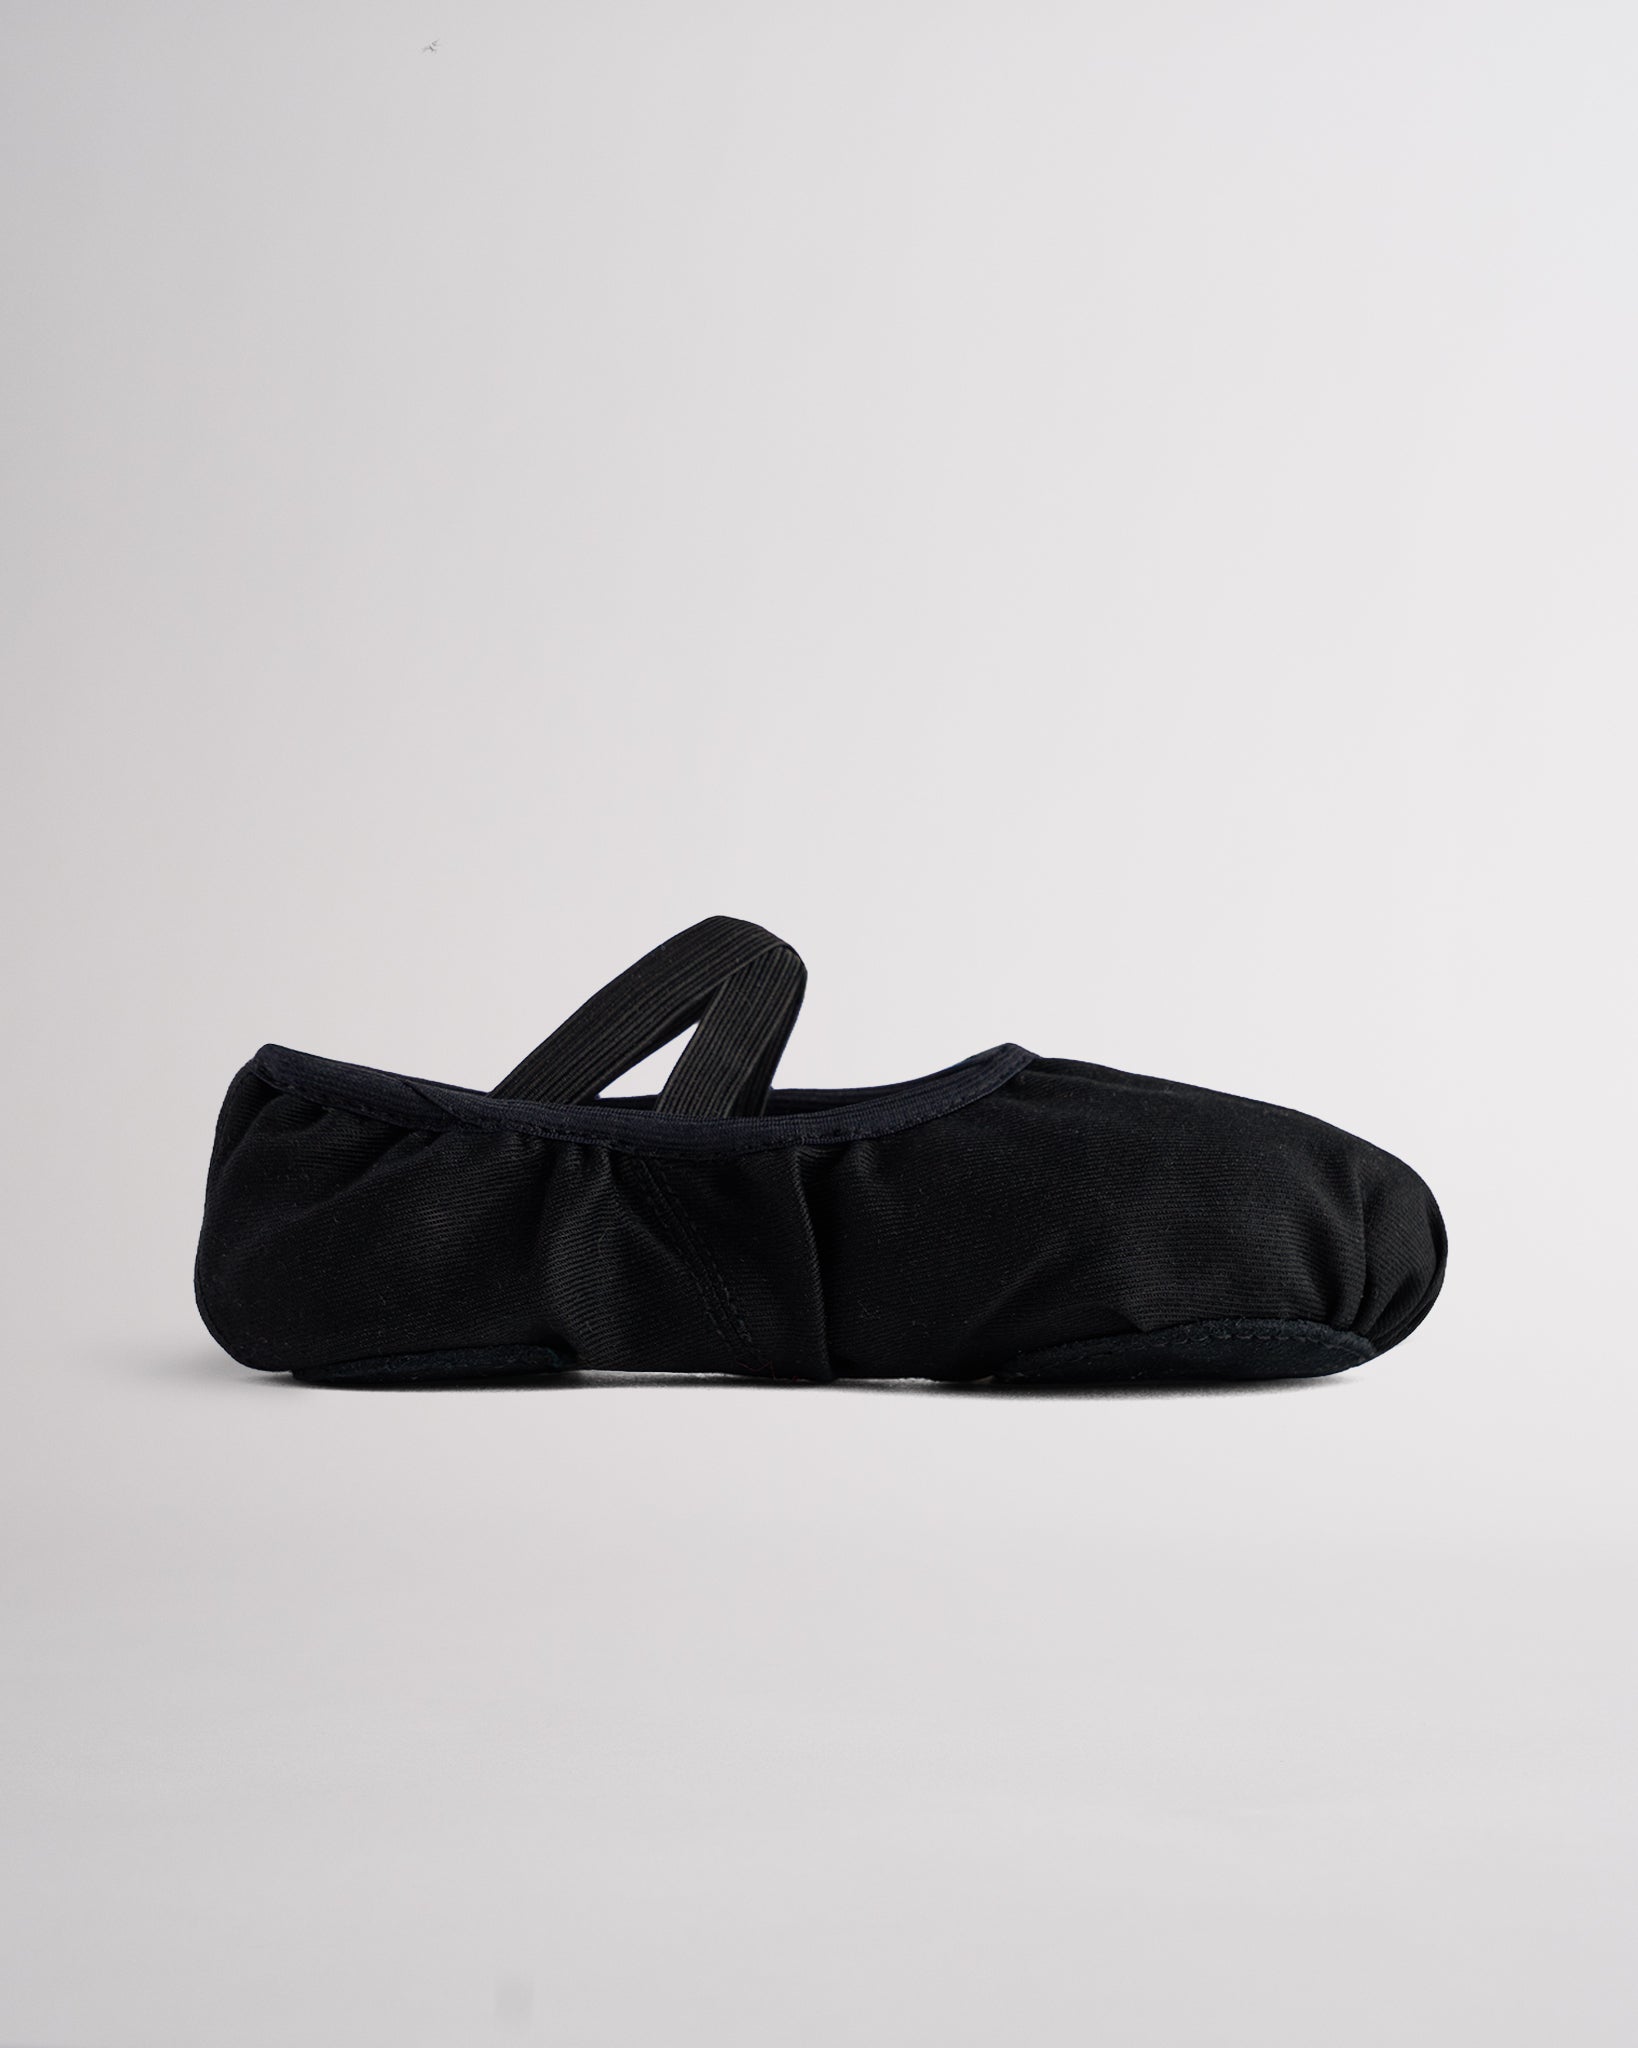
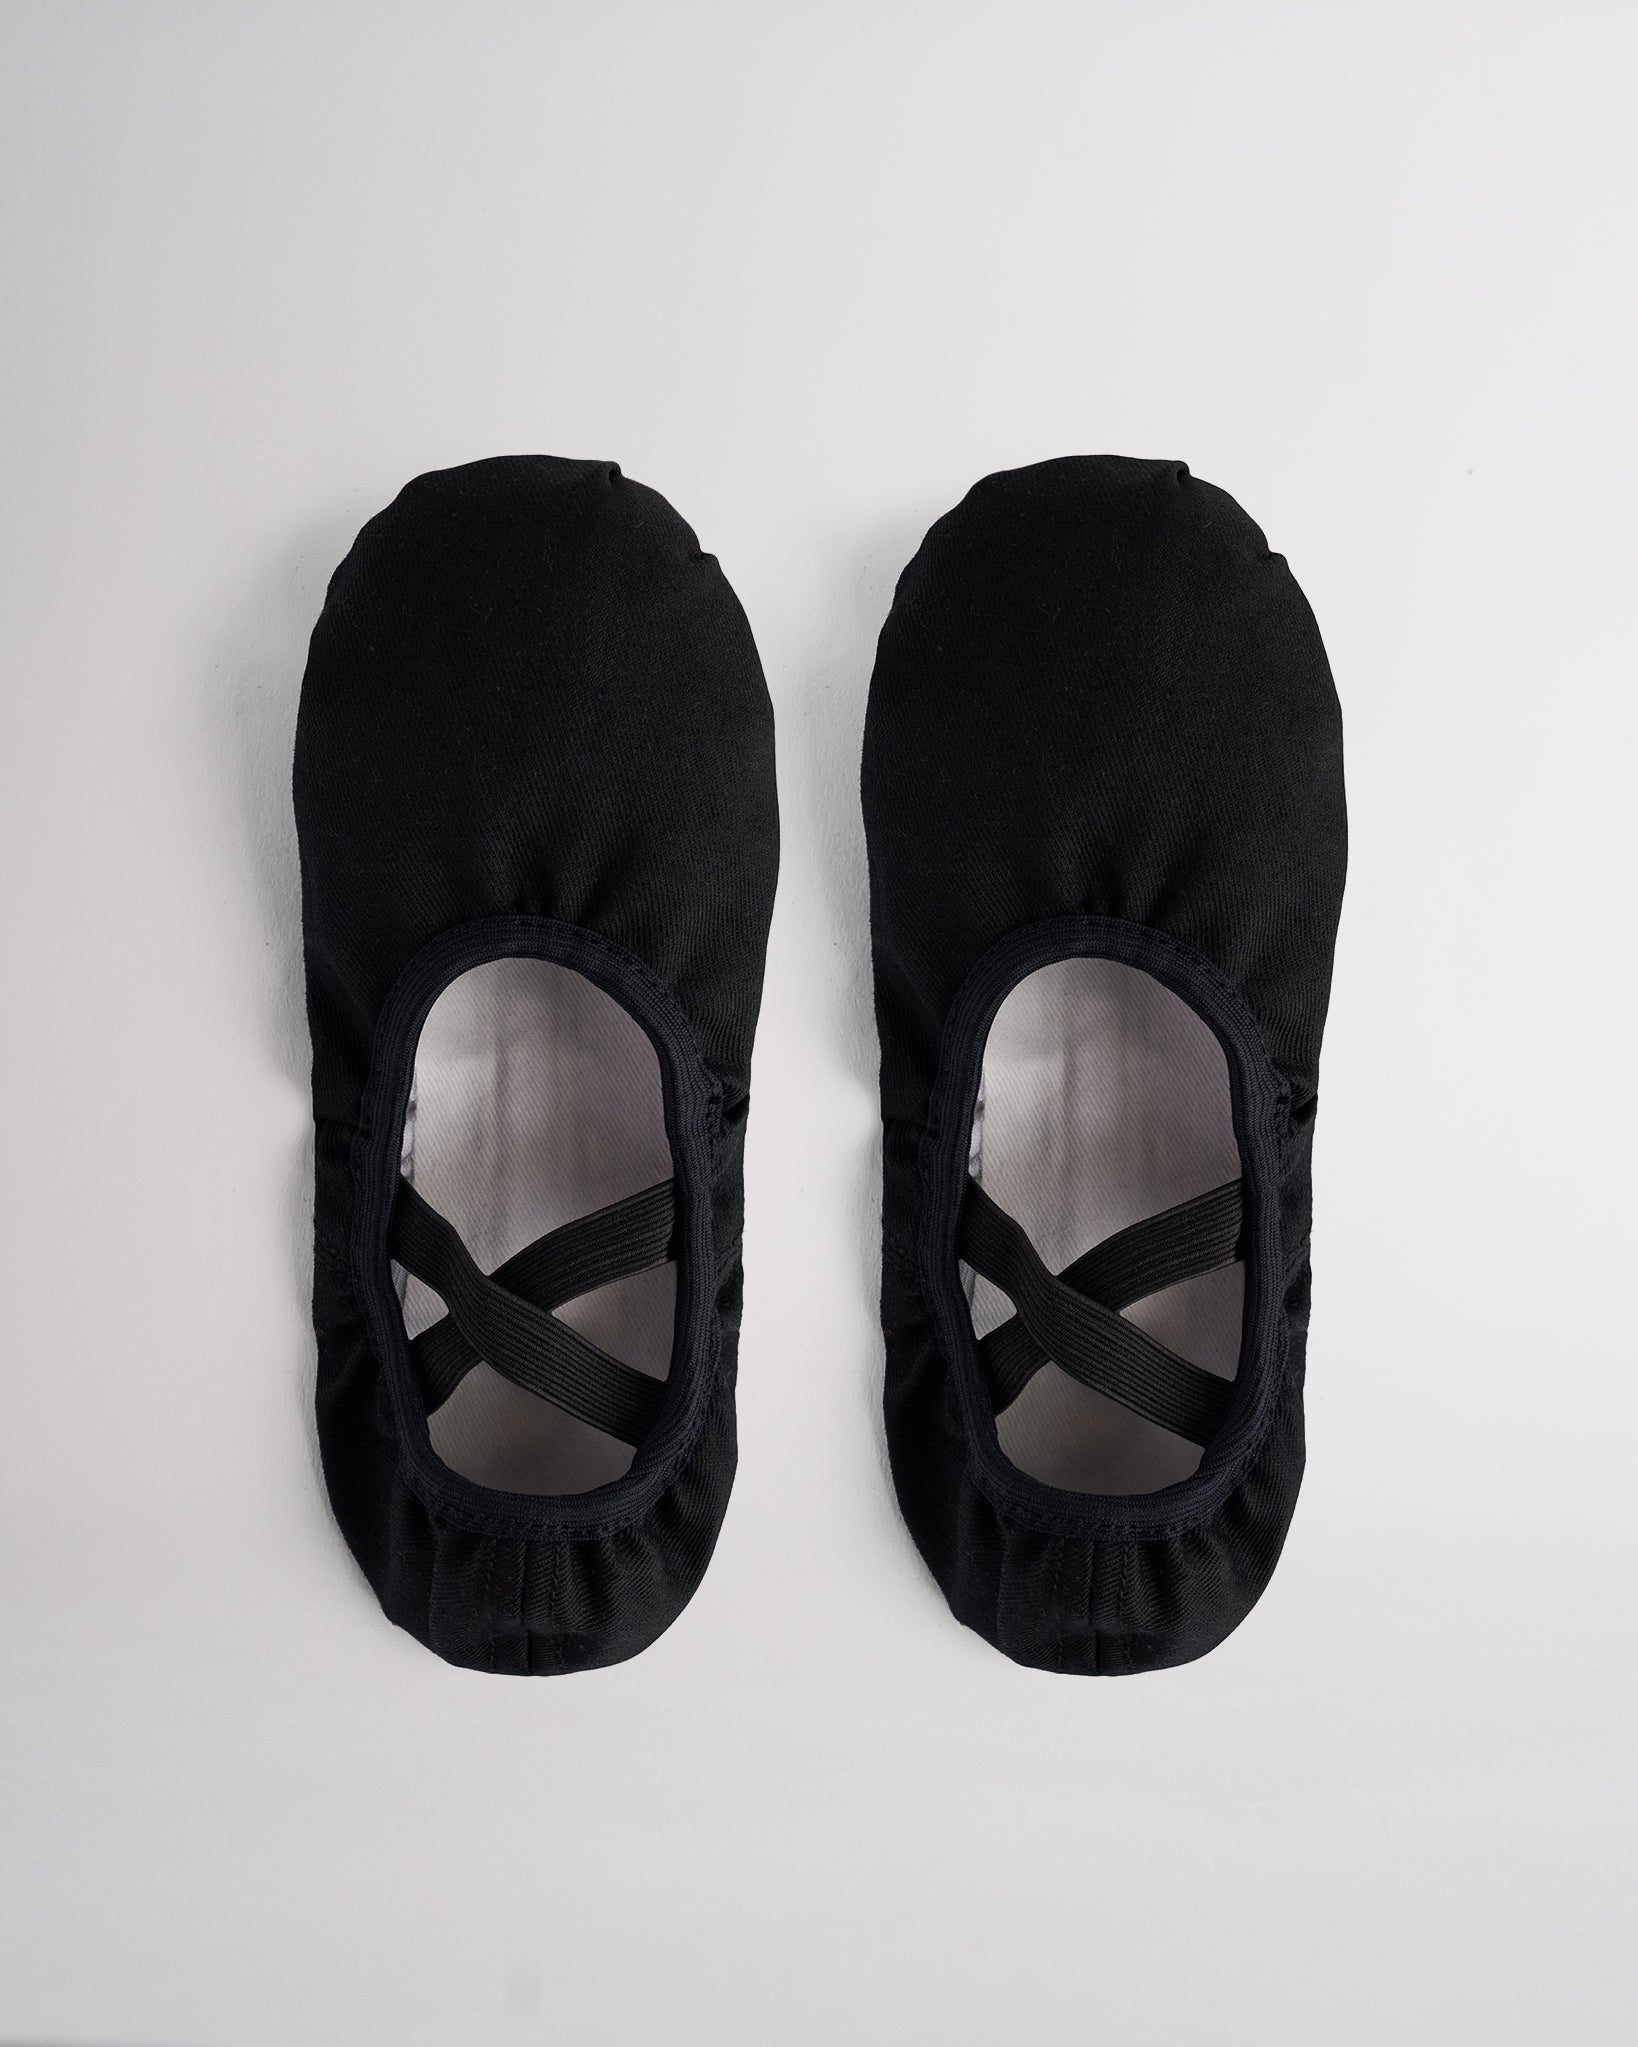
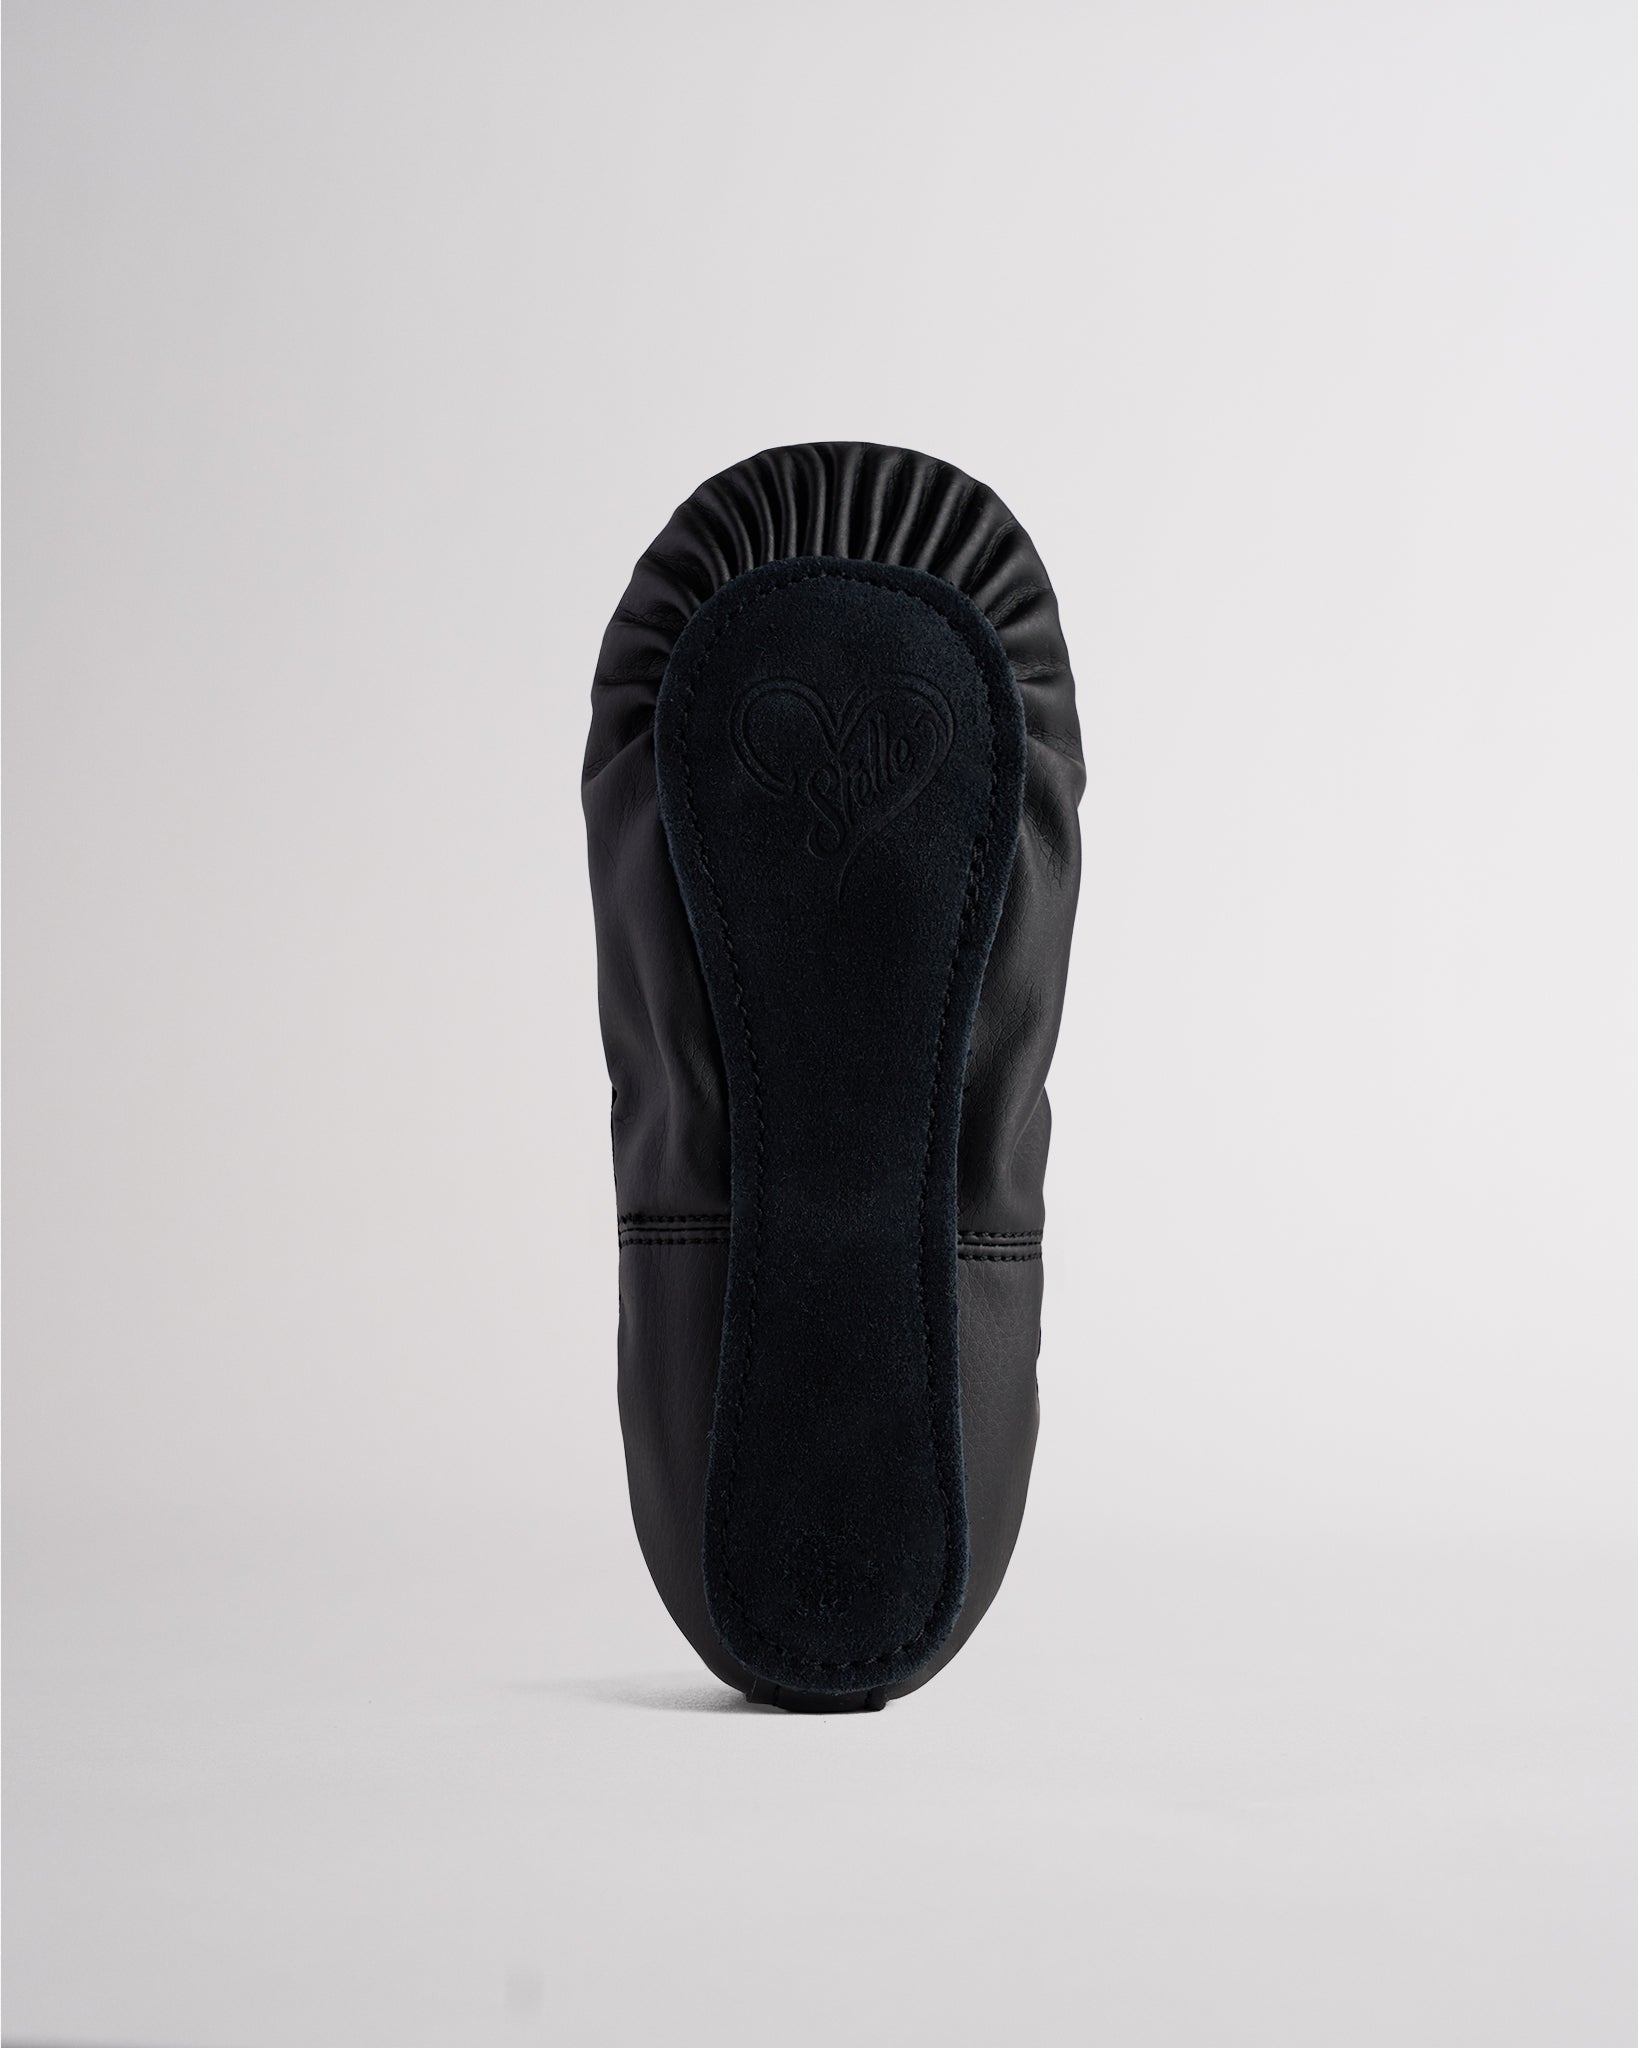
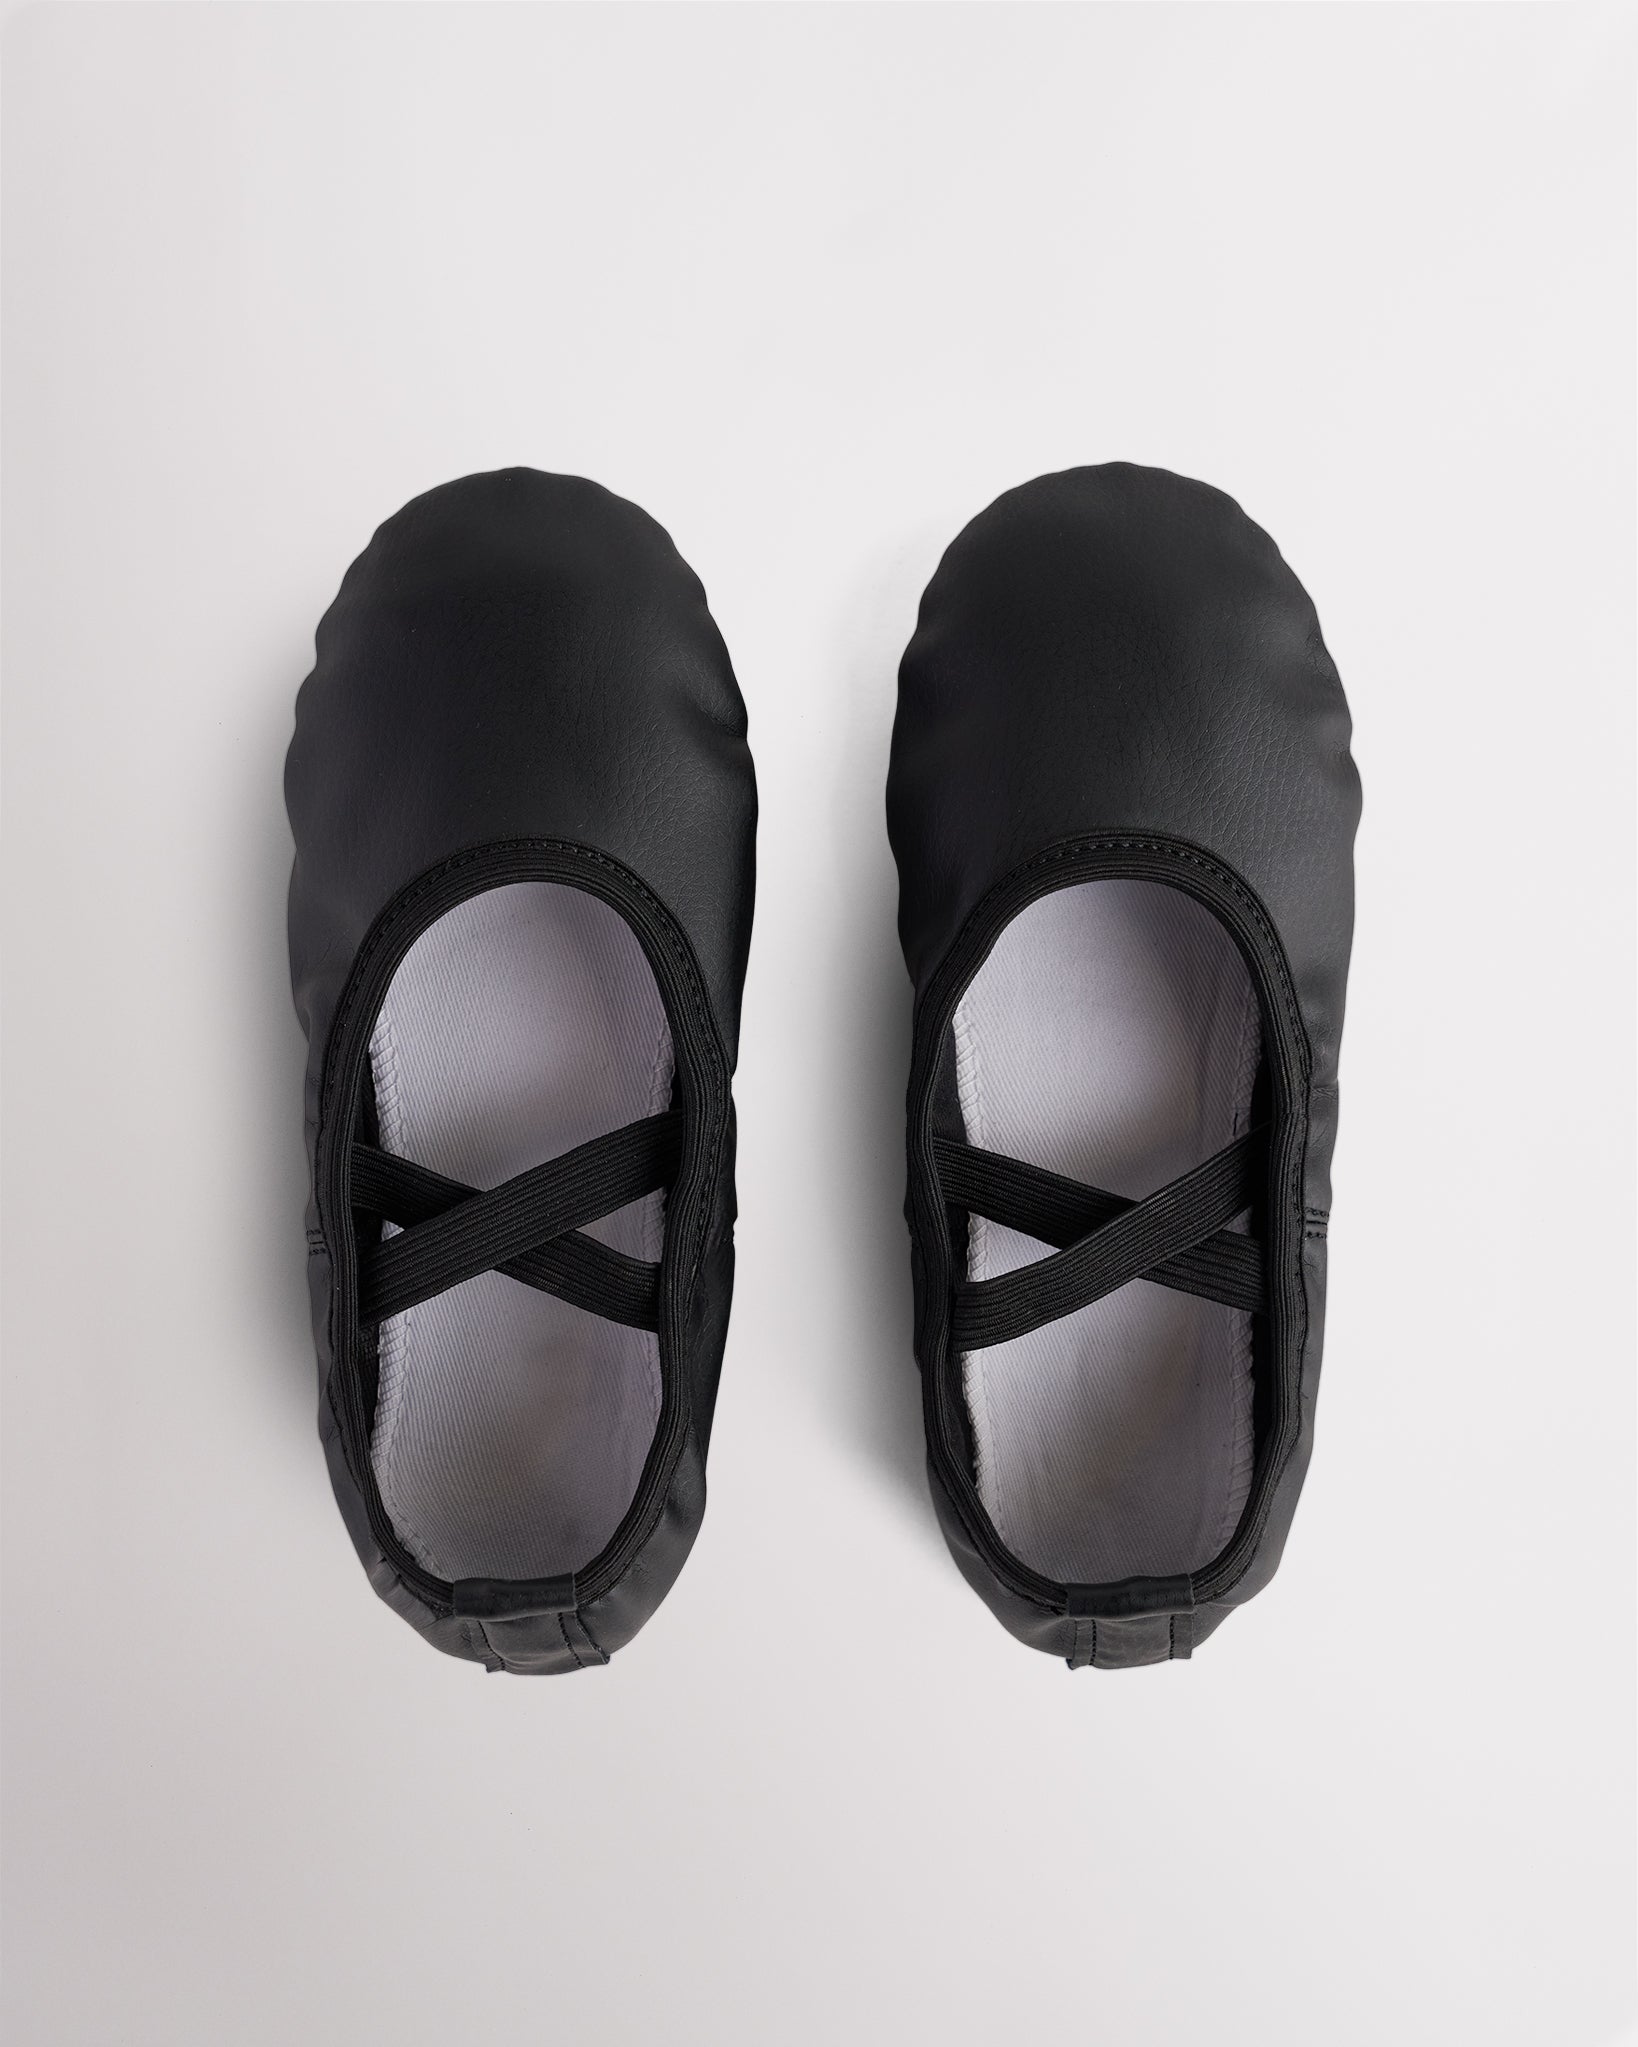
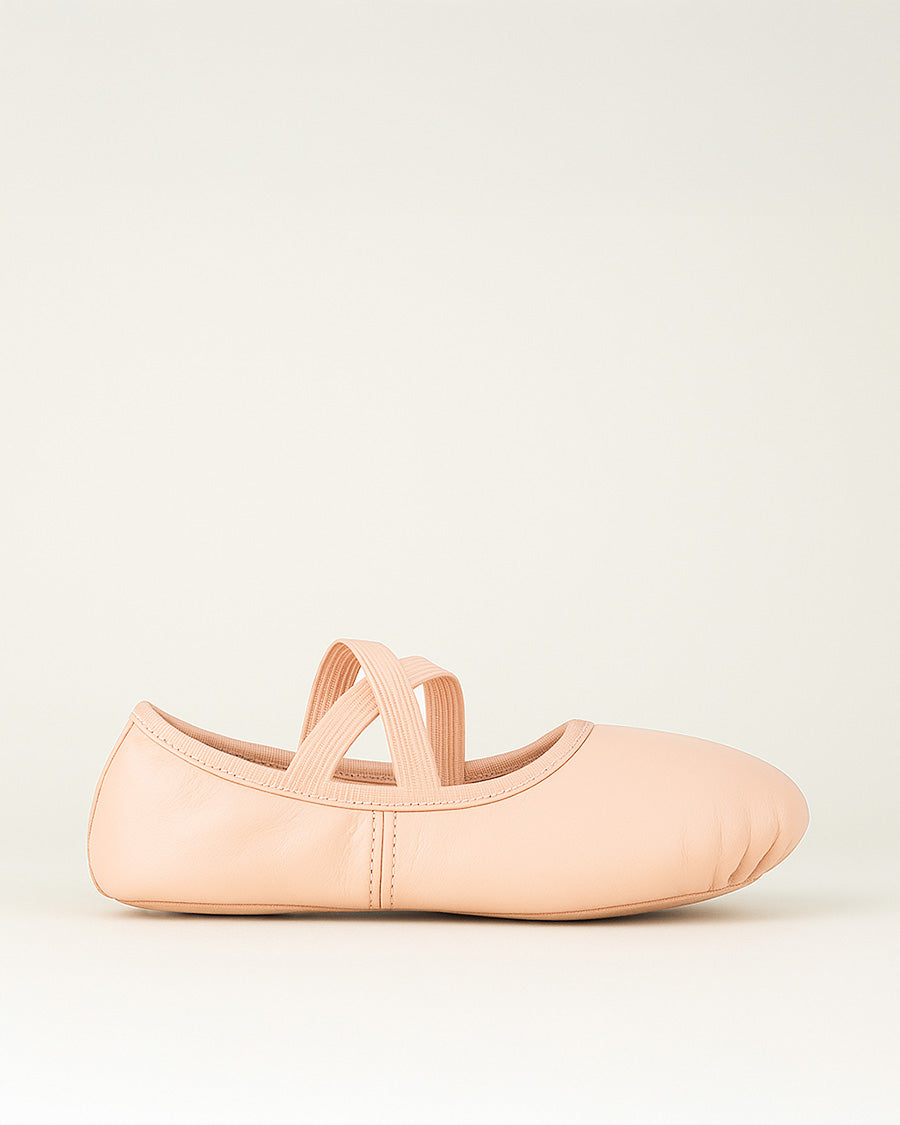
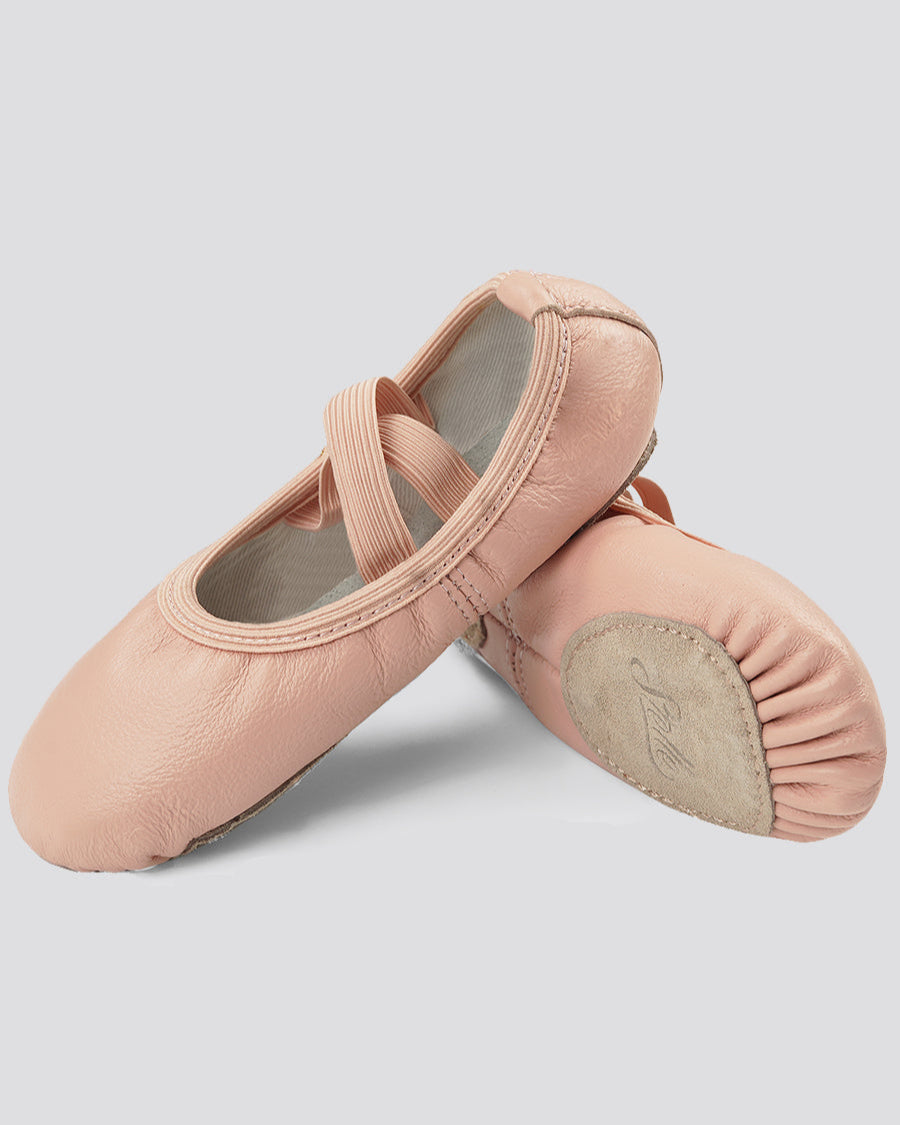
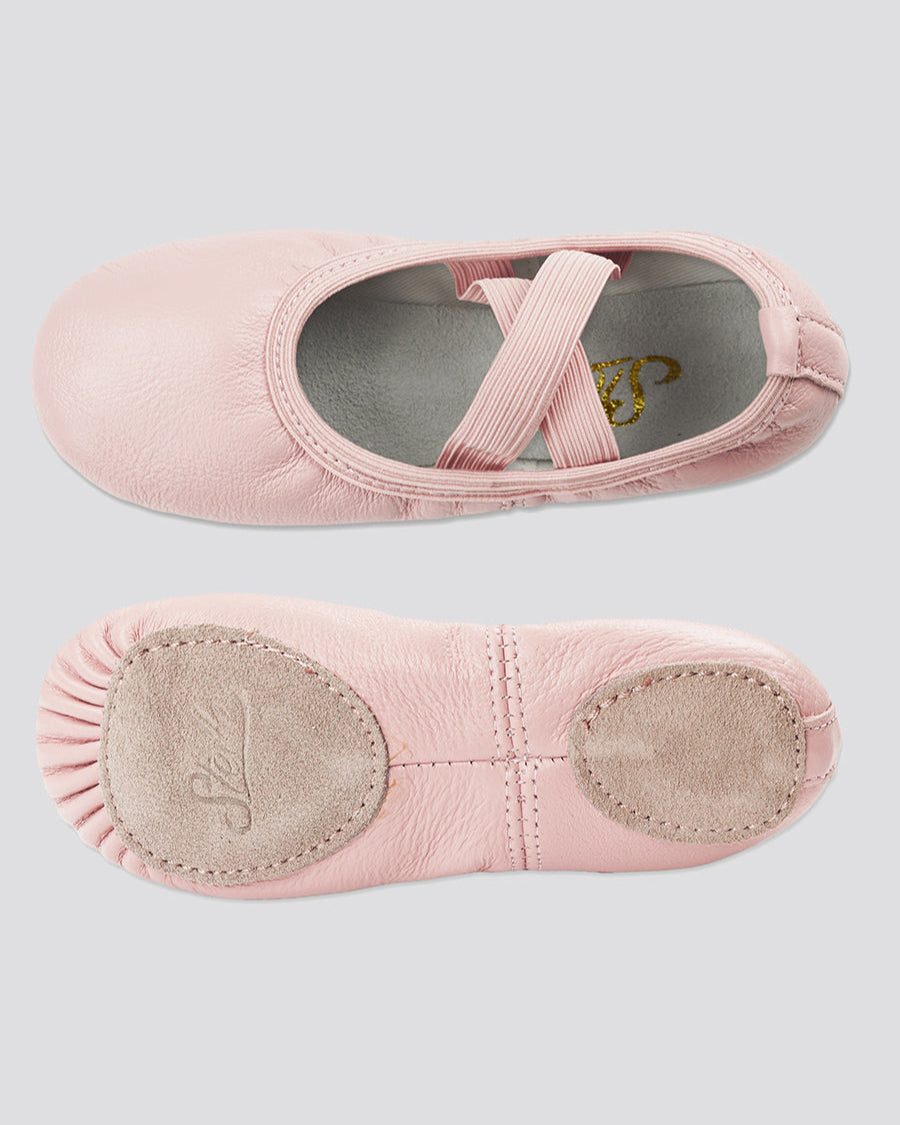
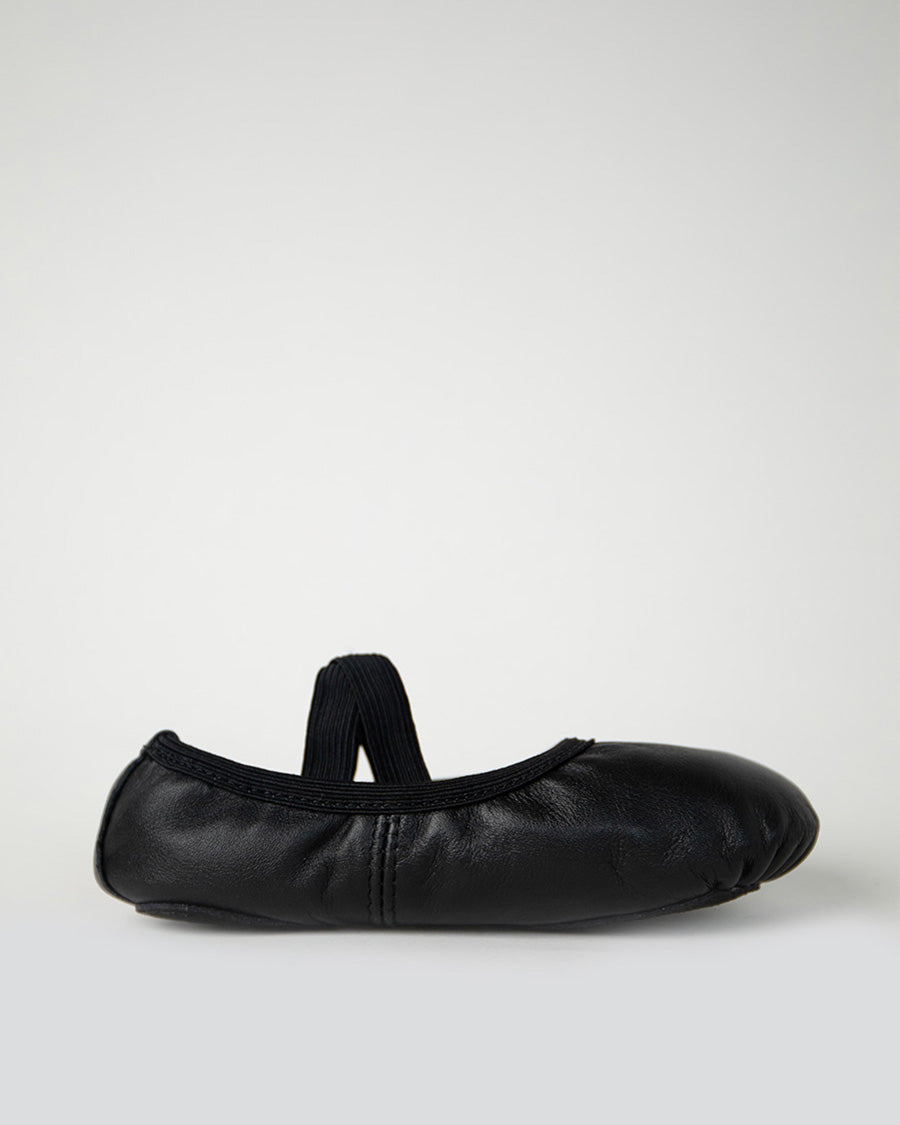
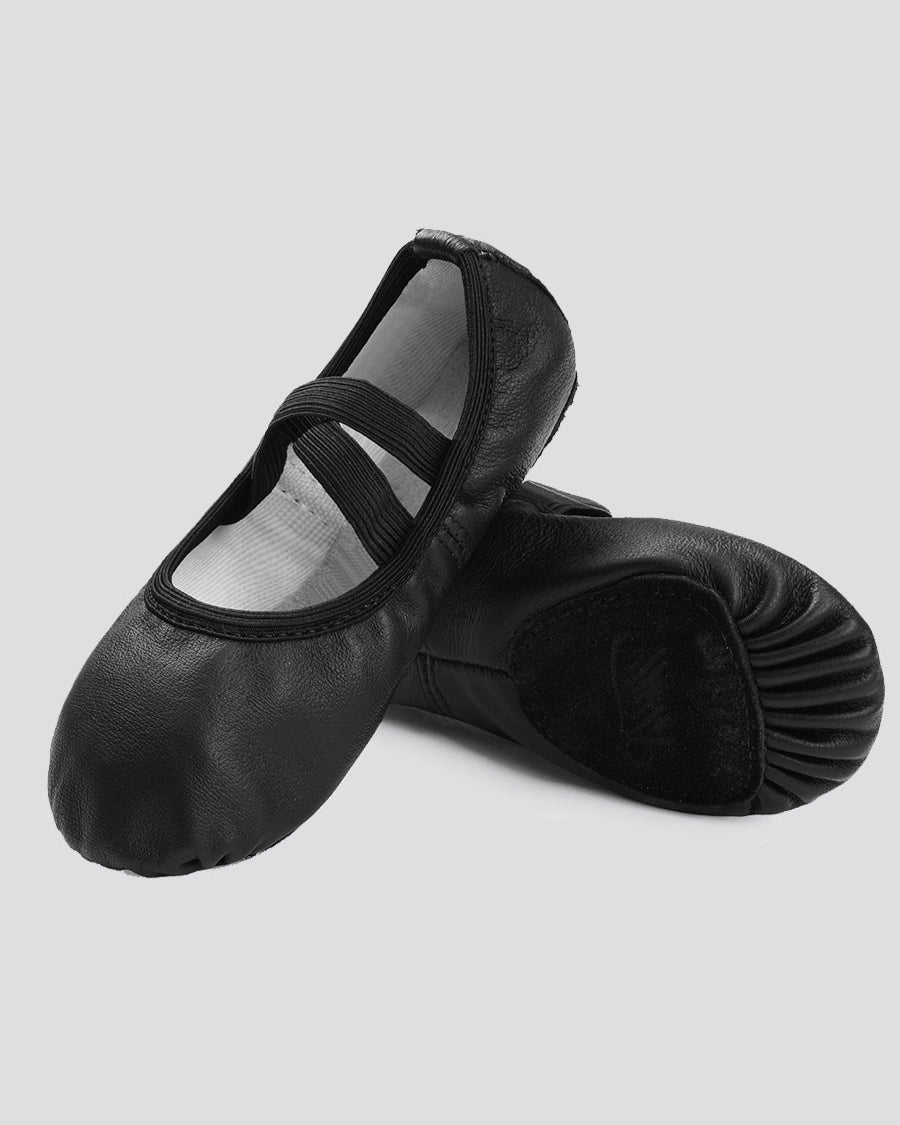
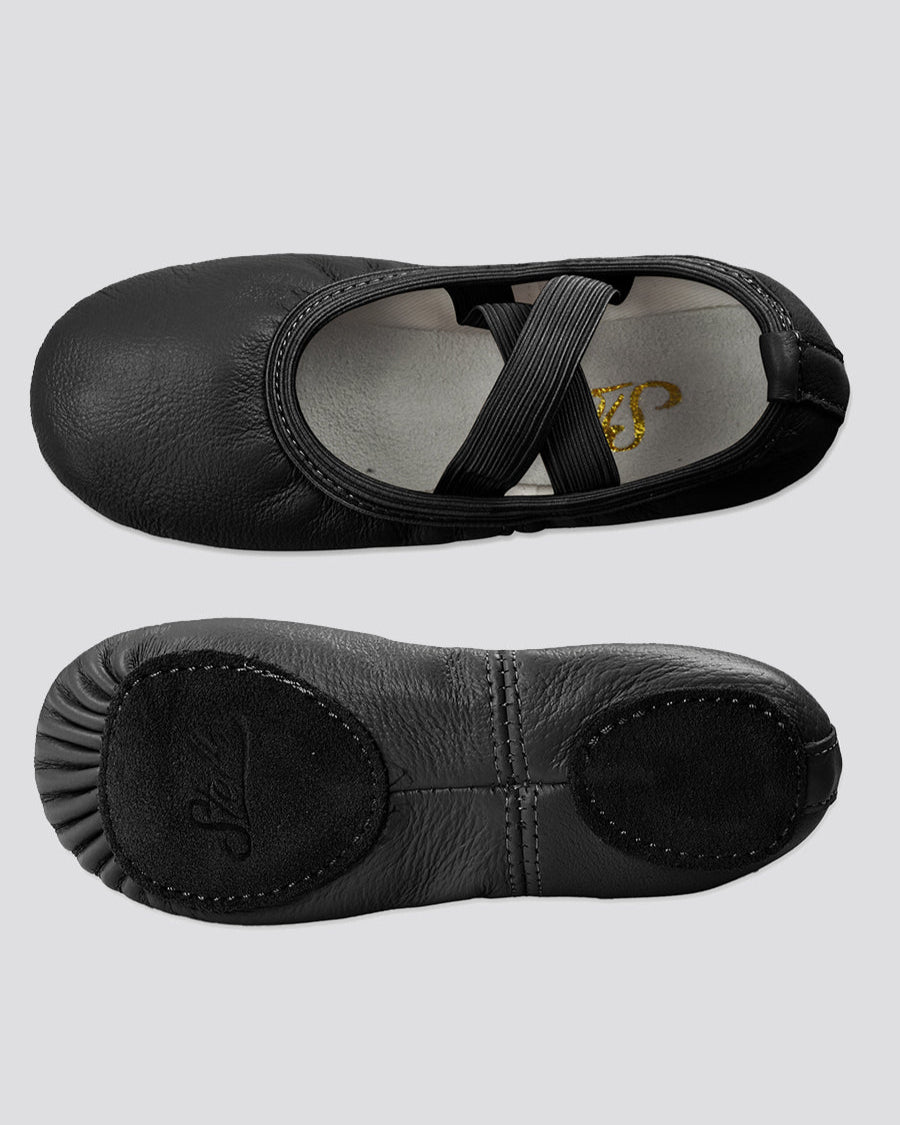
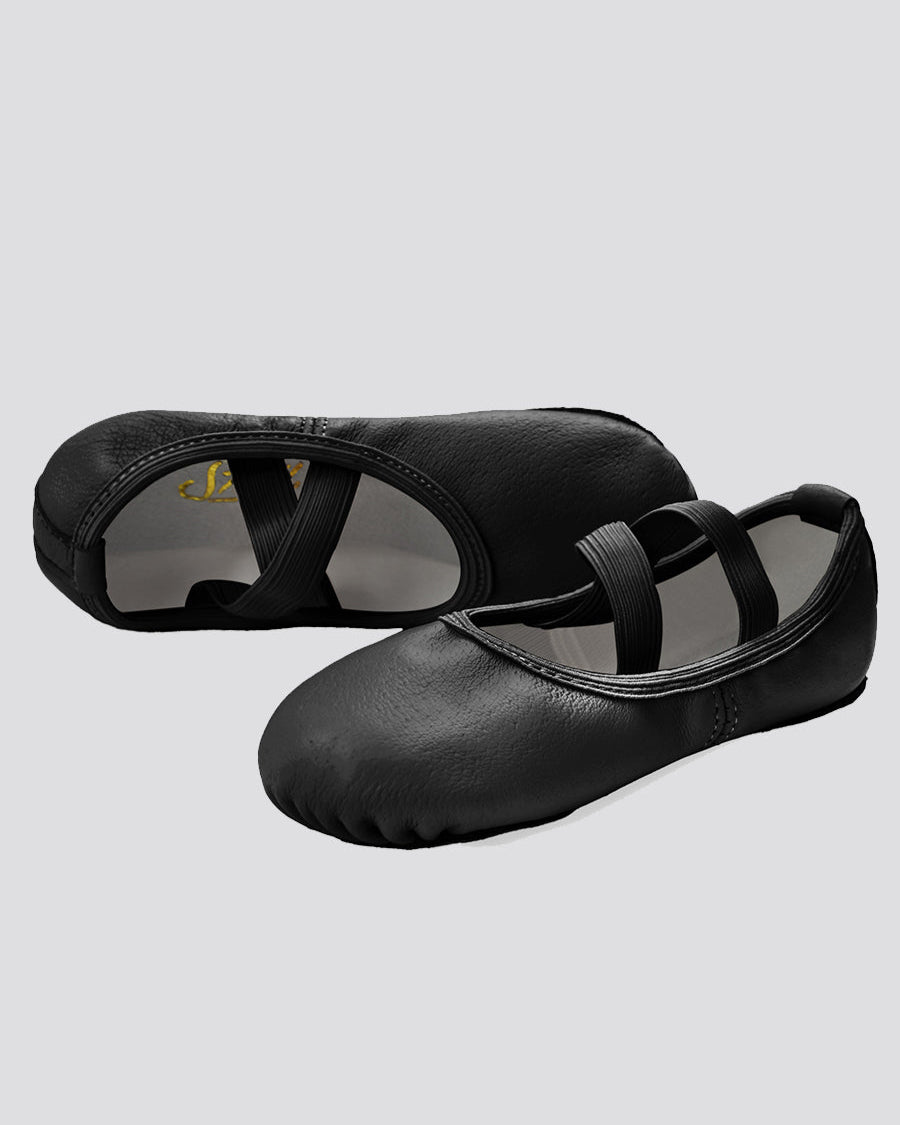
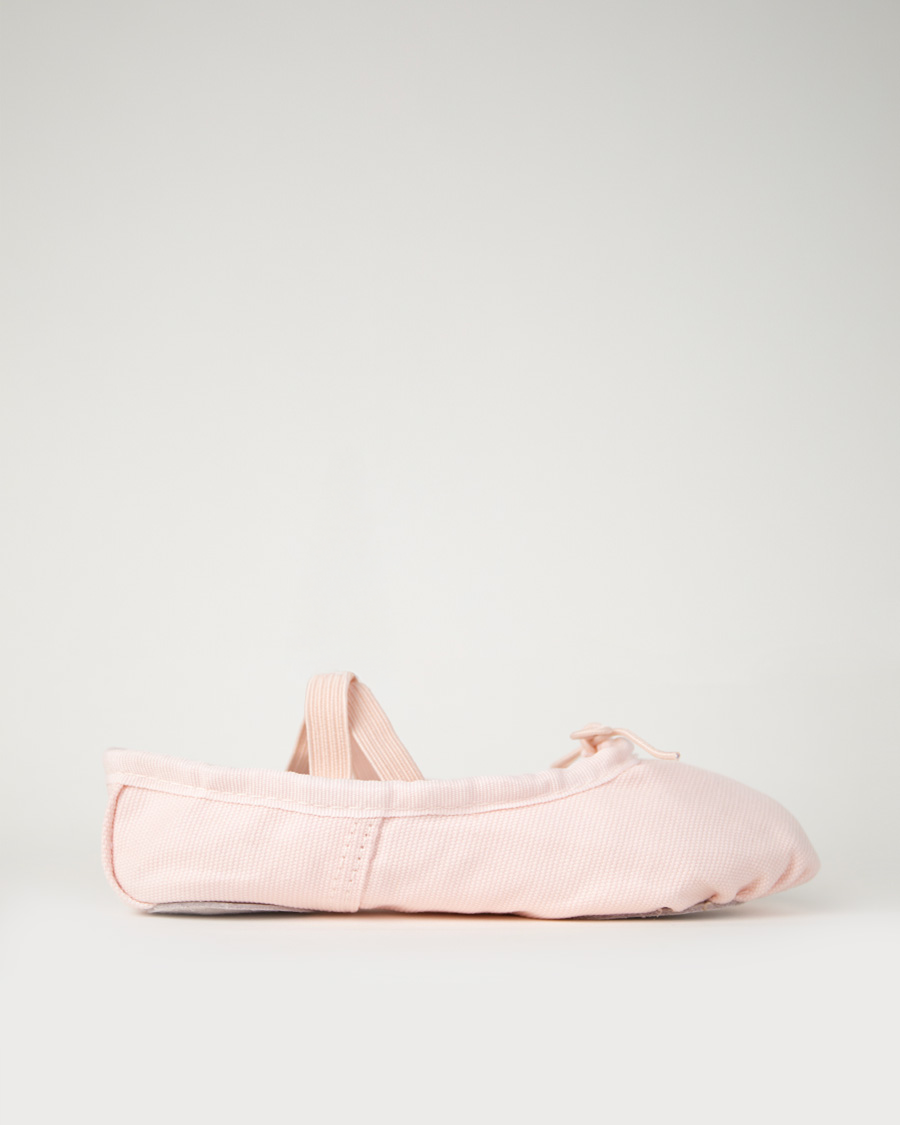
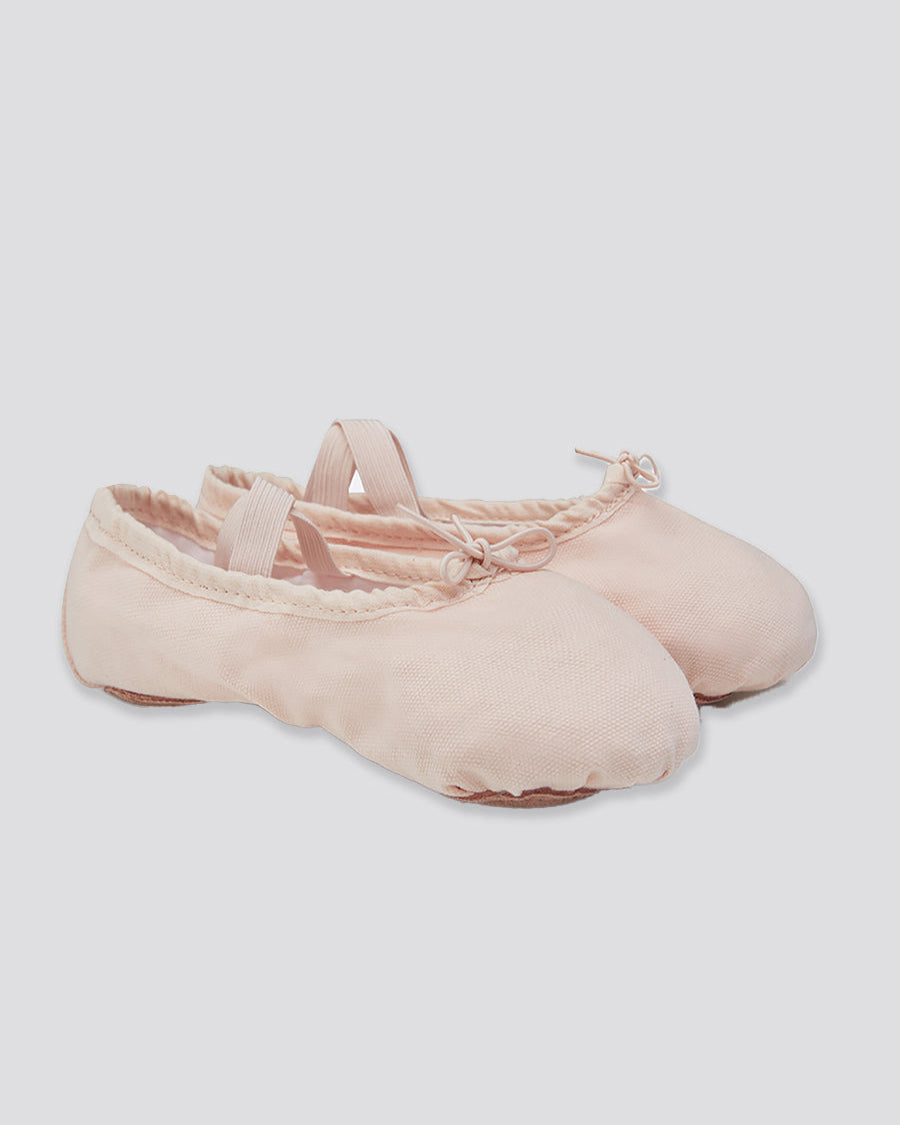
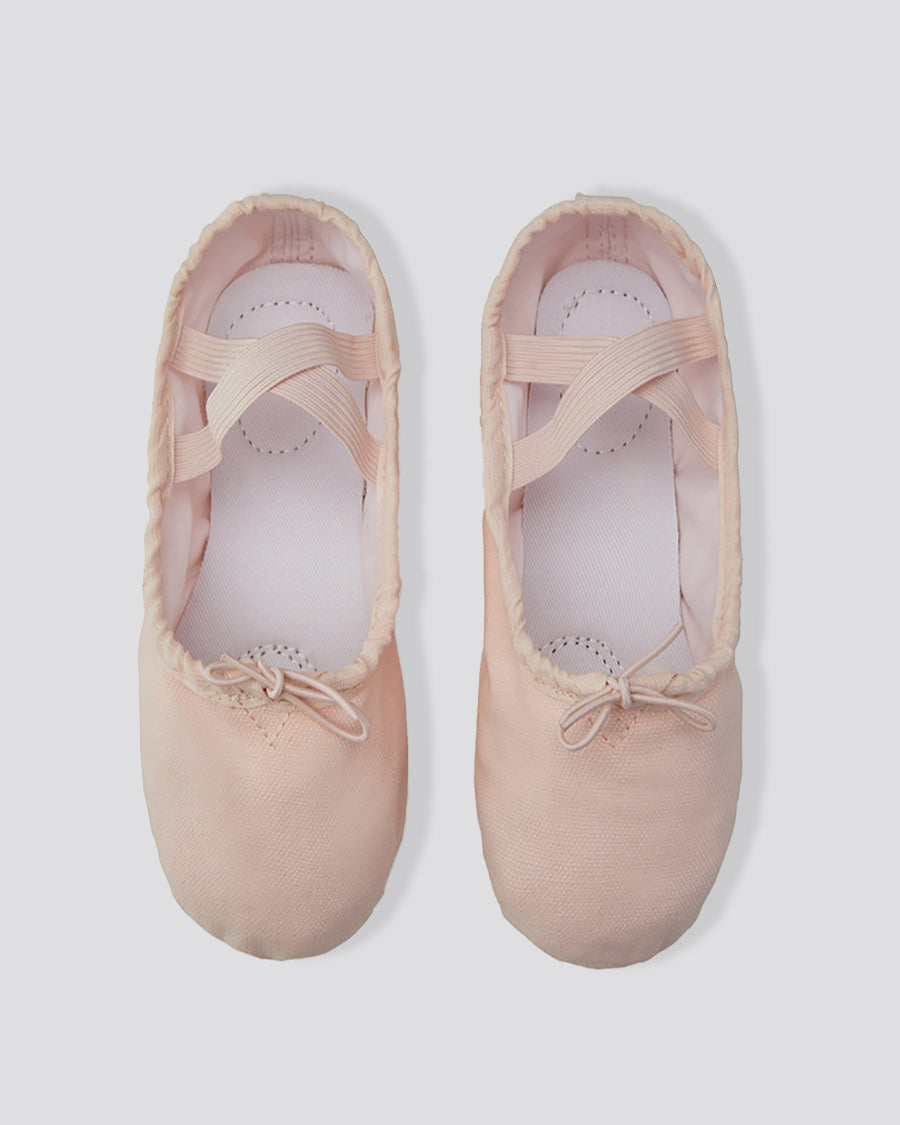
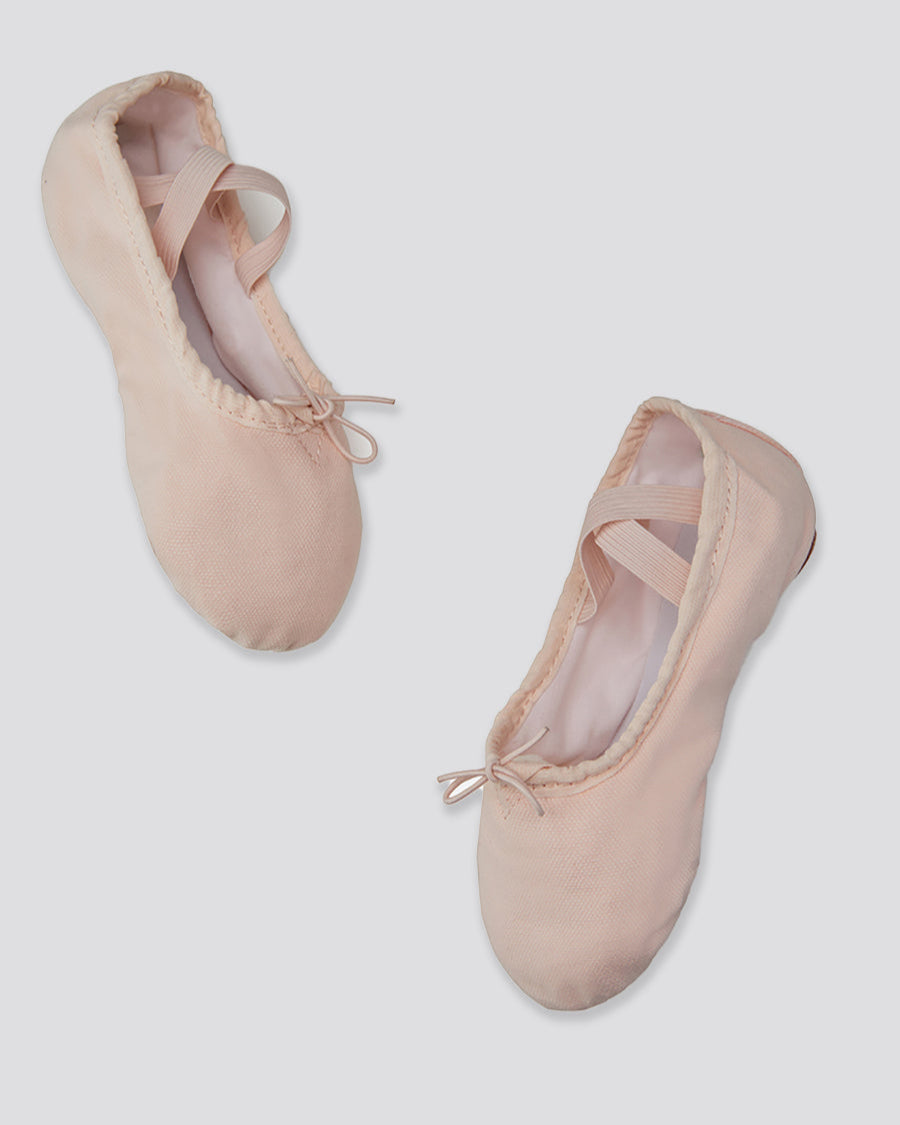
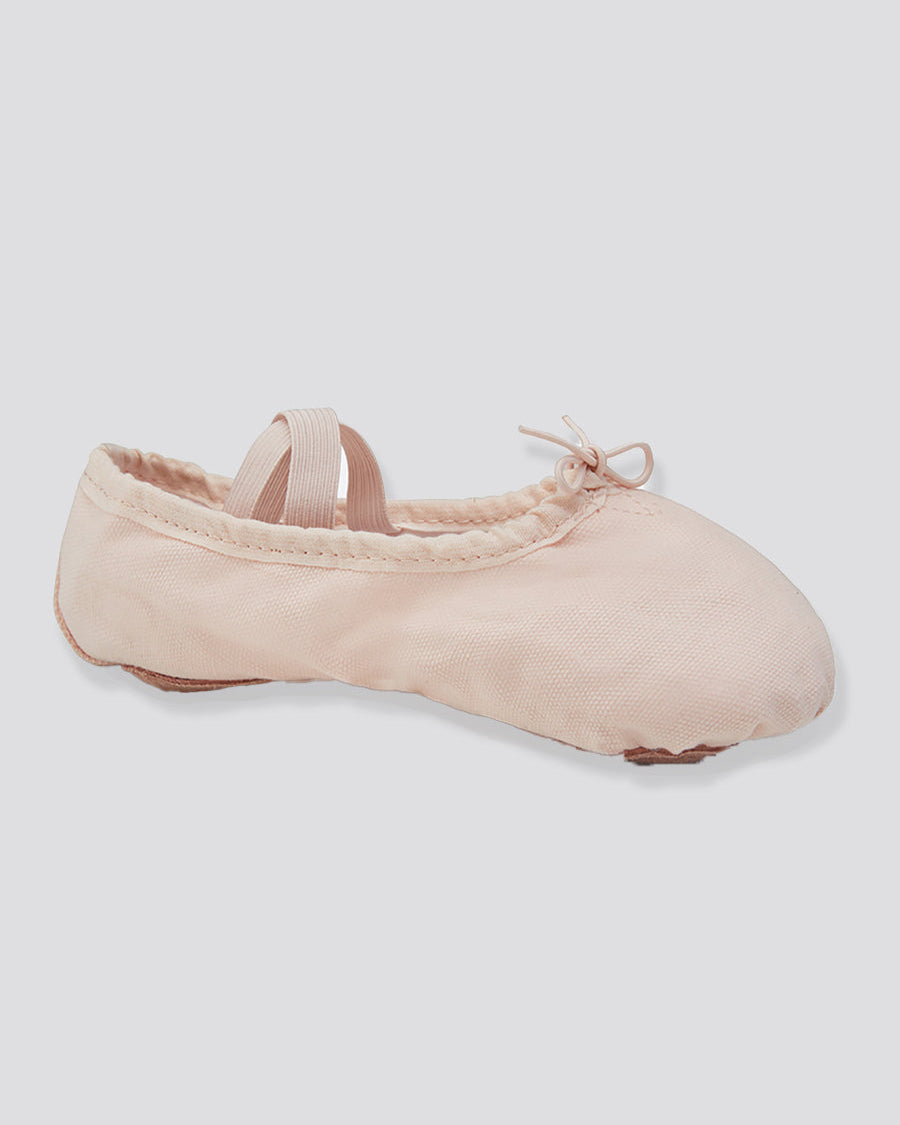
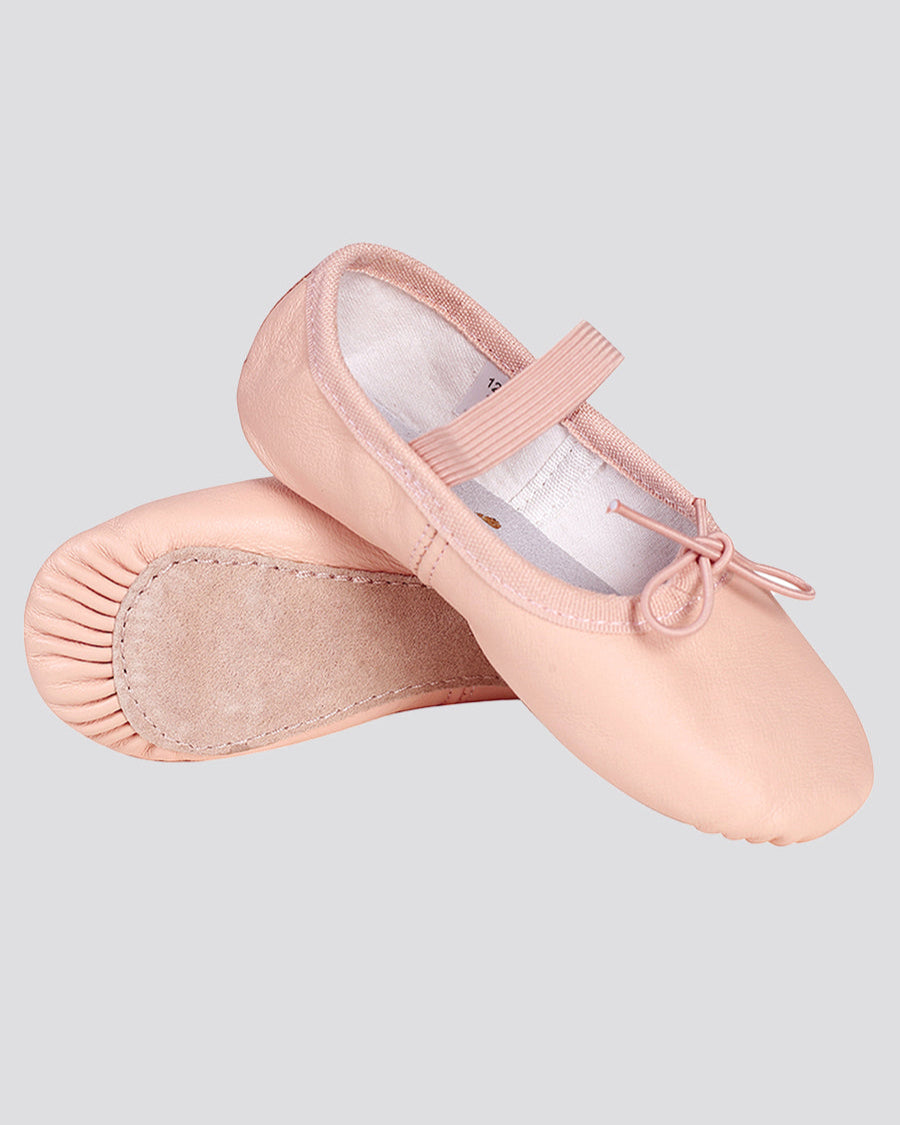
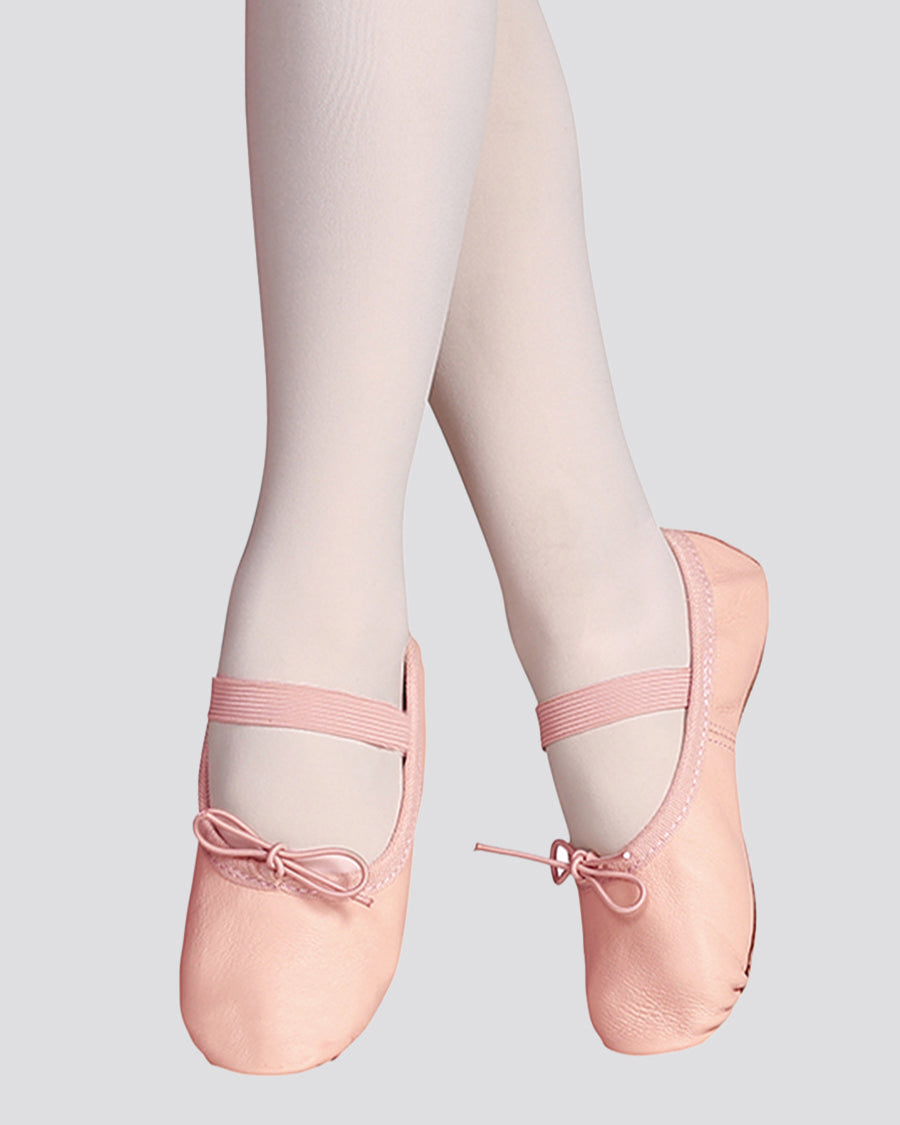
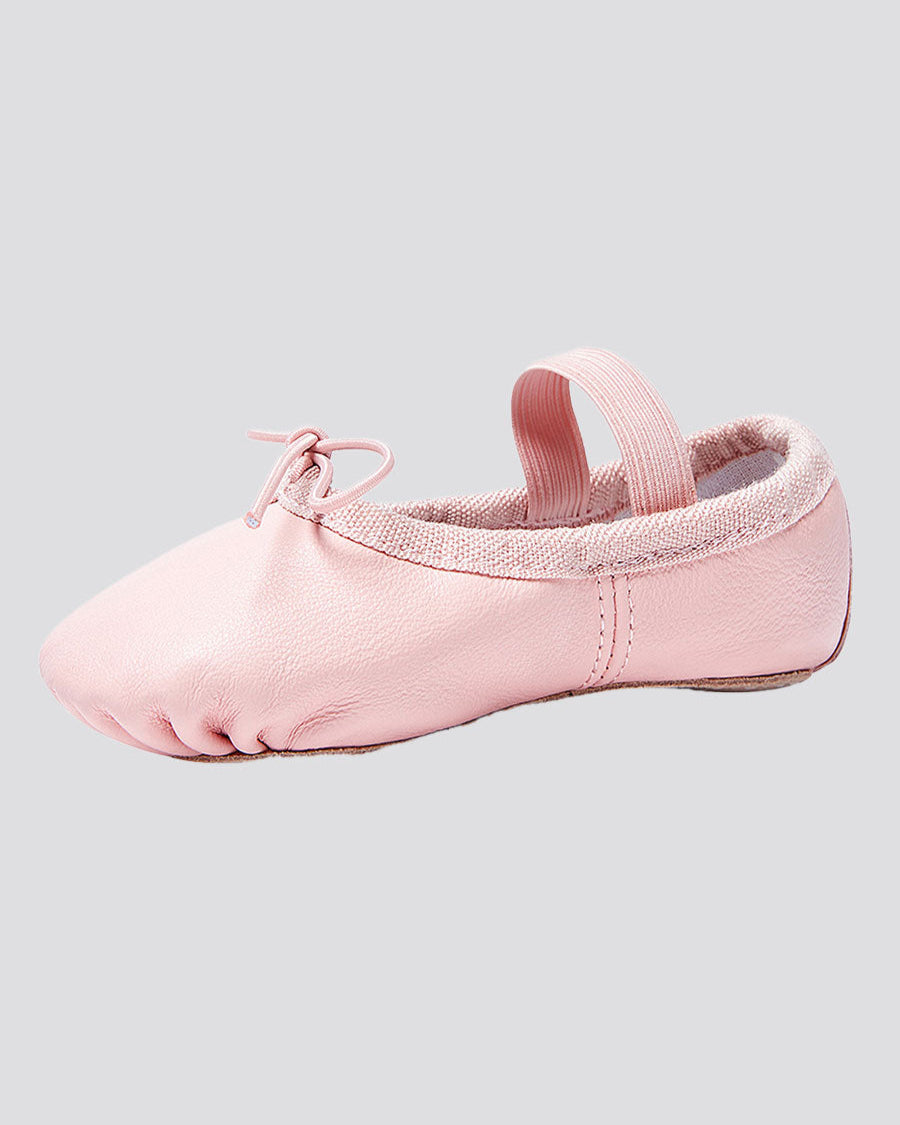
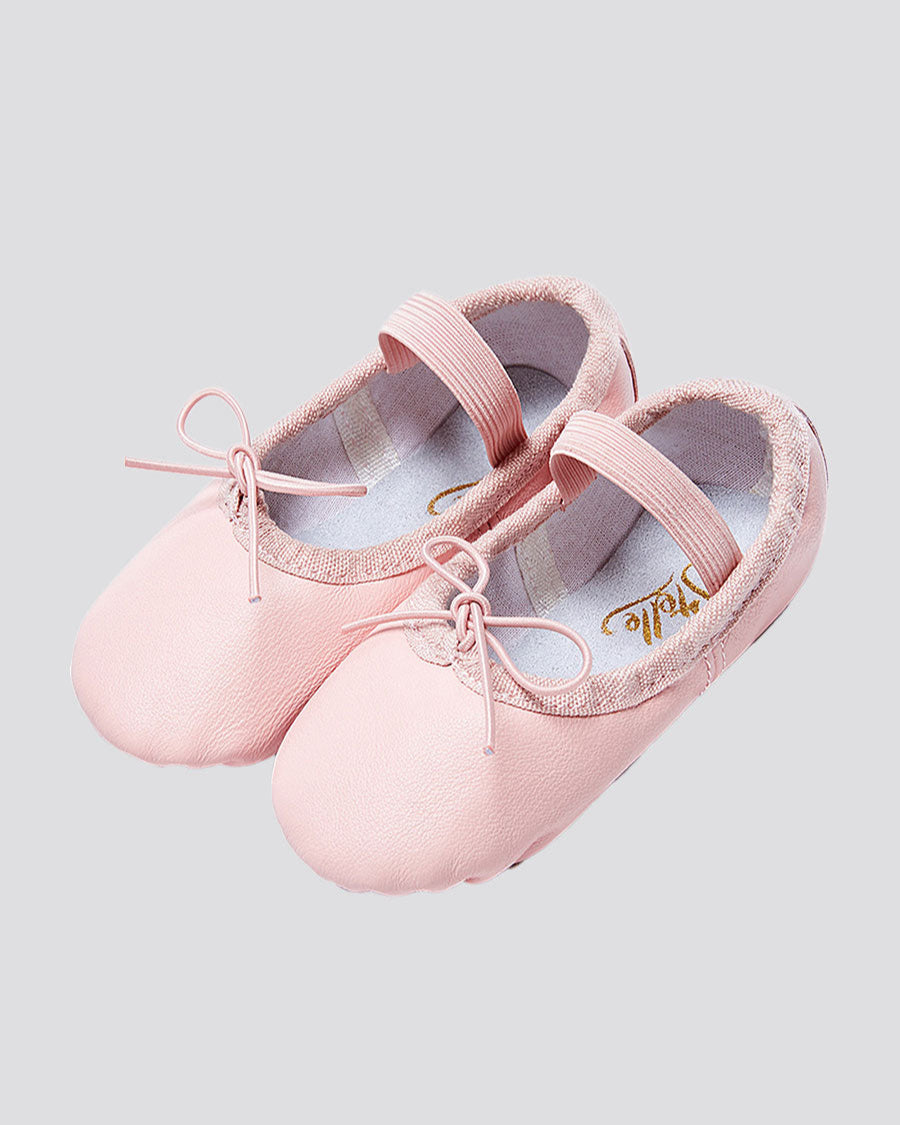
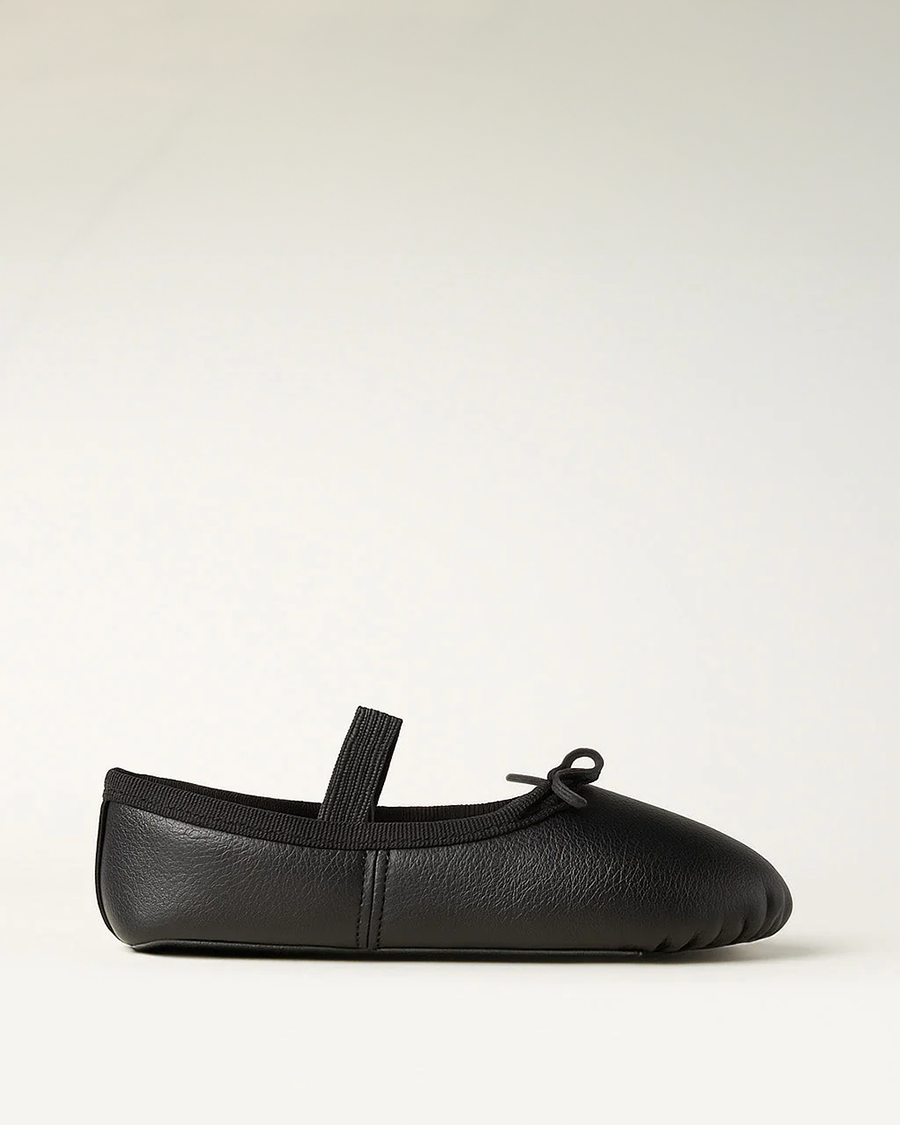
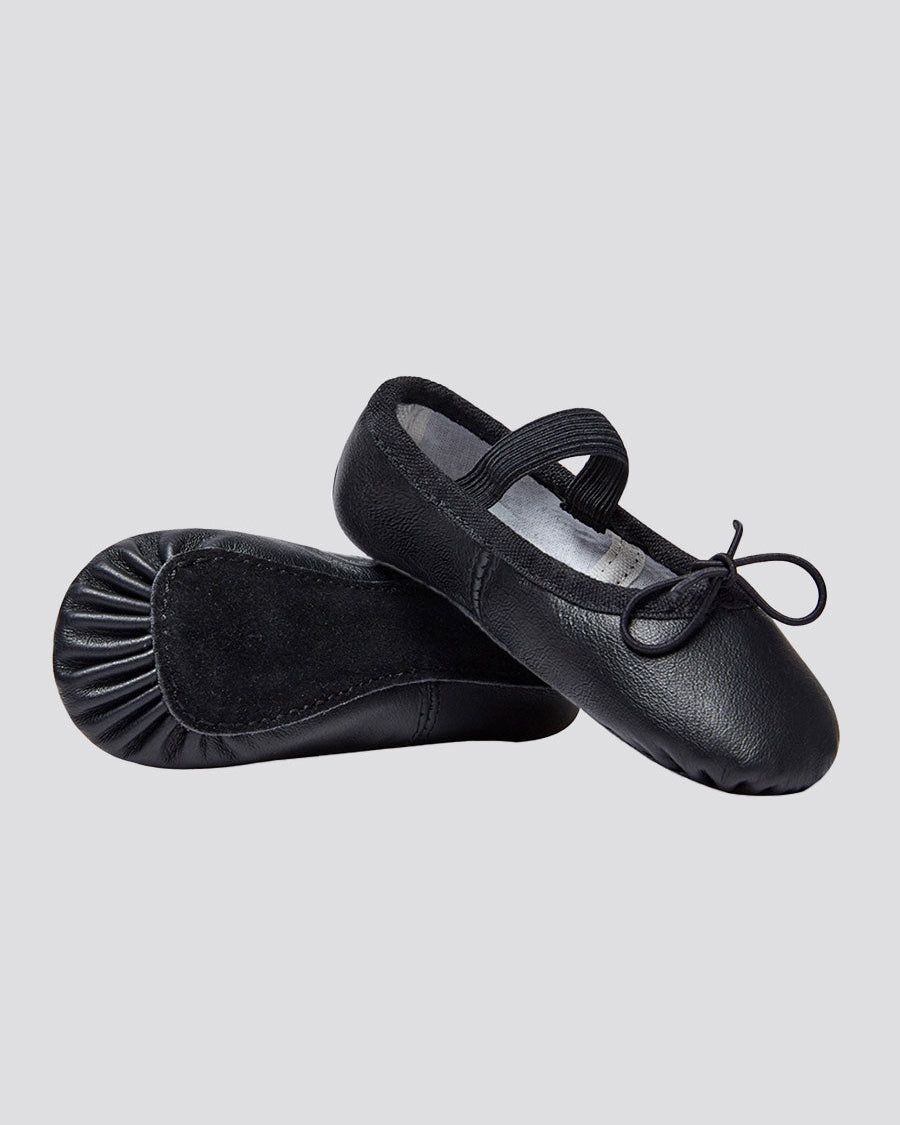
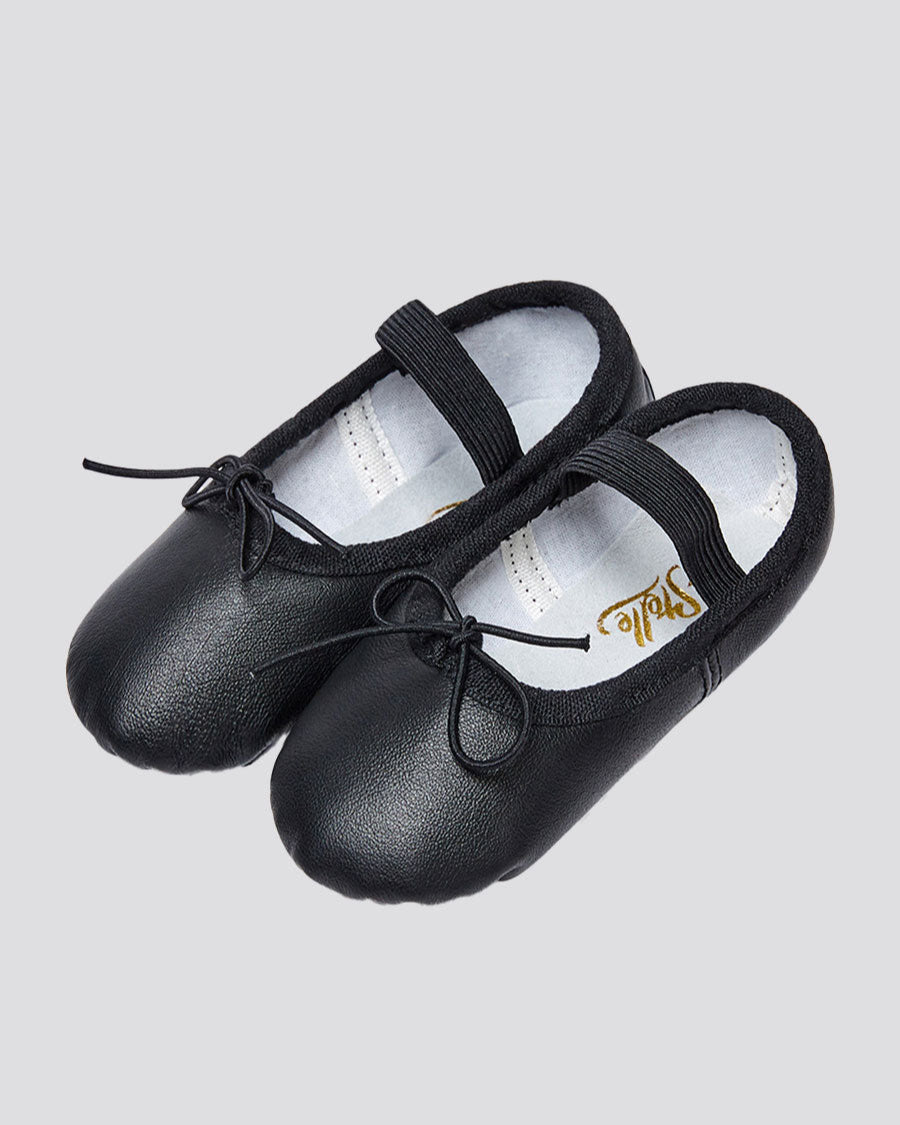
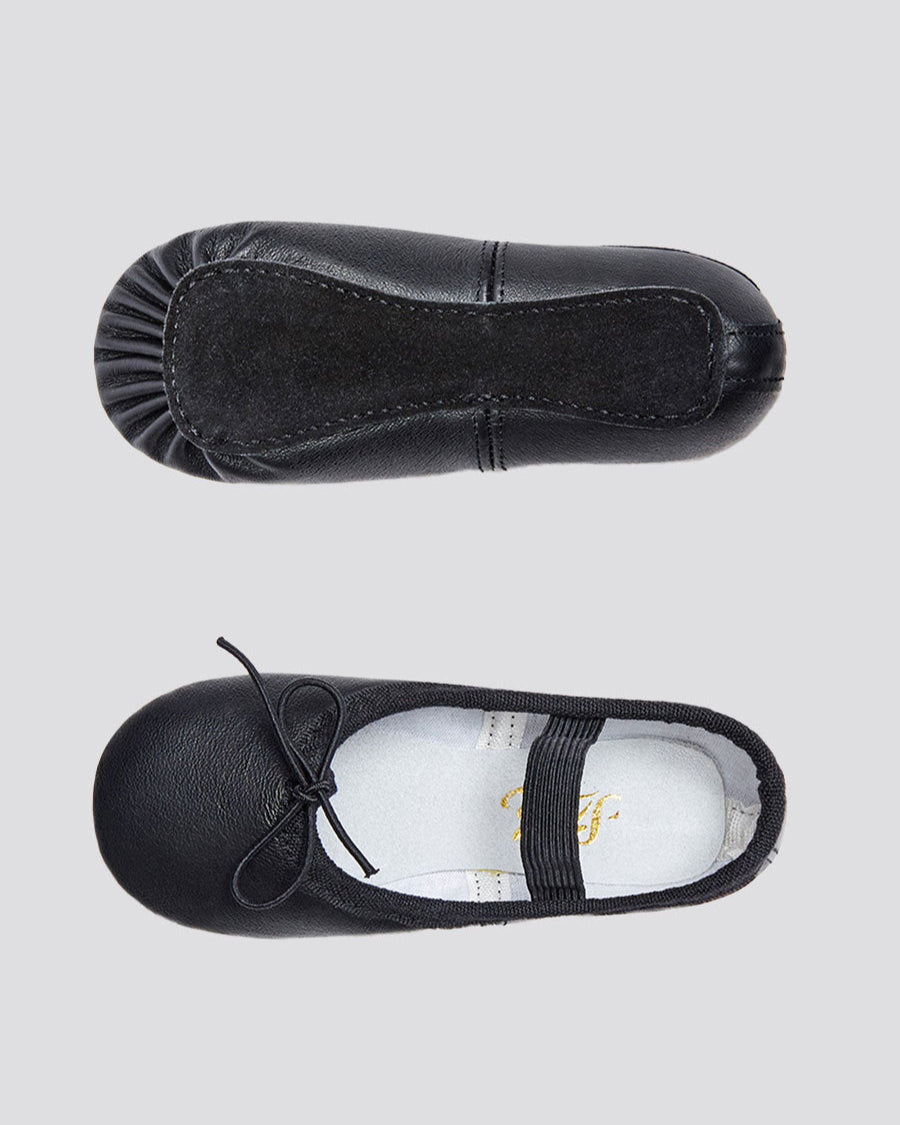
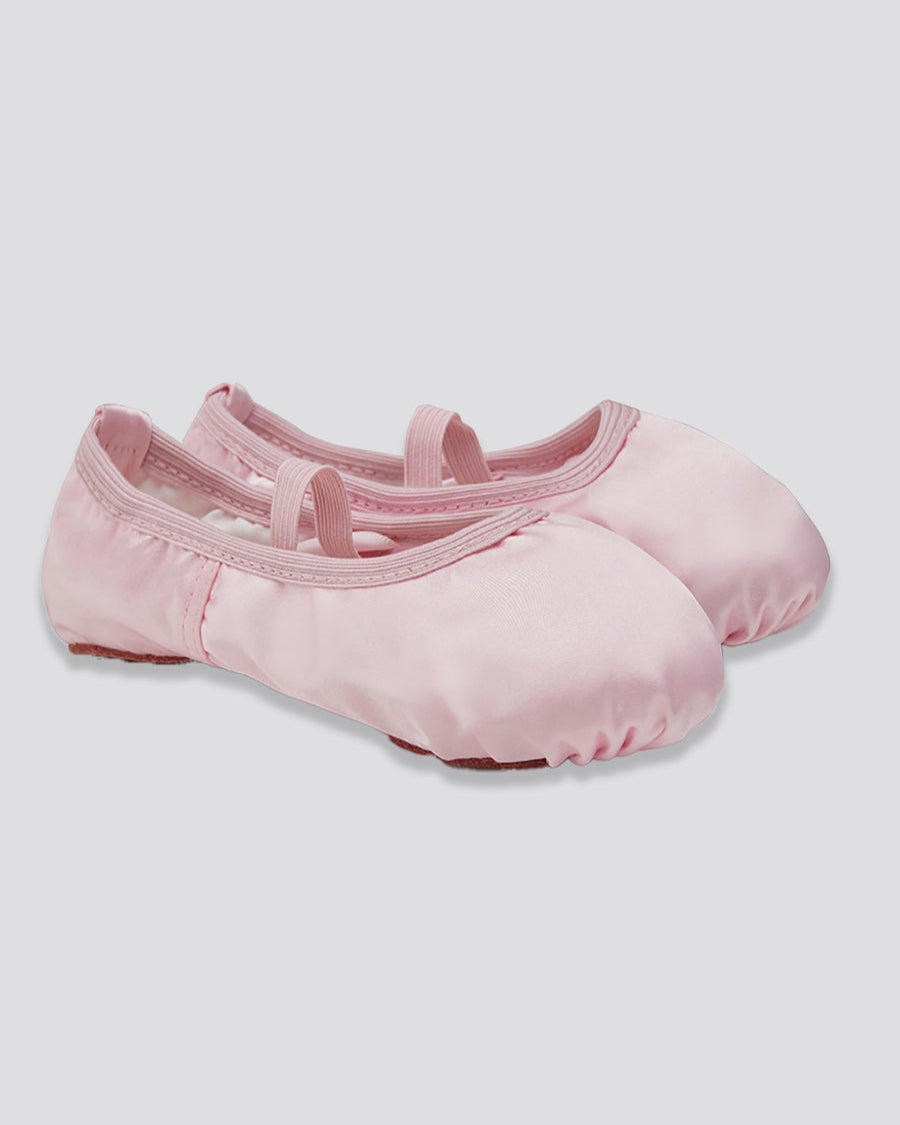
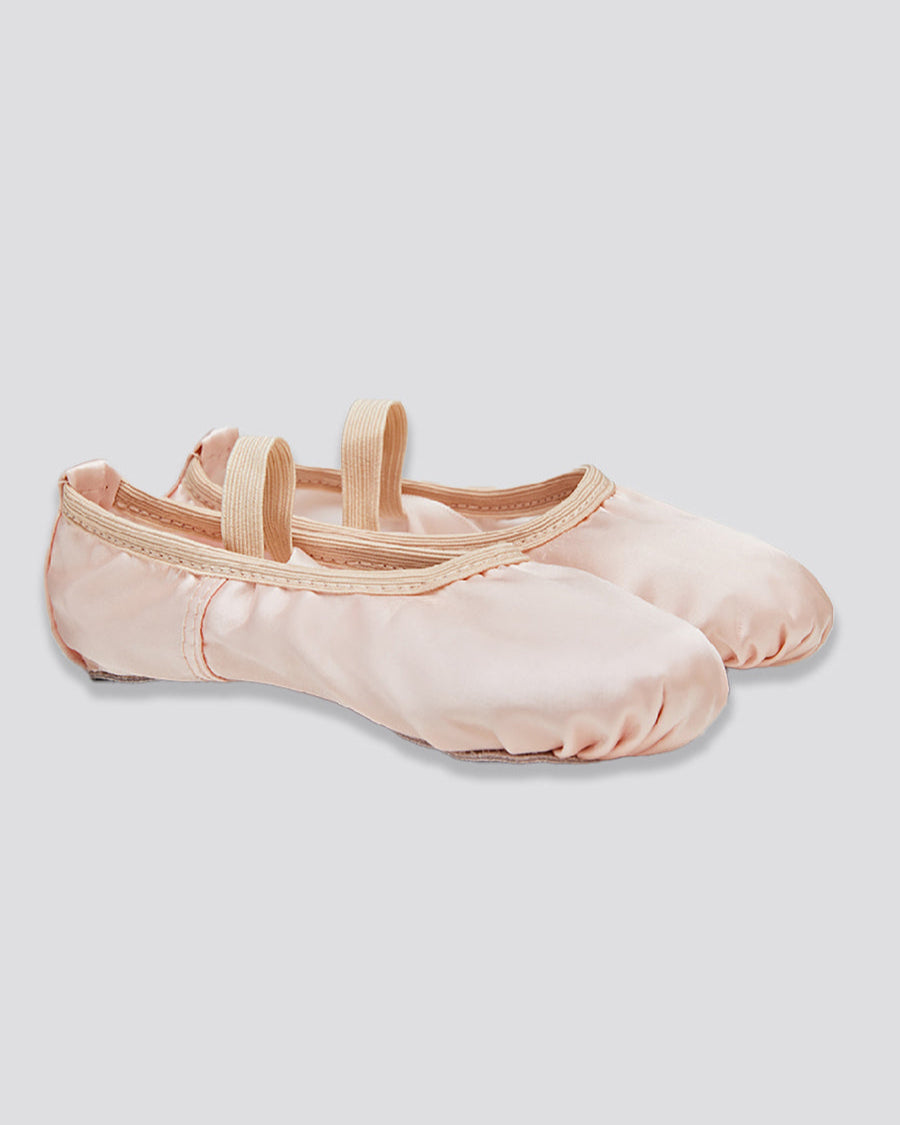
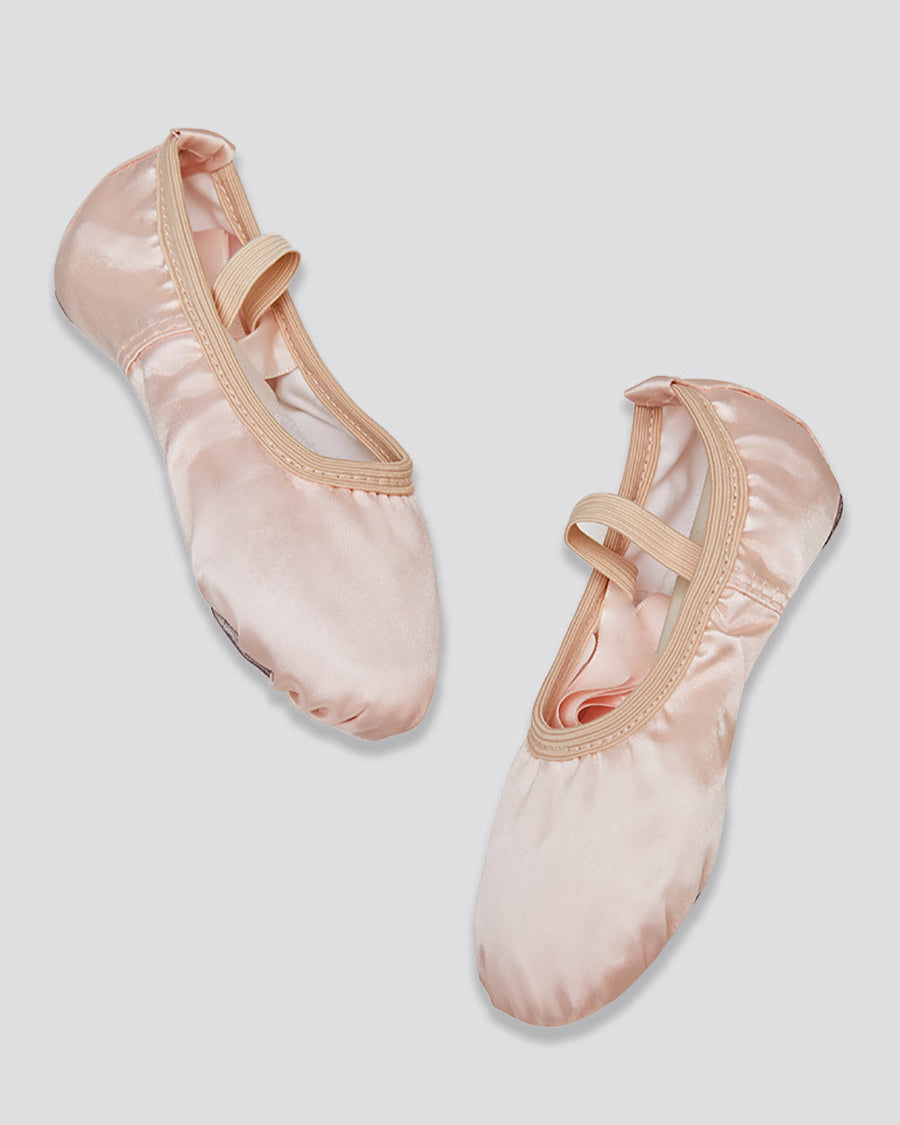
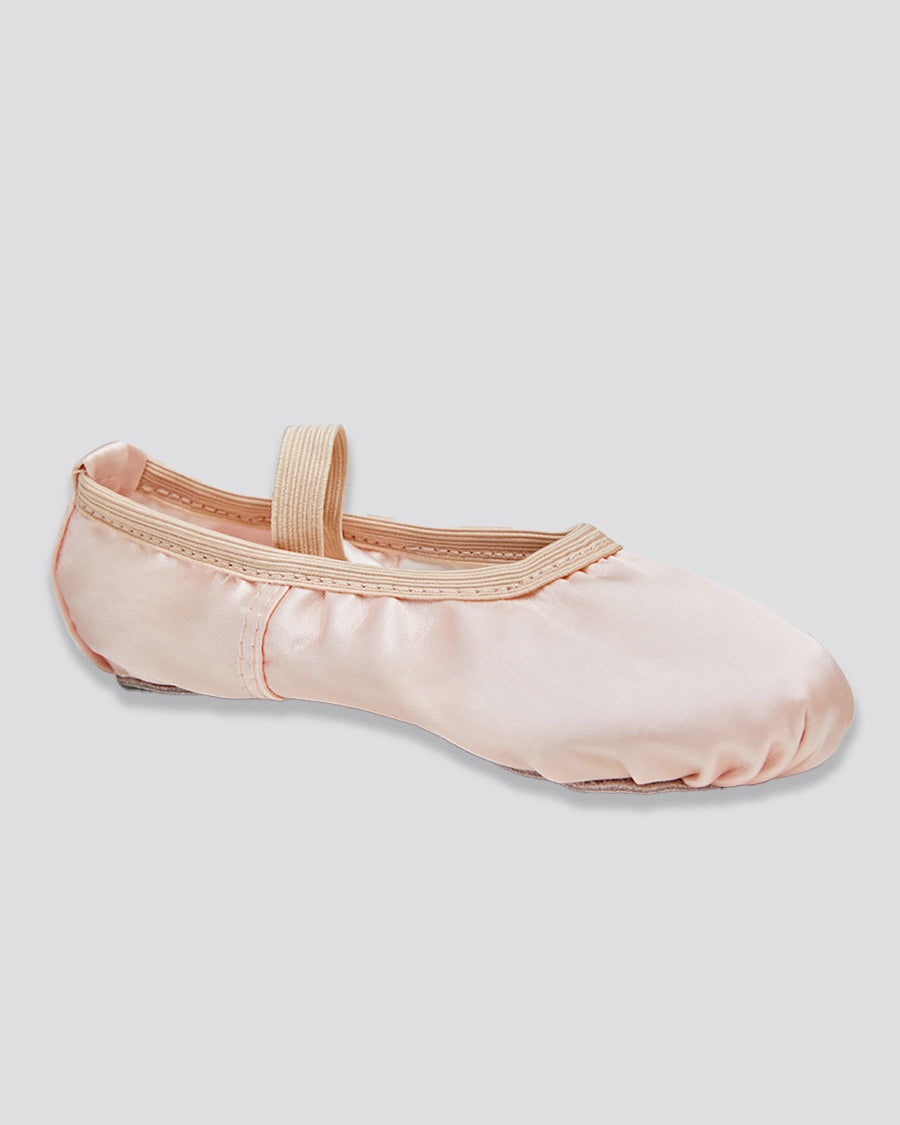
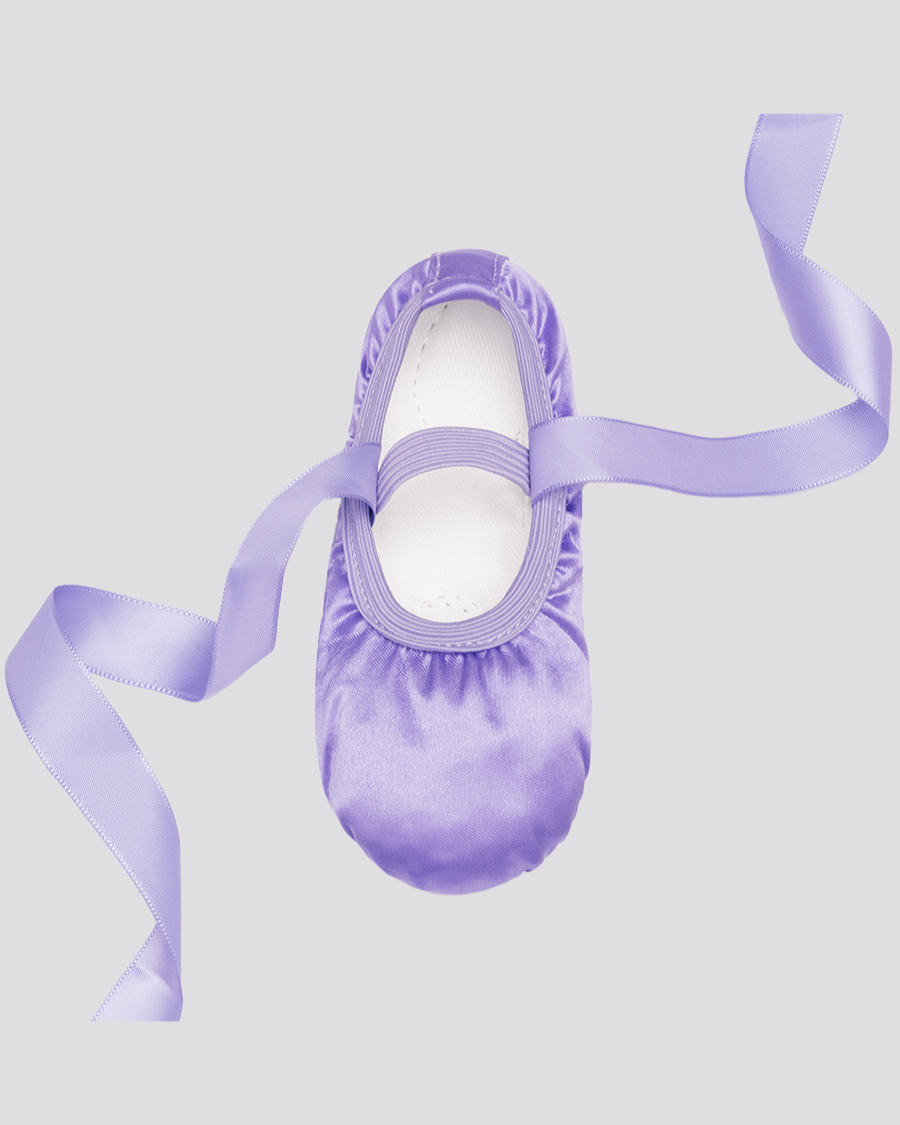
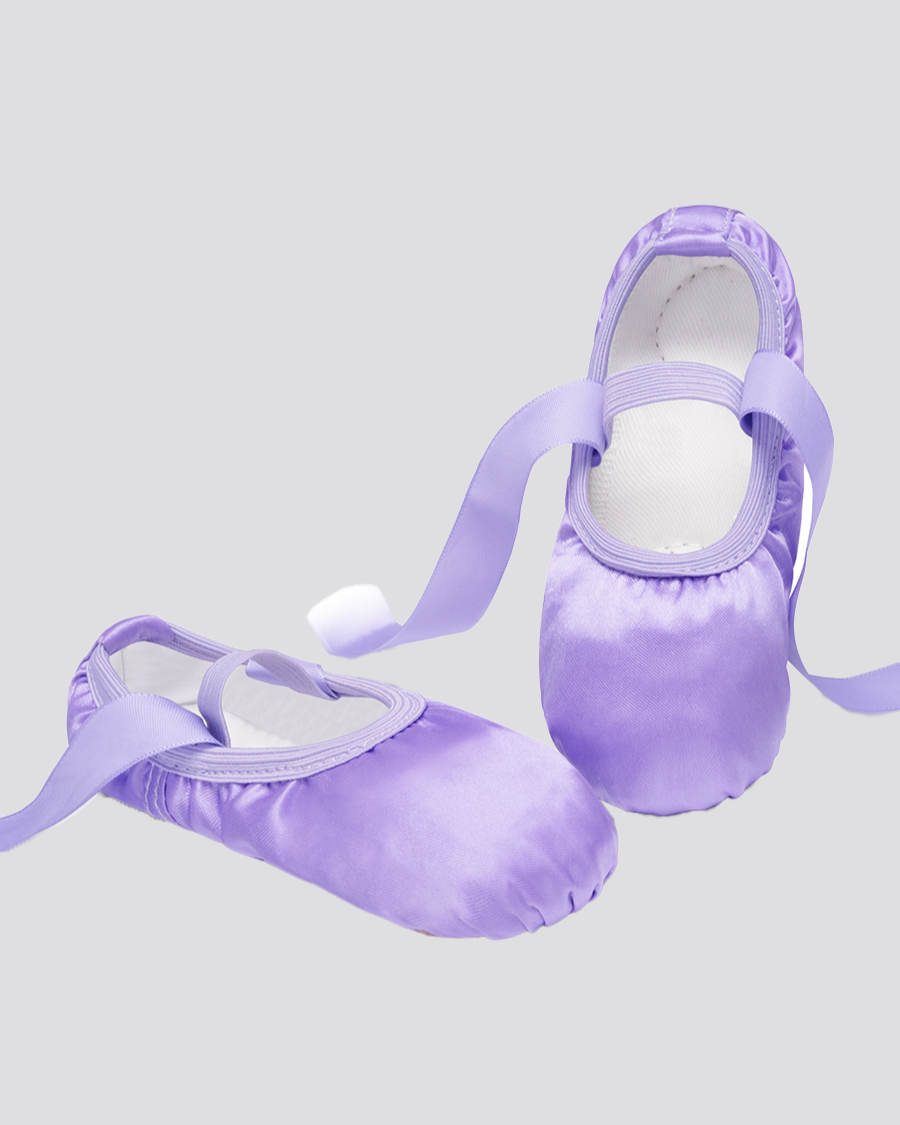
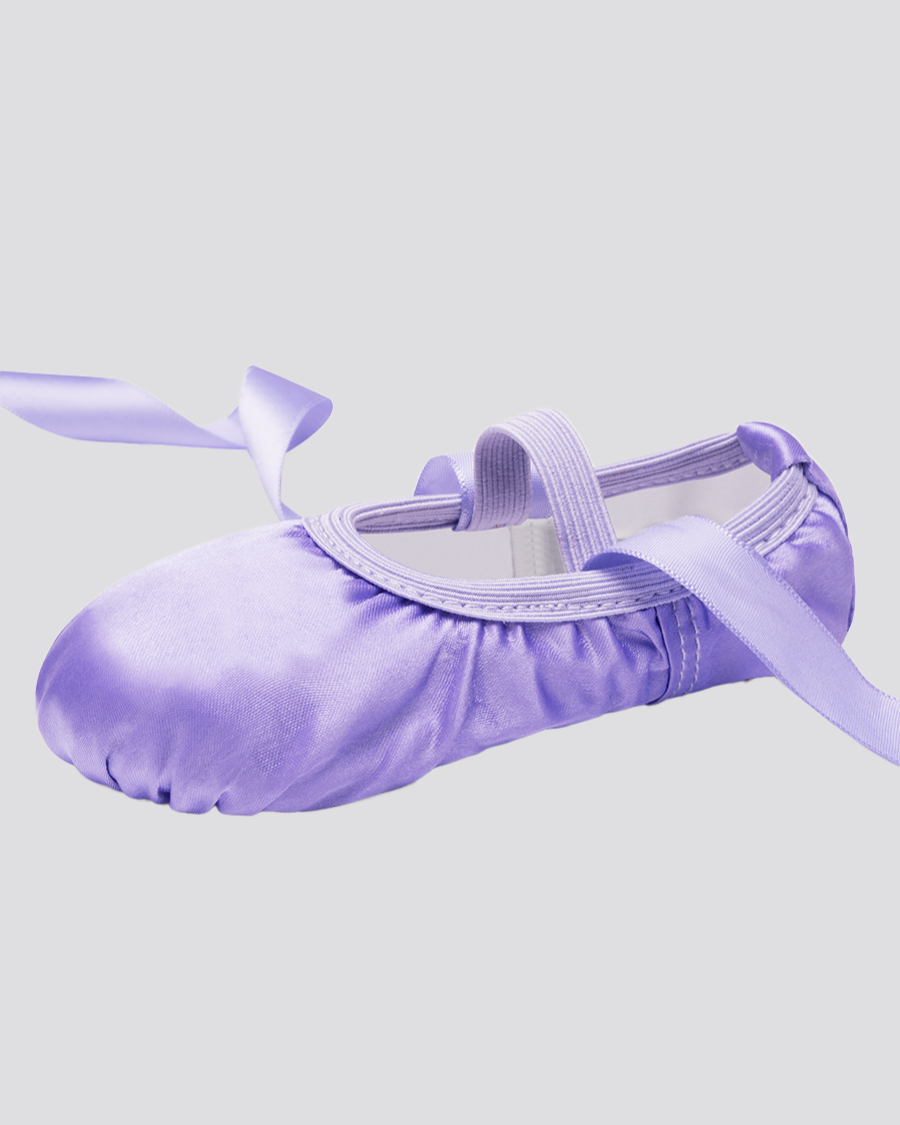
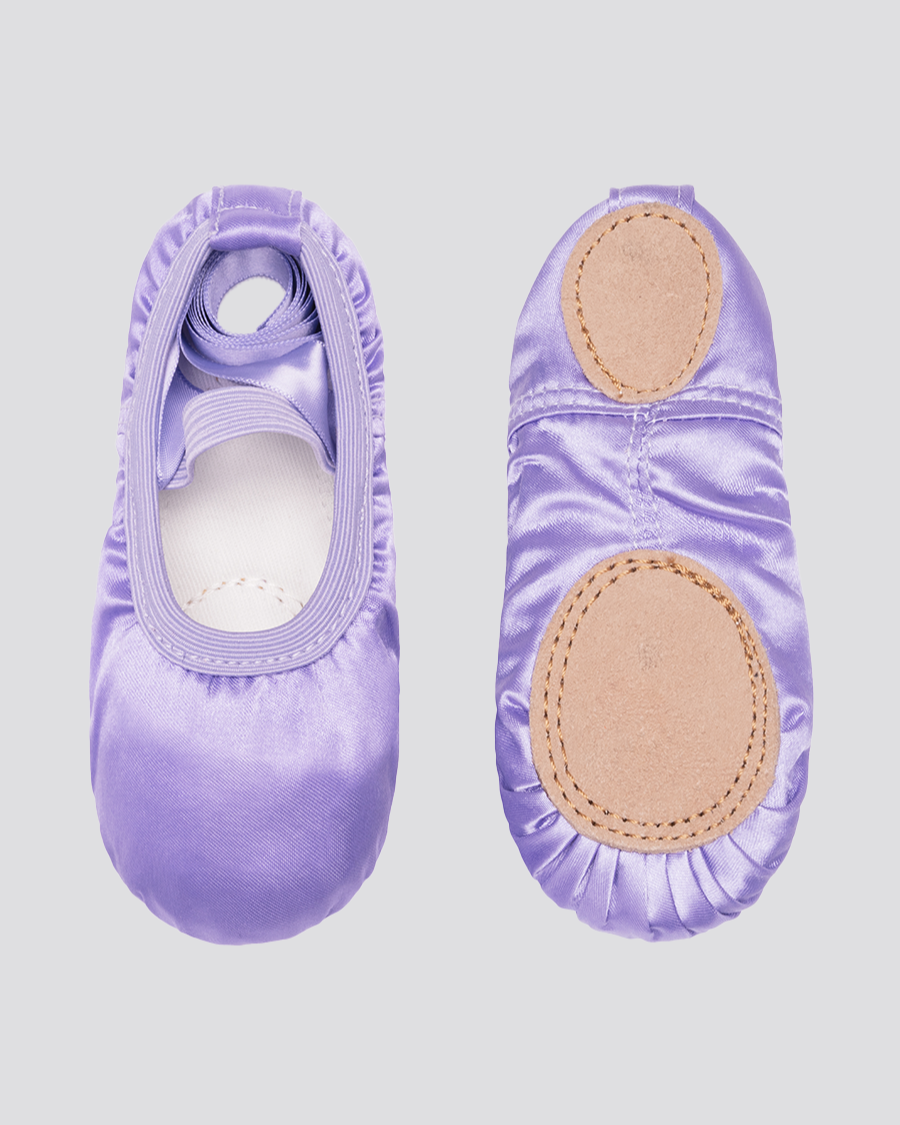
Nothing fancy: printer paper or a sketchbook, a pencil, an eraser, and something to color with (crayons, markers, or colored pencils). A black marker for tracing the final lines is a nice extra because it makes wobbly pencil work look bold and finished. If there is a real pair of girls' ballet shoes in the dance bag, set them on the table as a model; drawing from a real object is a habit many art teachers encourage early on.
How to draw ballet shoes in 8 steps
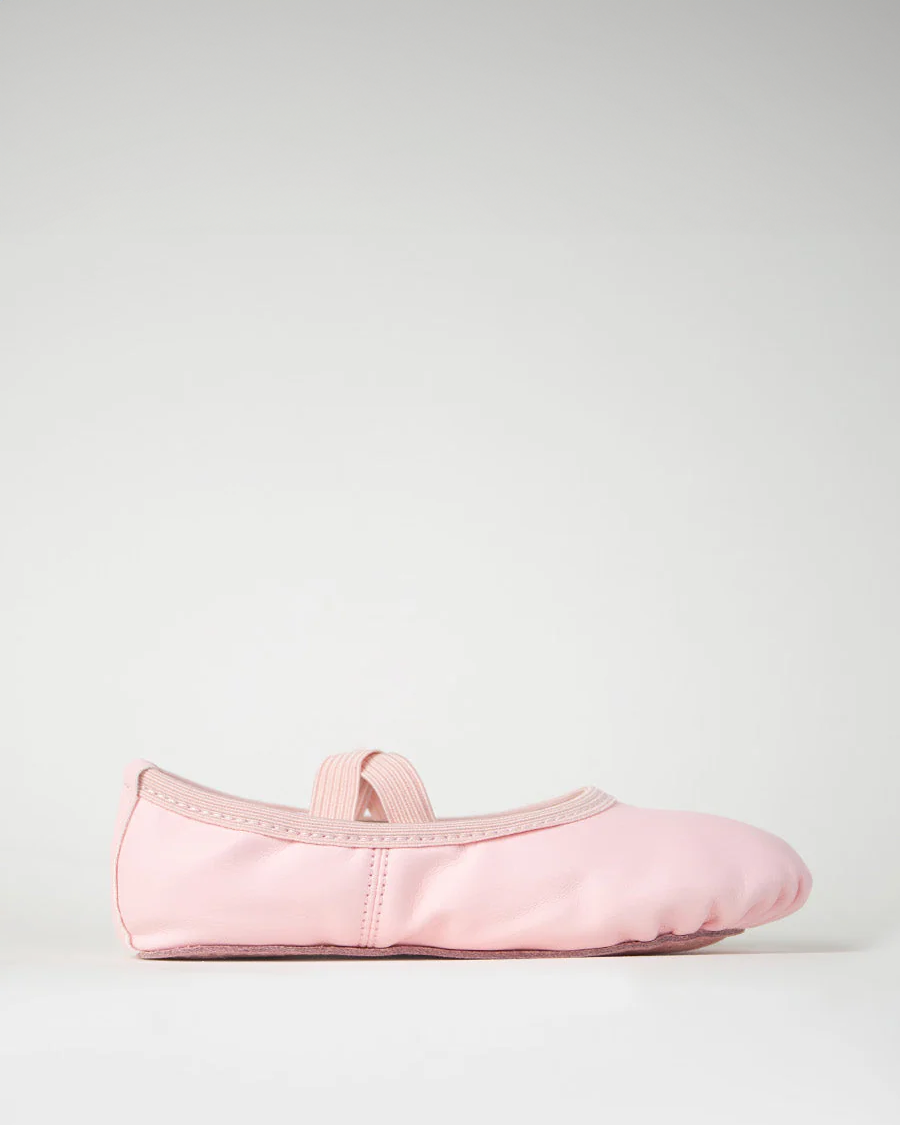
This makes the classic pair of pink slippers with ribbons, the version kids recognize from recital programs and sticker sheets. One action per step.
-
Step 1: In the middle of the paper, draw a tall oval about the size of your palm, tilted a little to the left, like a stretched egg leaning sideways.
-
Step 2: Starting a little to the right of the first oval, draw a second oval the same size that leans slightly right and overlaps the first one a little, like two balloons squeezed together; this second oval will be the front shoe.
-
Step 3: Inside the top half of each oval, draw a big letter U to make the opening where the foot slides in.
-
Step 4: At the bottom of each U, add a tiny bow (two small triangles touching at their points); real ballet slippers have a drawstring that ties there.
-
Step 5: From the top edge of each shoe, draw two long, gently wavy lines that travel up the paper and cross each other in a big X, like ribbons tied around an invisible ankle.
-
Step 6: Erase any lines trapped inside the overlap so the front shoe sits cleanly in front of the back one.
-
Step 7: Trace your favorite lines with a marker and erase the leftover pencil.
-
Step 8: Color the shoes pink, adding a slightly darker pink inside each U so the opening looks deep.
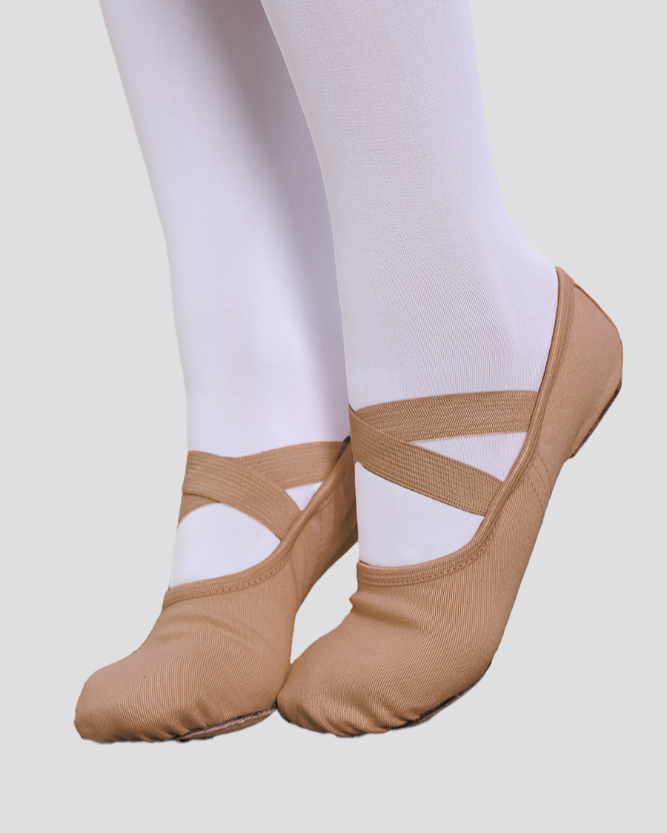
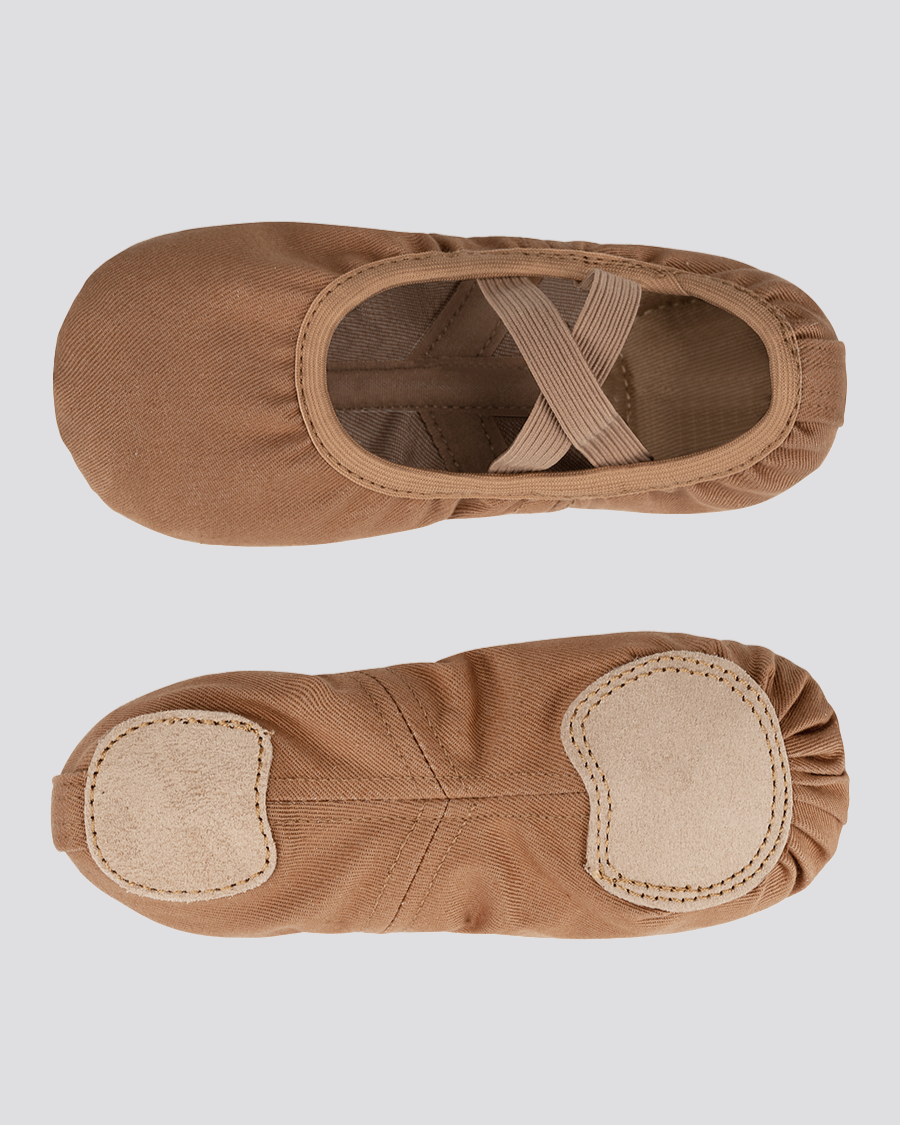
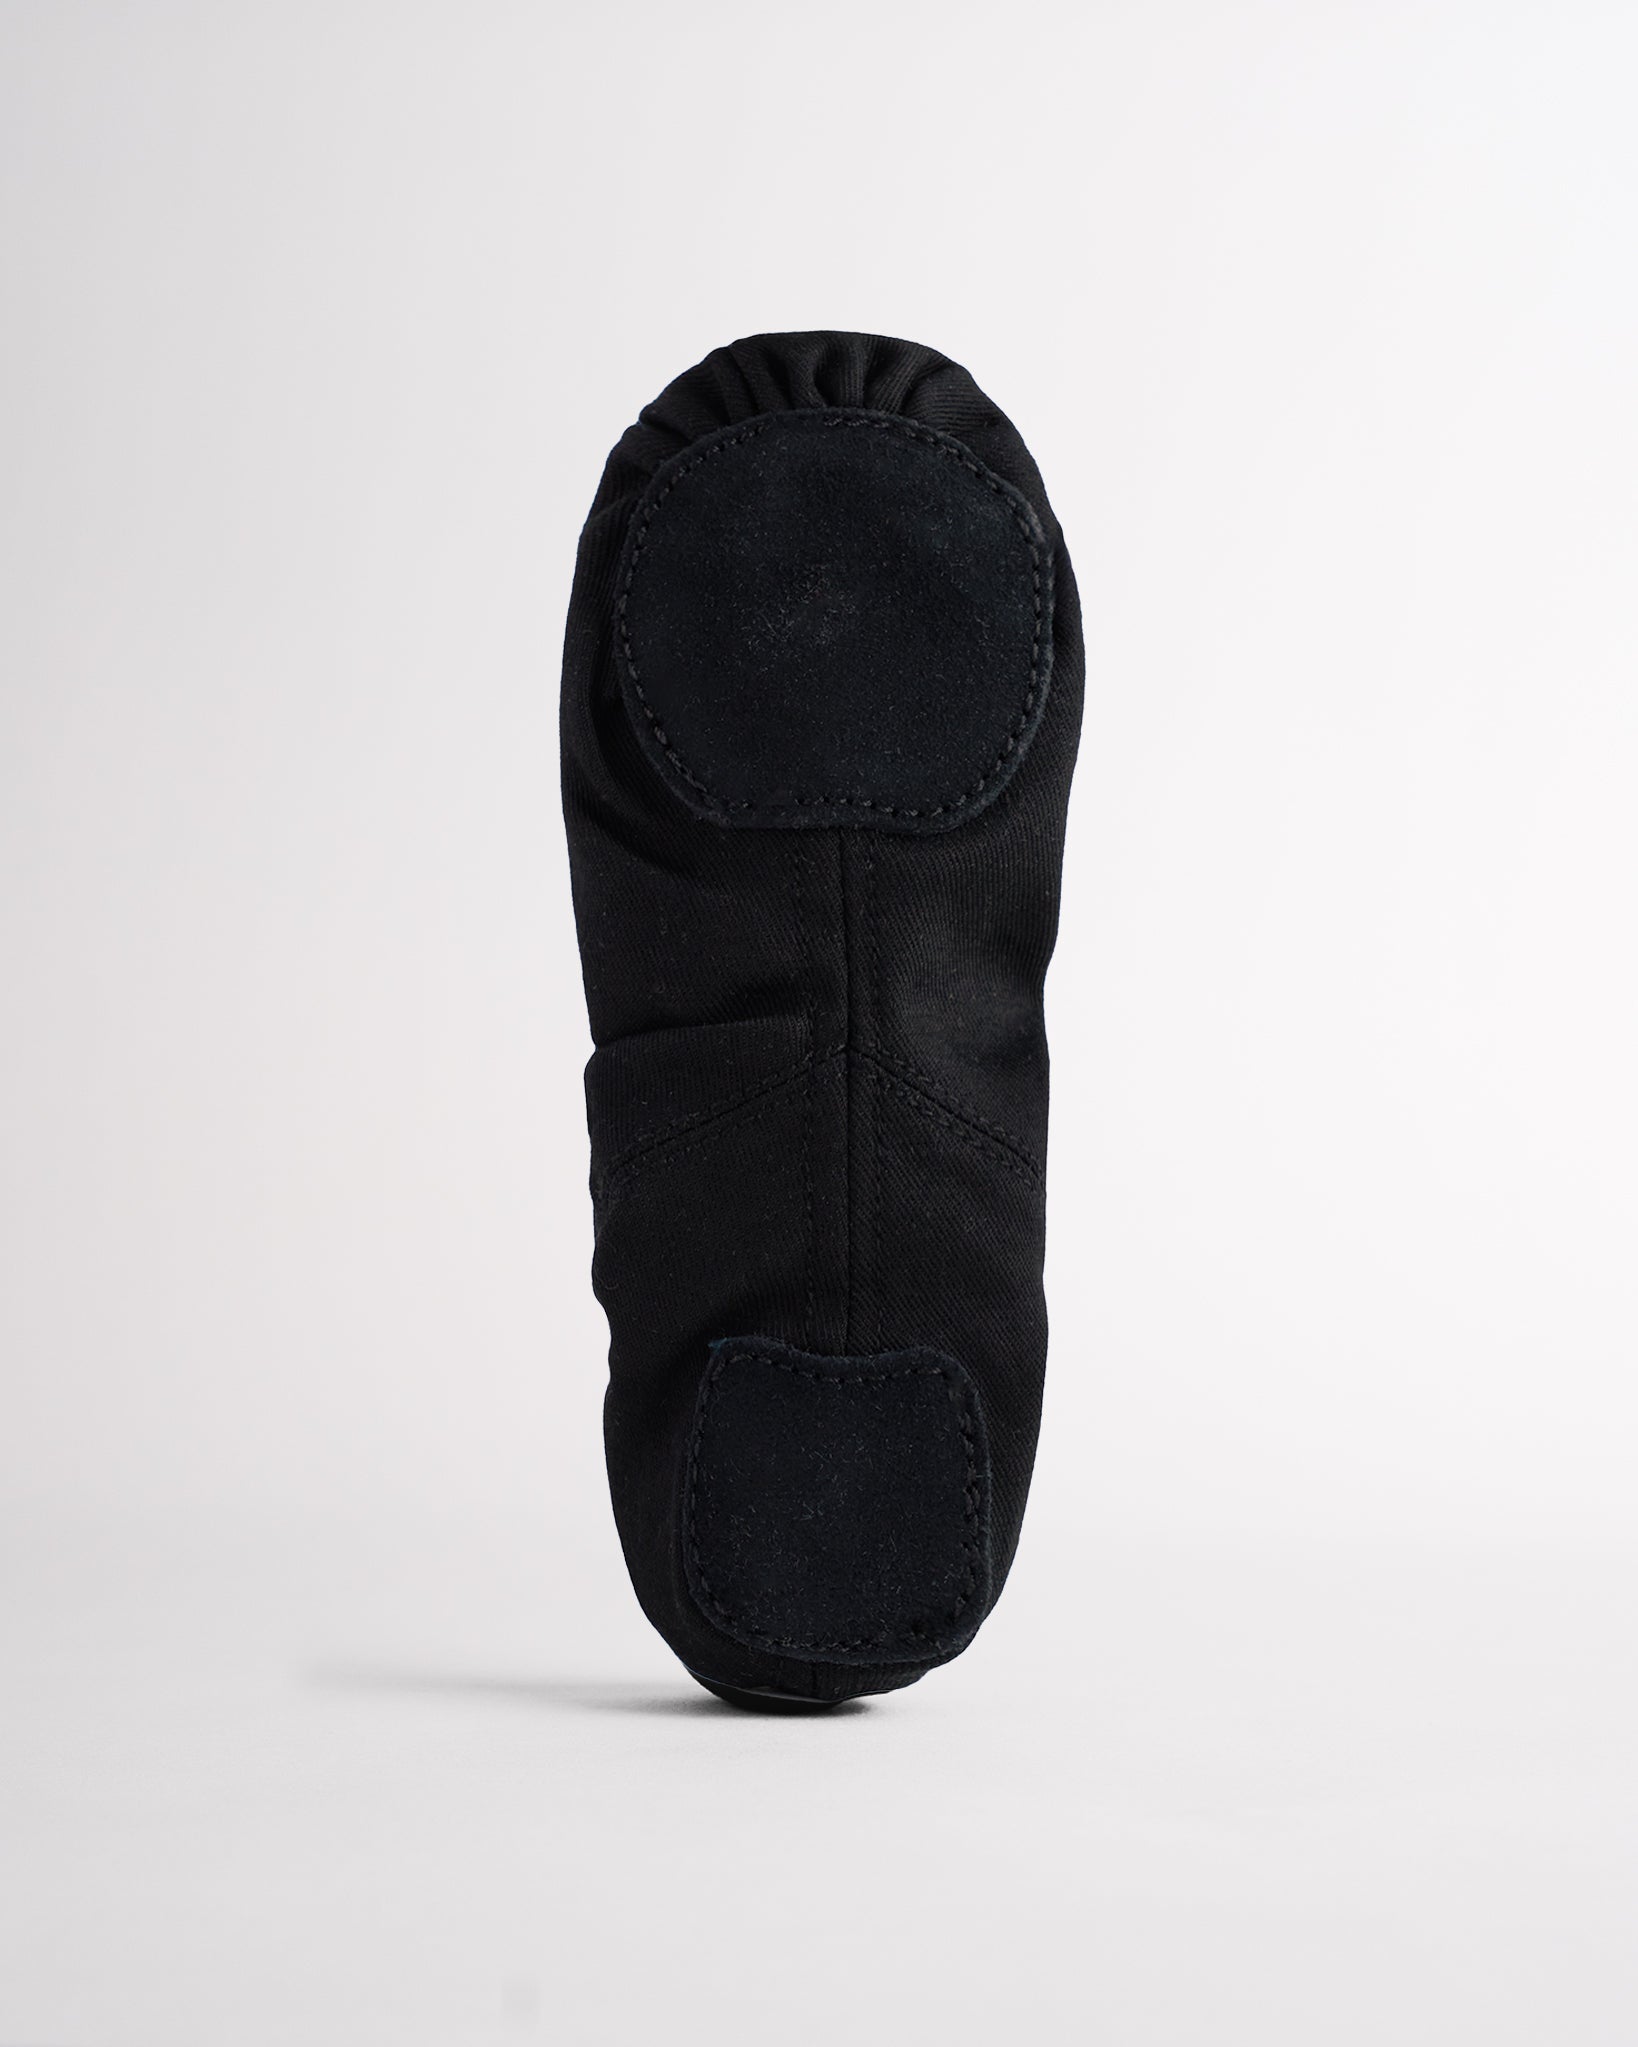
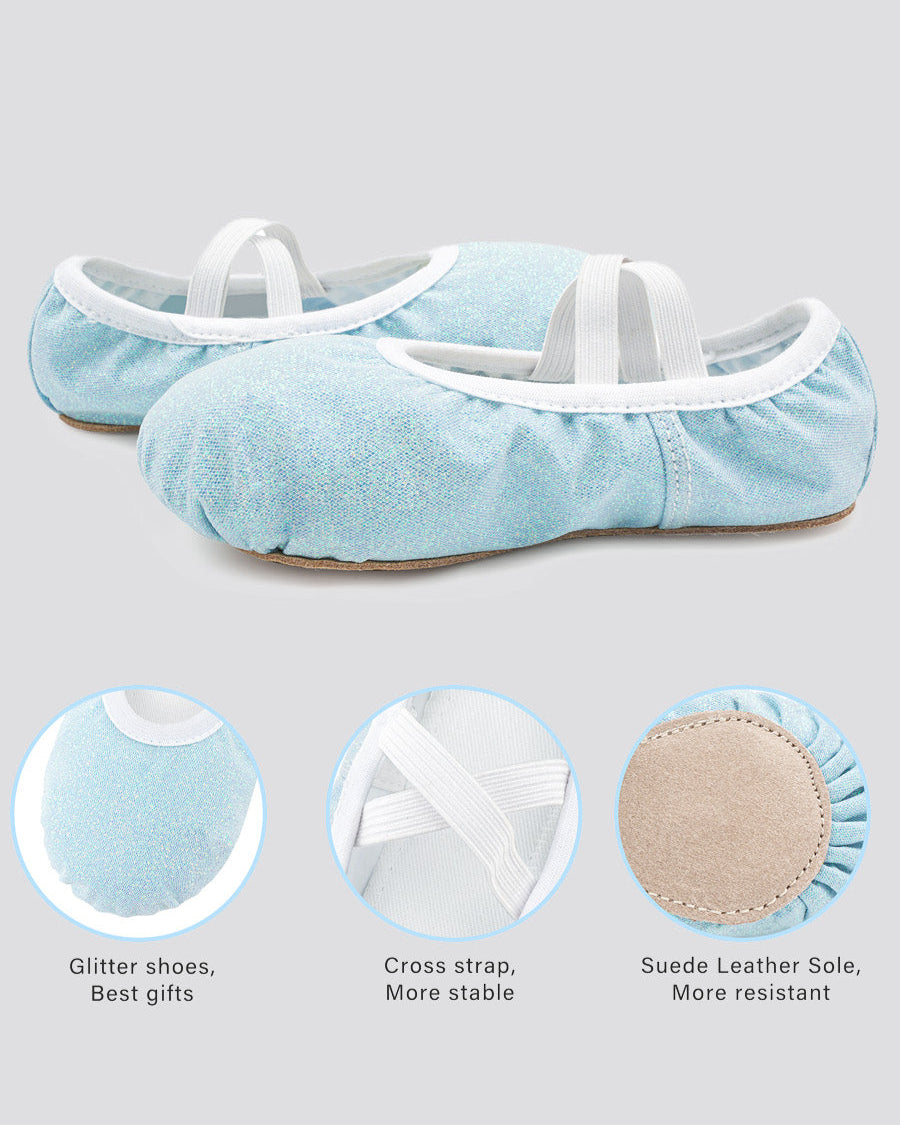
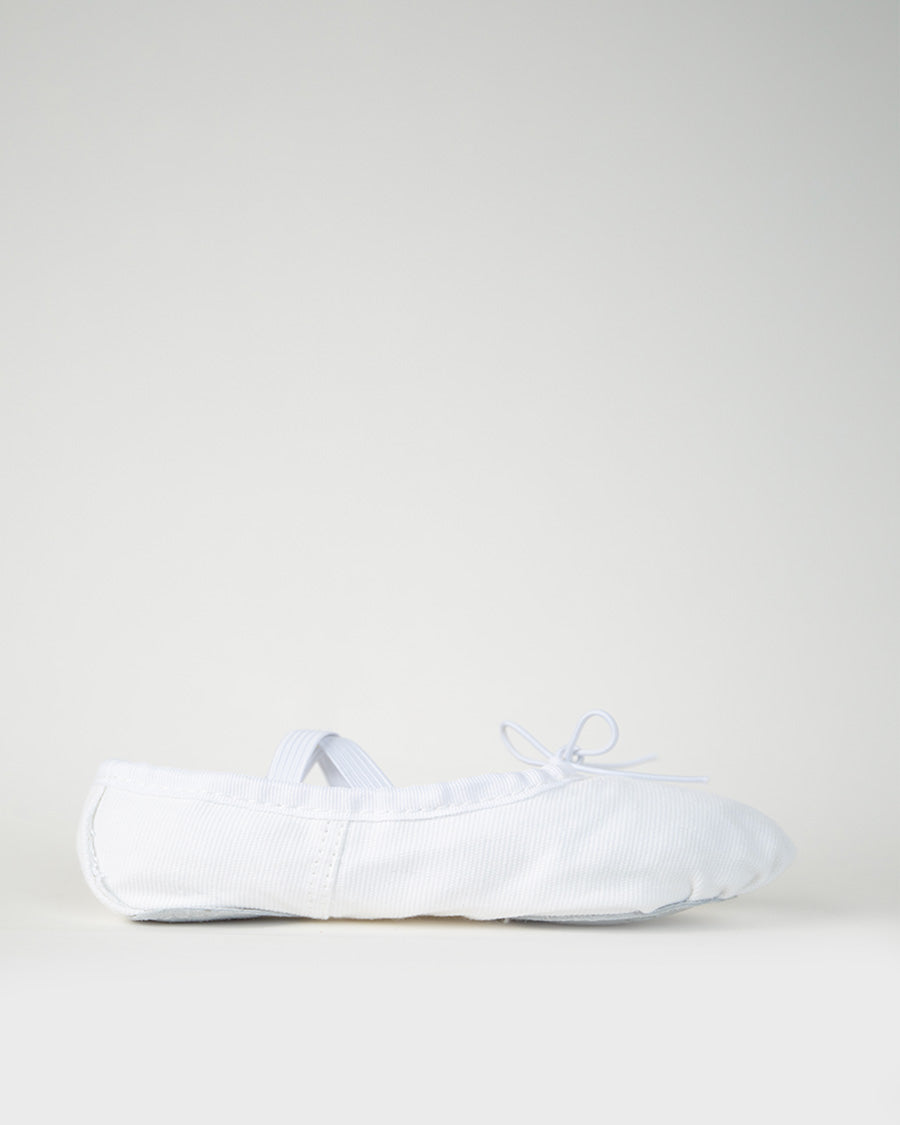
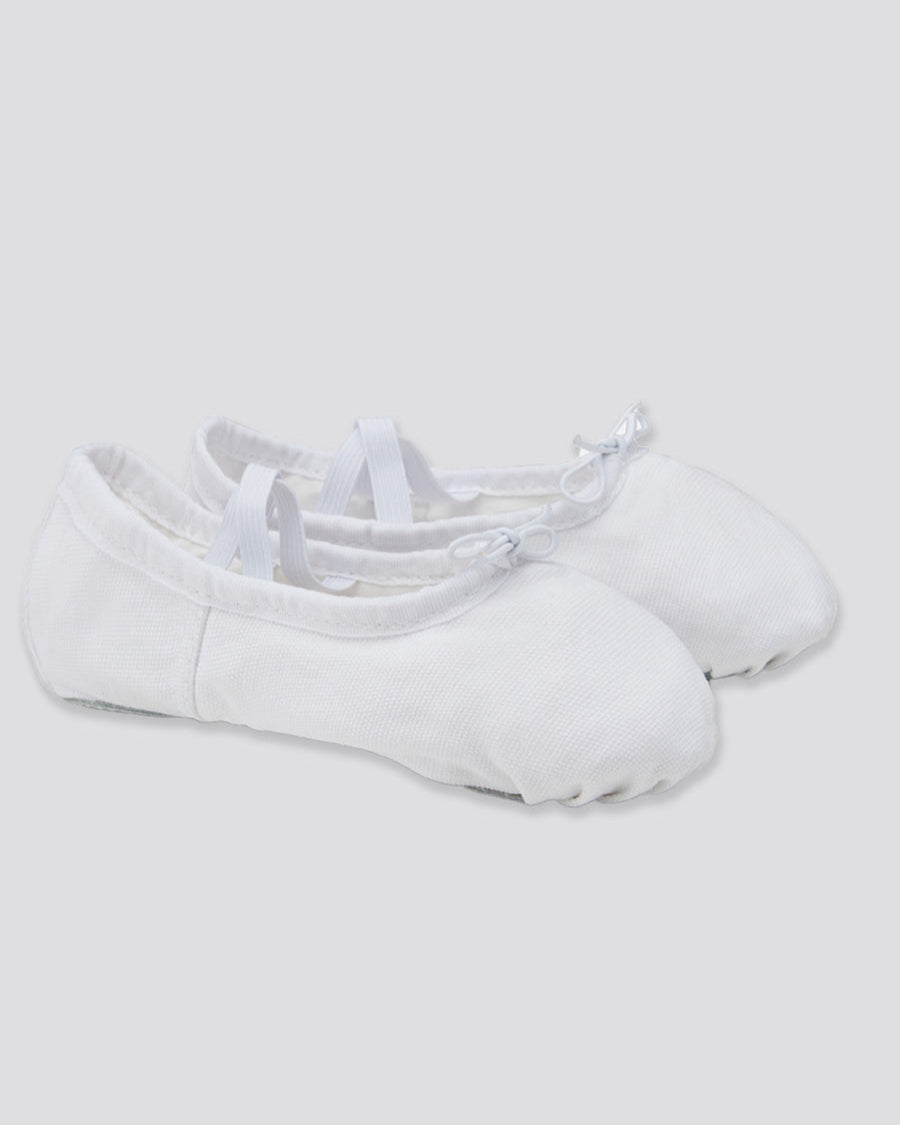
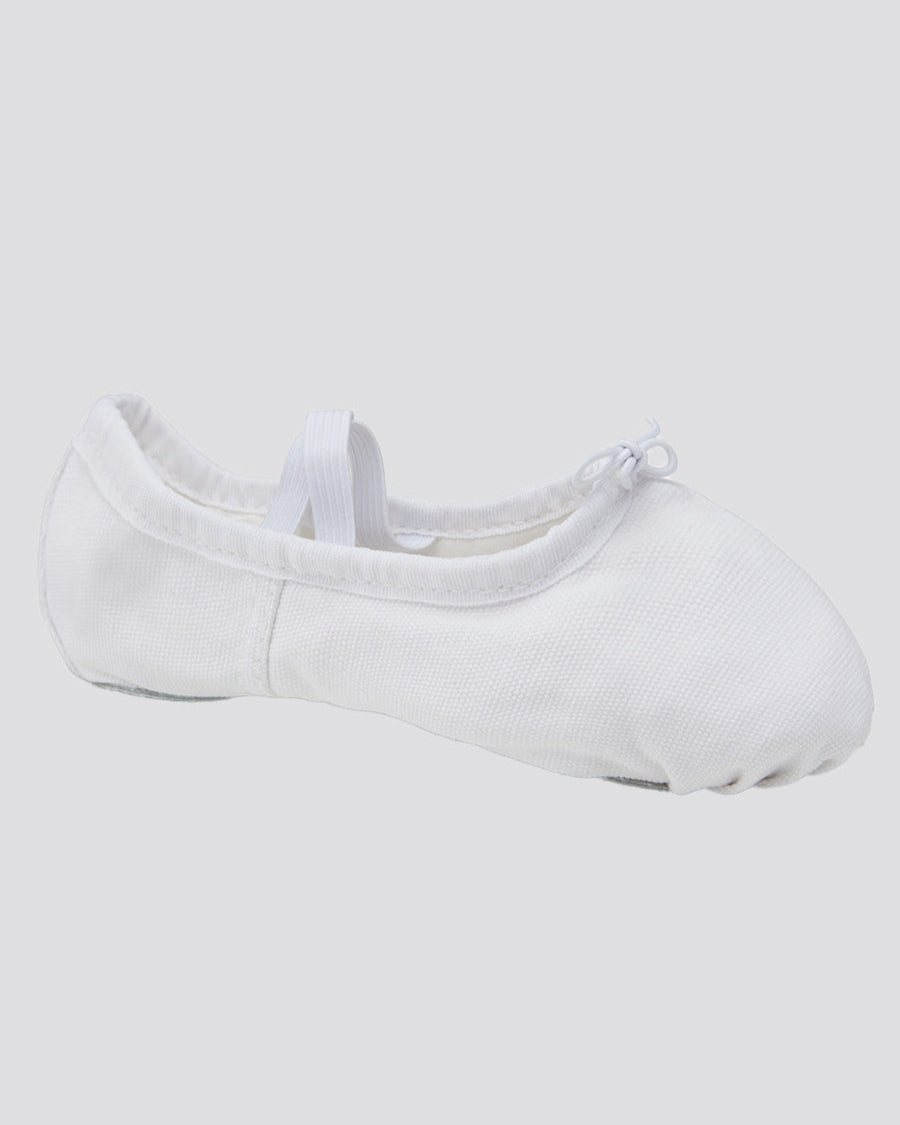
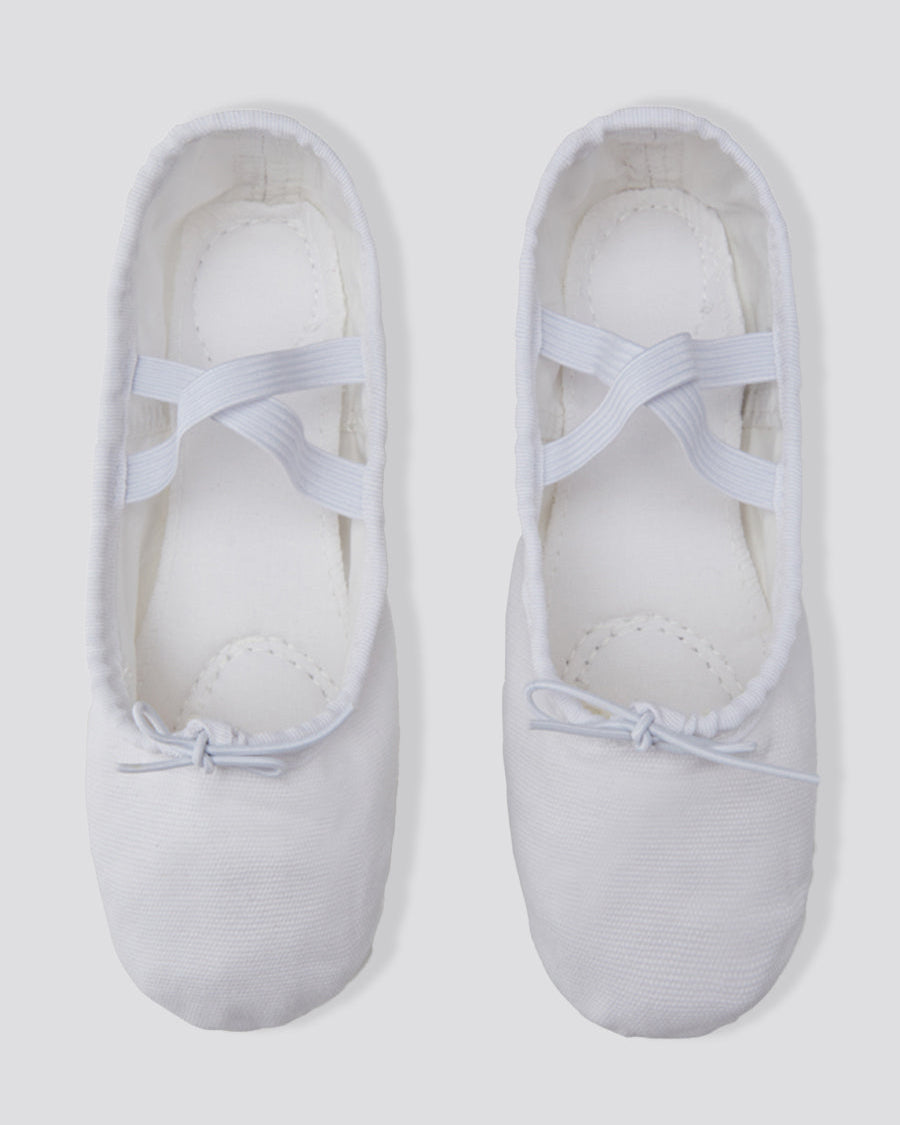
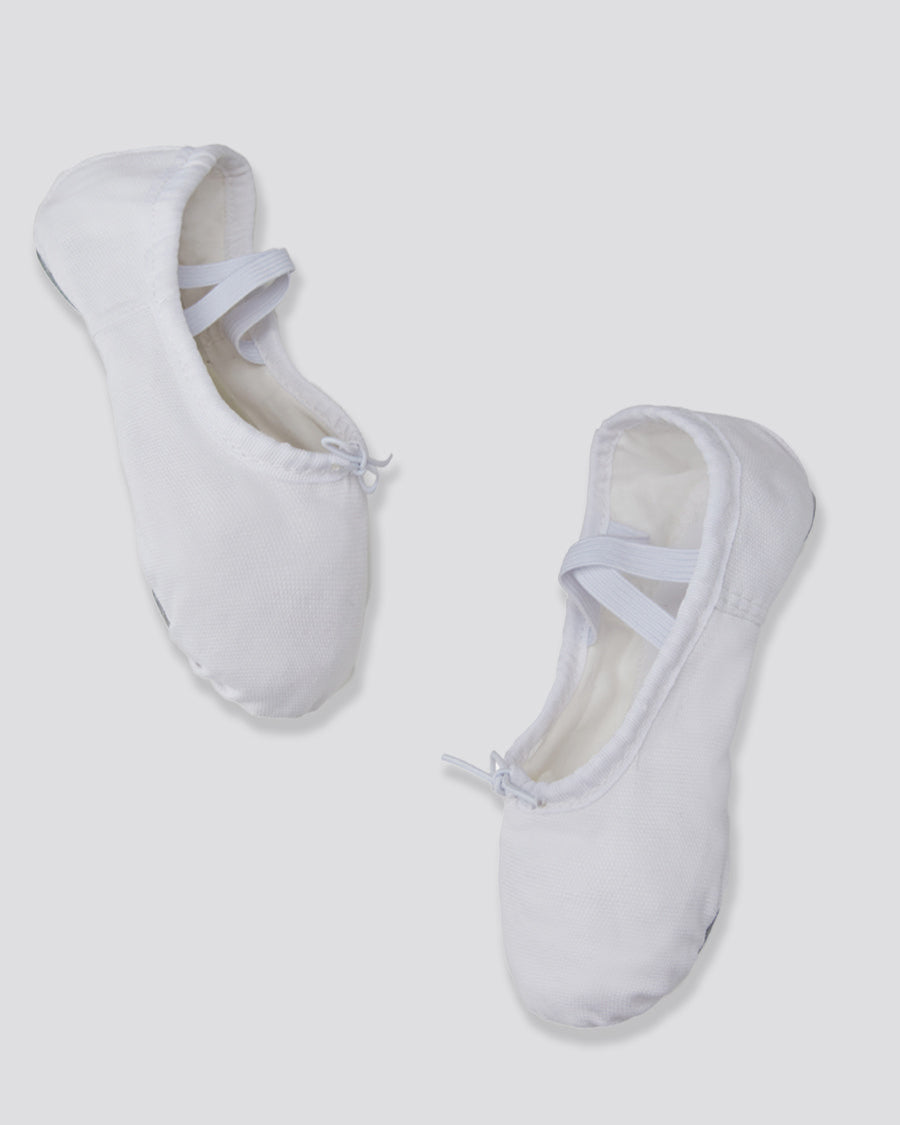
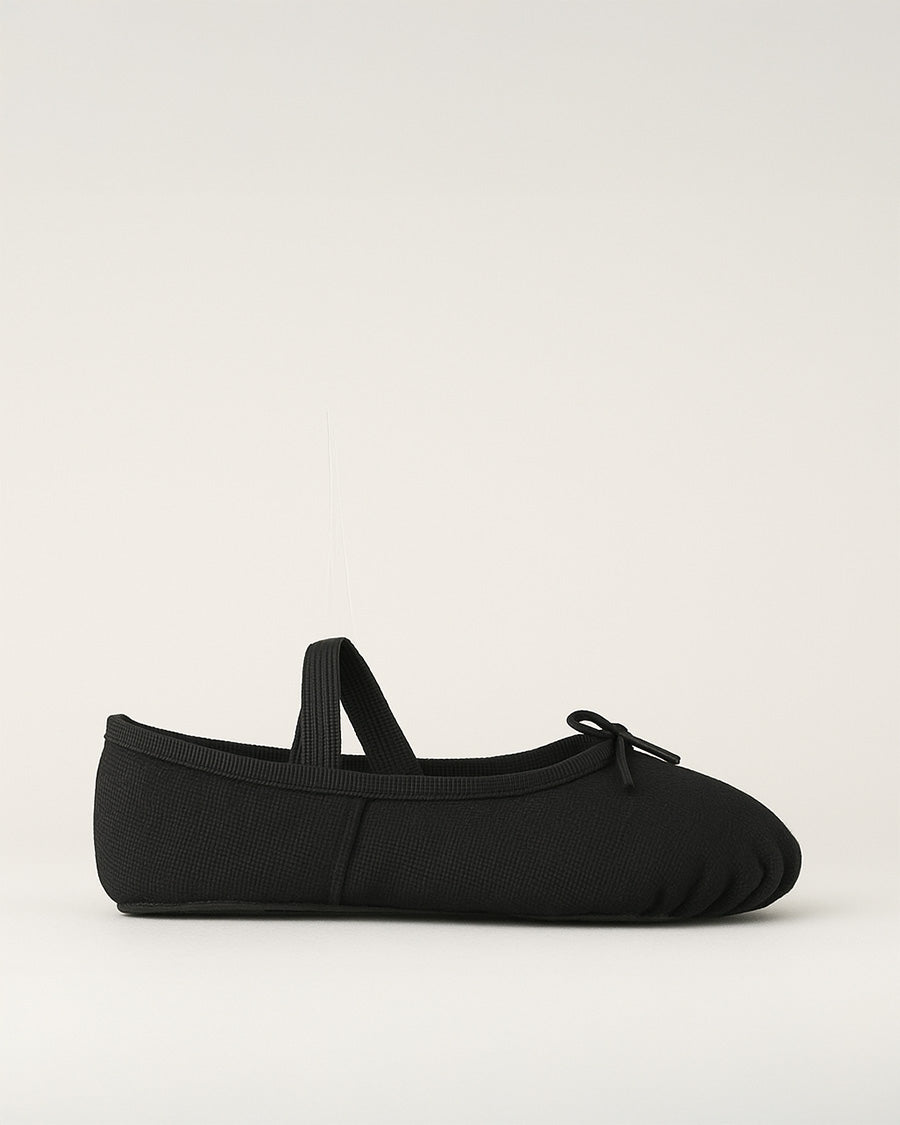
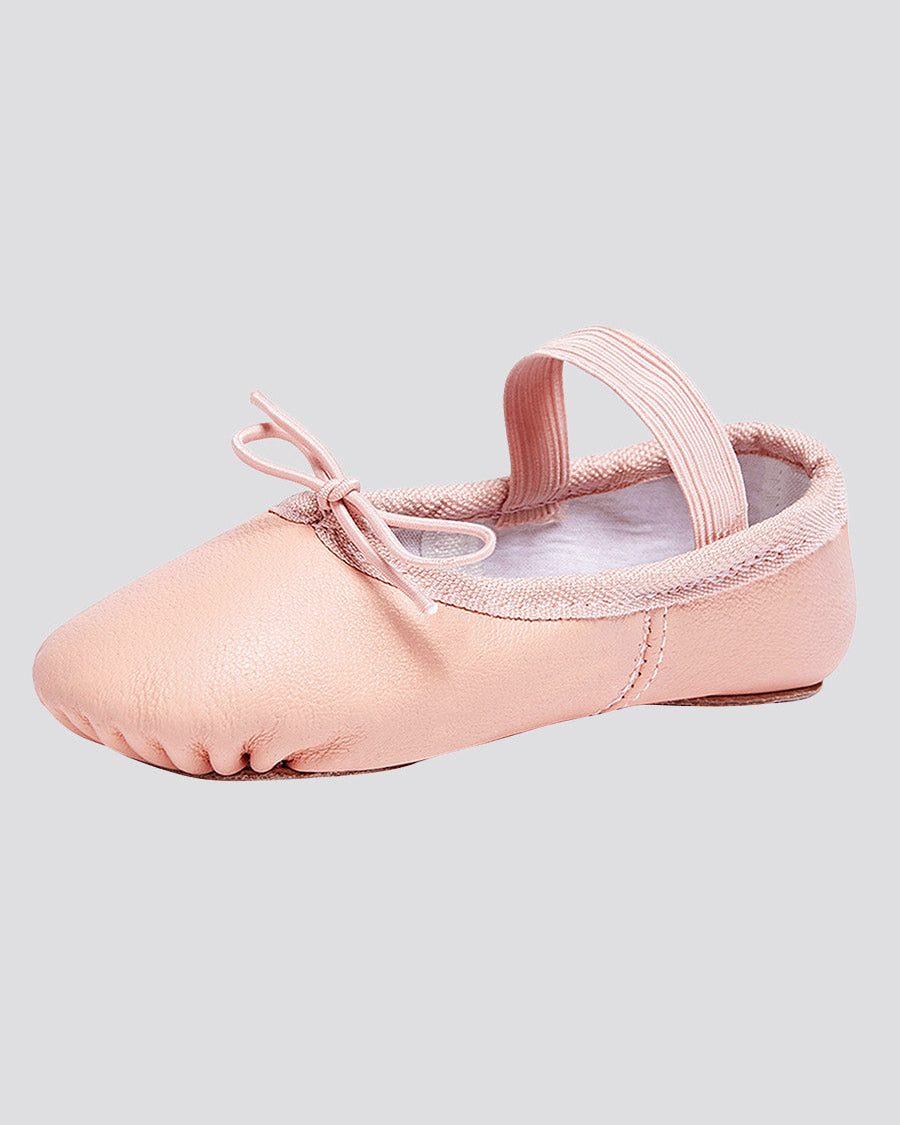
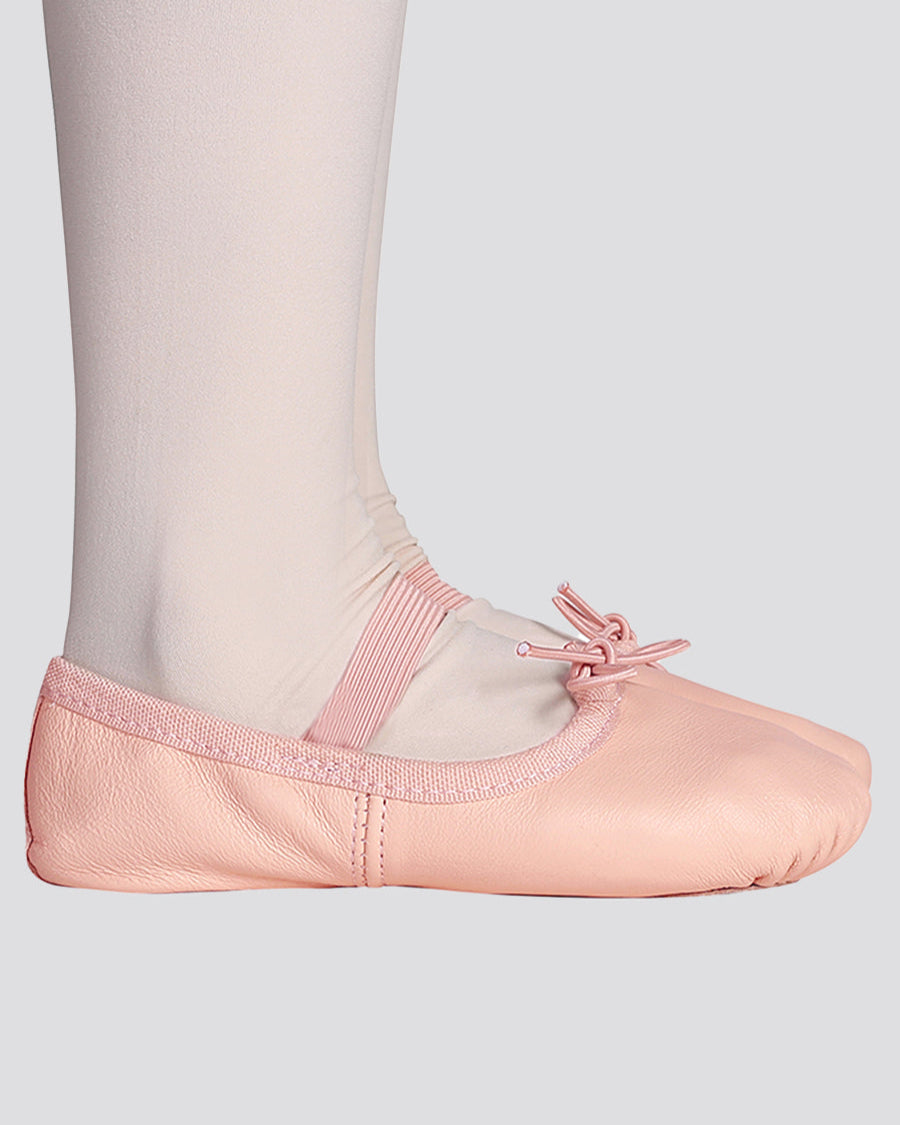
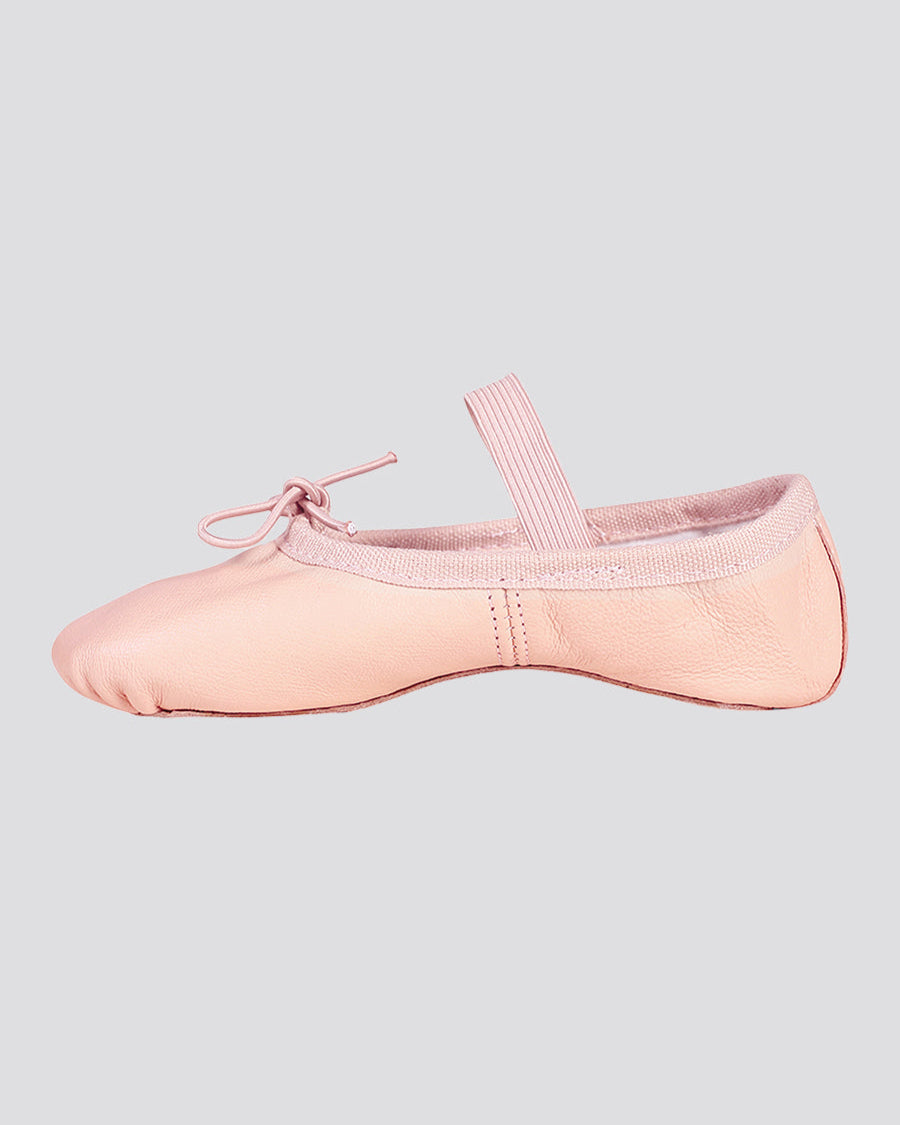
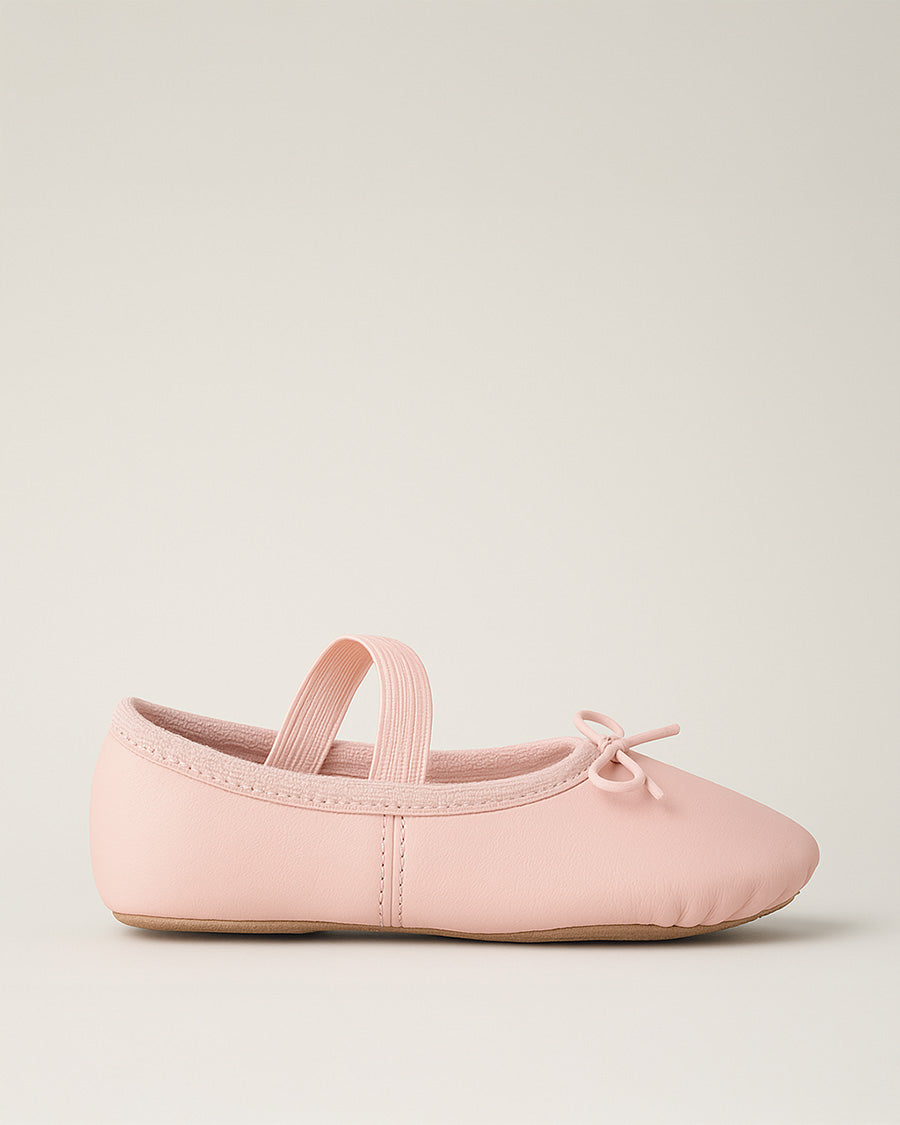
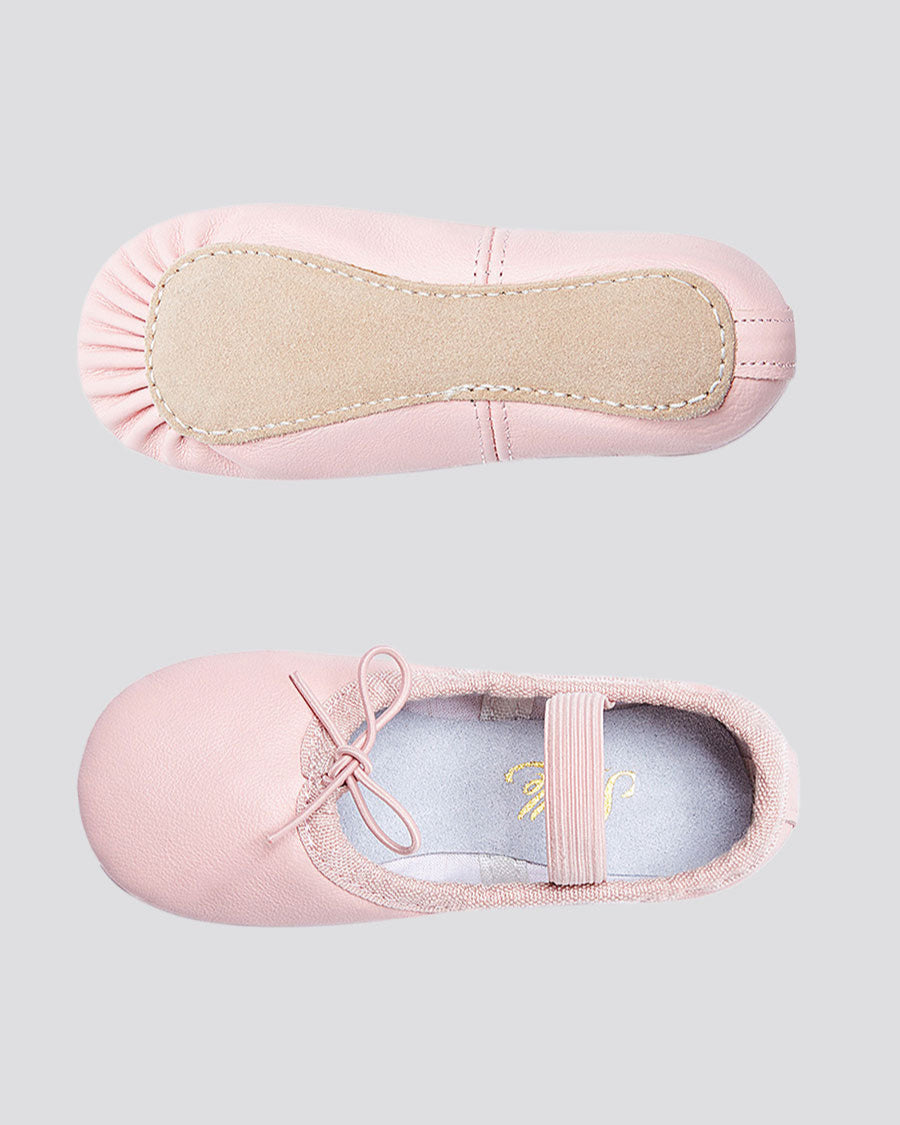
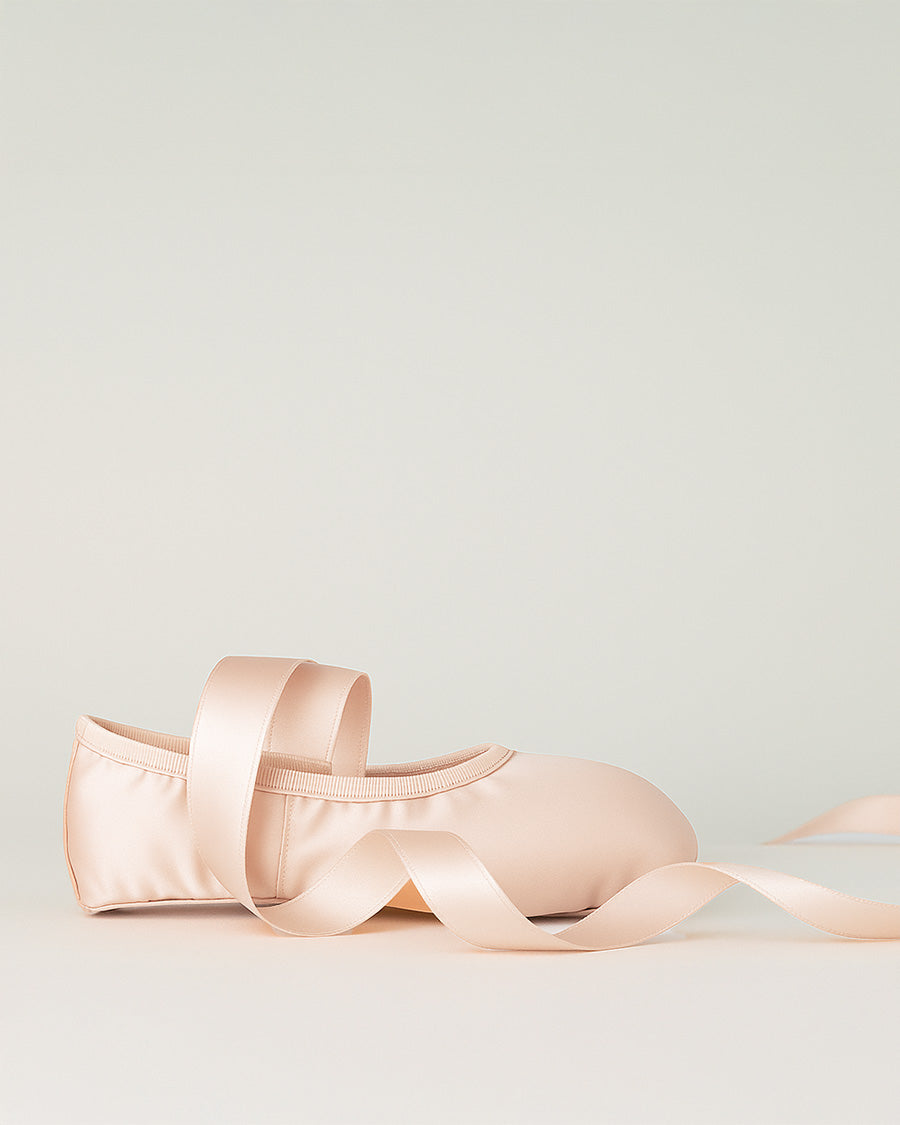
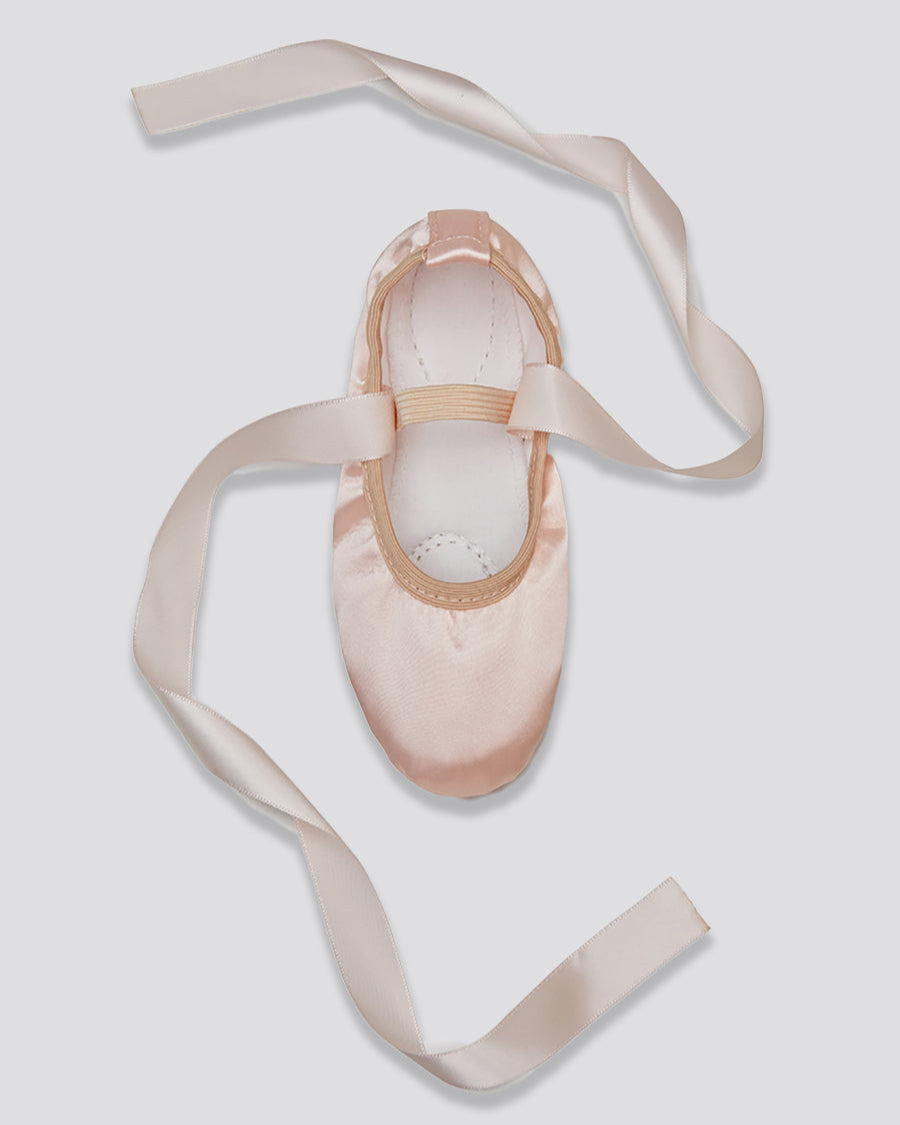
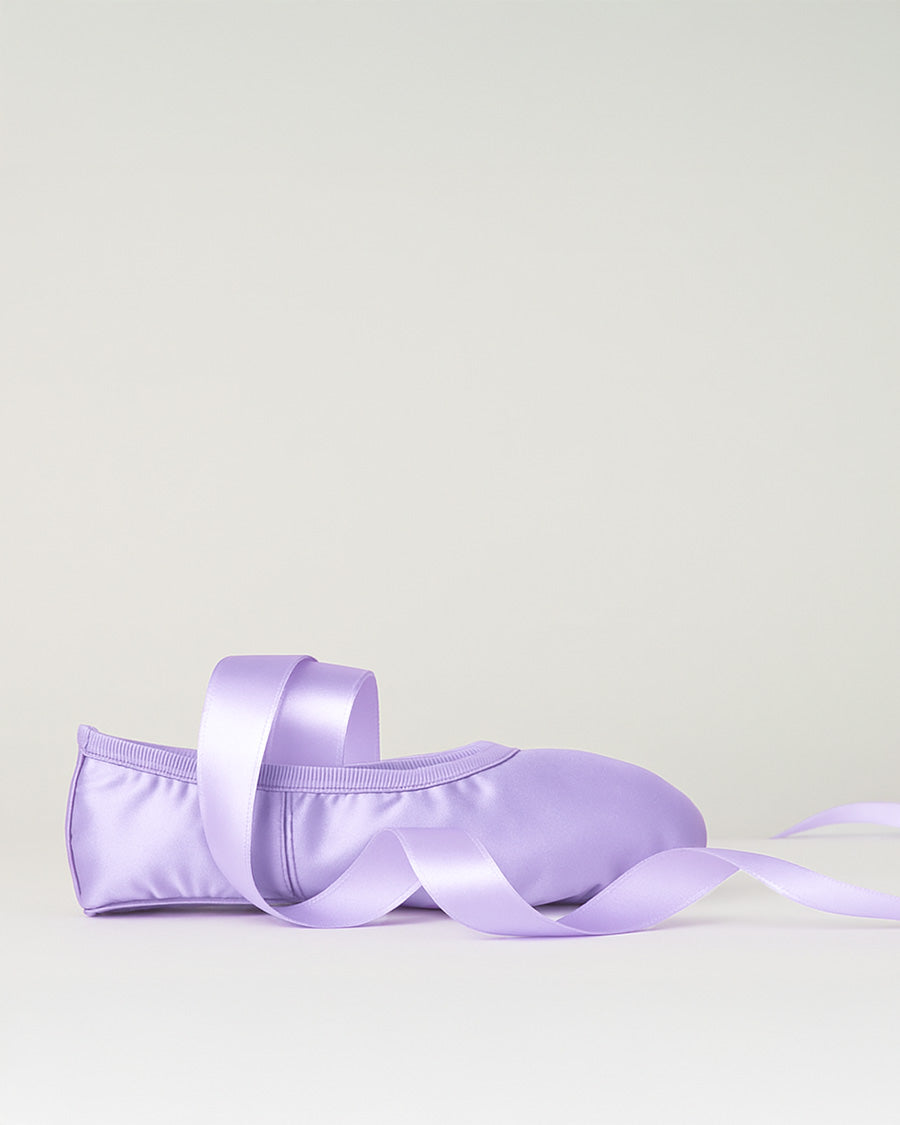
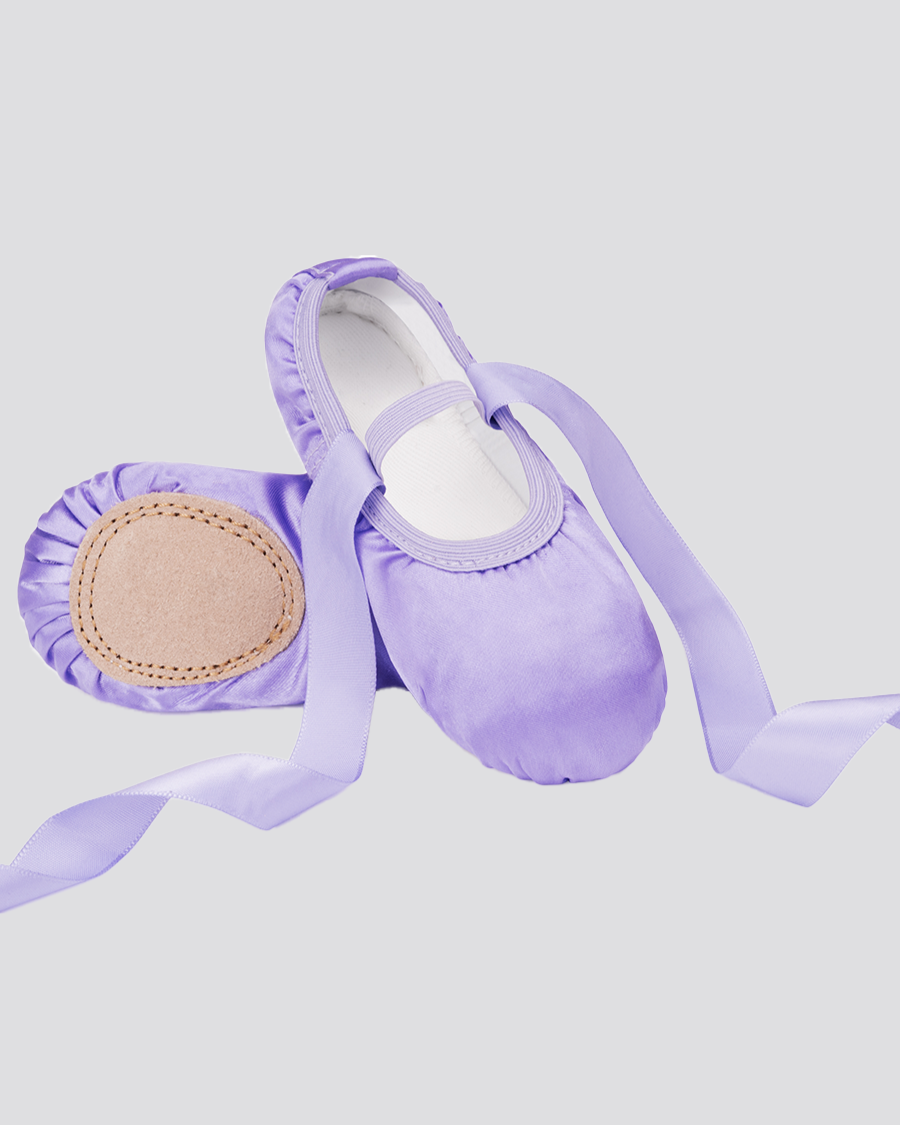
A quick note on accuracy, because dancers notice: soft ballet slippers like these usually close with elastic and a drawstring rather than long ribbons, while ribbons and a flat, boxy tip belong to pointe shoes, the kind worn for dancing en pointe, "on the tip of the toe", which dancers earn after years of training. Kids' drawings mix the two all the time, and honestly the ribbon version is prettier, so let it slide unless your child wants studio-level realism.

How to draw a ballet dancer in 9 steps
Now for the ballerina drawing for kids, built from shapes kids already know how to make: a circle, a triangle, and curved lines. This one suits kids who can already draw a basic person; younger siblings can color while big kids draw.
-
Step 1: A little above the middle of the paper, draw a circle for the head, about the size of a quarter.
-
Step 2: On top of the head, draw a small swirl like a cinnamon roll for the ballet bun.
-
Step 3: From the sides of the head, draw two short lines down to about one head-height below the head, then connect them with a curved line at the waist, making a small fitted top that narrows like a leotard.
-
Step 4: At the waist, draw a wide, flat triangle with its points sticking straight out to the sides; this is the tutu.
-
Step 5: For the arms, draw two curved lines that start at the shoulders and rise above the head until the fingertips nearly touch, framing the head like a crown (this is a real ballet arm position, so it instantly reads as "ballerina").
-
Step 6: From under the tutu, draw one straight, thin leg going down; that is the standing leg.
-
Step 7: Draw the second leg bent out to the side so its pointed toe touches the standing leg near the knee, making a little triangle of empty space (dancers call this shape passé).
-
Step 8: Add tiny slippers shaped like bananas pointing down, dot eyes, a smile, and a bow on the bun.
-
Step 9: Trace and erase like before.
Make her look like she is really dancing
Two easy upgrades create movement. First, swap Step 7 for an arabesque: instead of the bent leg, draw the second leg extended straight out behind the dancer, level with the tutu. That matches the real position, which Britannica describes as the body supported on one leg while the other extends behind with a straight knee, and it immediately turns a standing figure into a dancing one. Second, add three or four short curved "swoosh" lines near the toes and skirt, the comic-book trick for showing motion.
For the tutu, kids can choose their style: the short classical tutu that sticks straight out (the flat triangle above), or the longer, floaty Romantic style that falls toward the ankles, which draws as a bell shape instead of a triangle. Zigzag the bottom edge of either one and the skirt immediately looks layered and fluffy.
After the drawing: five ways to keep it going
The drawing is really the first half of the activity. A few favorite extensions from craft afternoons:
-
Color a whole cast. Draw three or four dancers on one page in different poses, then color each tutu a different shade for a recital lineup.
-
Make a card for the dance teacher. Fold cardstock, glue or redraw the ballet shoes on the front, and let your child write the thank-you inside; handmade cards tend to be the gifts teachers hold onto, and there are more ideas like this in our dance teacher gifts guide.
-
Start a ballet art gallery. Tape drawings to a bedroom door or a string with clothespins and add one after each class.
-
Try famous-art inspiration. Show your child Degas's beloved sculpture Little Dancer Aged Fourteen, a young ballet student wearing a real fabric tutu, slippers, and a silk hair ribbon, then let them add a fabric scrap or ribbon to their own drawing the same way.
-
Pair it with a story. A drawing session flows naturally into reading; our roundup of 9 great ballet books for kids has picture books that double as drawing inspiration.
If your kid tears through these and wants more projects, we keep bigger lists of creative art ideas for kids and crafts to do together that go well beyond ballet.

FAQ
How do you draw pointe shoes instead of flat ballet slippers?
Start with the same two ovals, then square off the bottom tip of each oval with a short, flat line, since pointe shoes have a stiff, flattened box at the toe that lets dancers balance on it. Keep the crossed ribbons from Step 5, because pointe shoes genuinely tie with ribbons around the ankle. Standing the shoes up vertically on their flat tips, instead of laying them at an angle, is the strongest visual clue that they are pointe shoes.
How do you draw a tutu that looks fluffy?
Draw the basic triangle or bell first, then go back over the bottom edge with a loose zigzag and add two or three faint horizontal wavy lines inside the skirt to suggest layers of netting. Coloring helps too: leave the inside mostly white or pale pink and press harder only along the edges, so the skirt looks airy instead of solid.
What age is this drawing activity good for?
The ballet shoes work for most kids around ages 4 to 6 with a parent reading the steps, since every shape is an oval, a U, or a wavy line. The dancer figure lands better around ages 6 to 10 because the bent leg and crown arms take a bit more pencil control. Every child develops drawing skills at a different pace, so treat those ranges as loose guides, and let younger kids trace your version if starting from blank paper frustrates them.
How can my child make the ballerina look like she is moving?
Pose and motion lines do almost all the work. An arabesque leg stretched out behind, arms reaching forward instead of overhead, or a head tilted slightly toward one shoulder each suggest mid-dance, and a few short curved lines trailing the toes or skirt finish the effect. Drawing the bun with a couple of loose flyaway strands is a subtle extra that makes the figure feel like she just spun around.
Why does my kid's drawing not look like the example?
That is normal and worth saying out loud to your child, because most kids' versions come out lopsided and charming rather than a close match to the example. Focus praise on one specific choice they made (the ribbon color, the extra-tall bun) instead of overall accuracy, and keep the first attempt rather than tossing it, since comparing drawing number one to drawing number five a month later is truly motivating for kids. If frustration hits, shrink the task: just the shoes today, the dancer another day.
About the Stelle Team
Stelle is a mom-trusted dancewear & athleisure brand best known for girls’ ballet and dance essentials since 2015. Every article is created and reviewed by the team behind the products, drawing on what we hear from dance teachers, studio owners, and dance parents every day. Learn more about Stelle.