


How to Make a Ballet Bun for Beginners
Table of contents
- Step 1: Spray Your Hair
- Step 2: Brush Your Hair
- Step 3: Pull Your Hair Back into a Ponytail
- Step 4: Secure Your Ponytail with an Elastic
- Step 5: Brush Your Ponytail
- Step 6: Twist Your Ponytail into a Hair Rope
- Step 7: Wrap Your Hair Rope Around Your Elastic
- Step 8: Secure Your Bun with Bobby Pins
- Step 9: Use a Hairnet
- Step 10: Spray with Hairspray
- The Perfect Ballet Bun

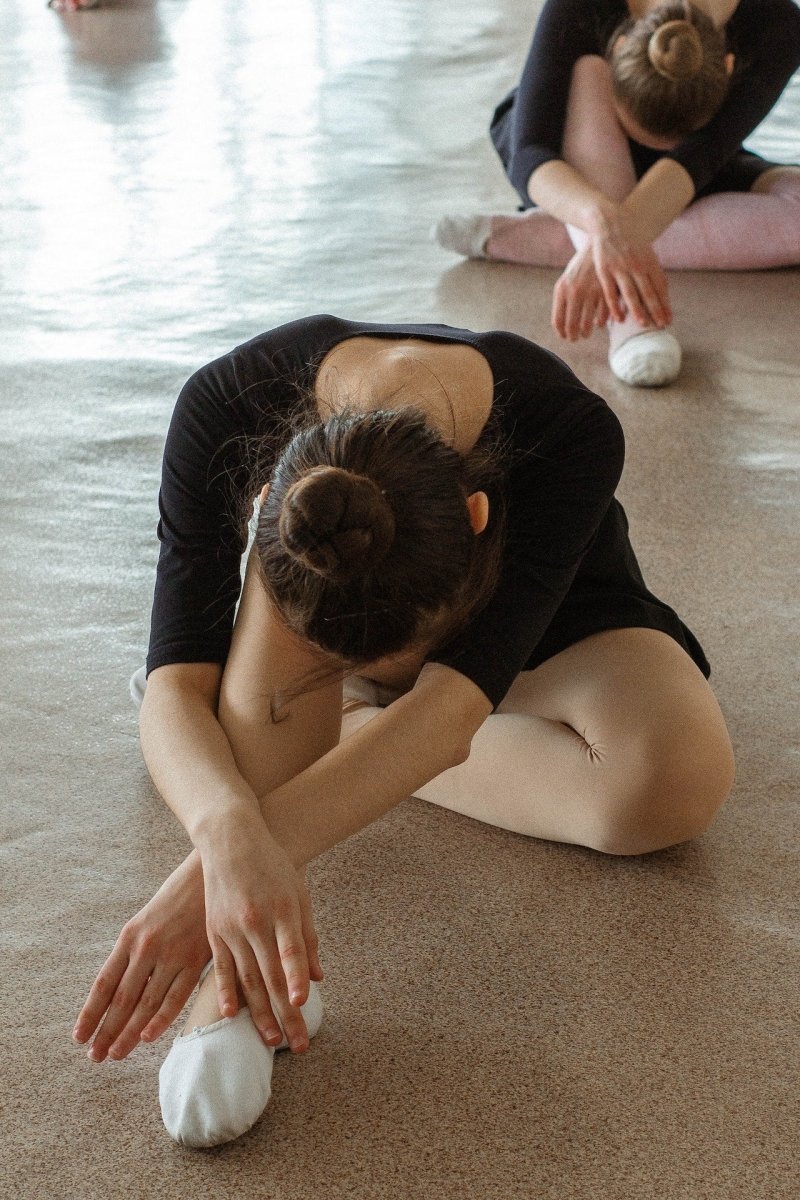
A ballet bun is an essential part of a ballet dancer’s uniform.
A bun is perfect for classes, performances, auditions, and exams. It helps keeps your hair out of your face, and it looks neat and professional.
Your bun must be strong, smooth, and stable. It takes a bit of practice, but if you follow this guide, you’ll have the perfect ballet bun.
Step 1: Spray Your Hair
First of all, try adding a little bit of water to your hair. This should help smooth things down and make your hair easier to work with.
If you have recently washed your hair and it’s quite silky, consider using a little bit of texturizing spray instead. This gives your hair a bit more hold and grip, meaning your bun will be more secure. Otherwise, it can be difficult to get your hair to stop slipping while you're styling it.
Step 2: Brush Your Hair
Next, you need to get rid of any tangles or knots in your hair. This will make it easier to tie up, and it also means that your bun will be neater and smoother.
Use a comb or brush, and make sure that you smooth out your hair. Start by brushing the ends of the hair, and then gradually move up. If you start brushing from the roots, you're more likely to pull your hair and it will be more difficult to work out any knots.
Step 3: Pull Your Hair Back into a Ponytail

Again, use your comb or brush, and pull your hair back and gather it in a ponytail. Try to make sure that your hair is flat to your head, as you don’t want any bumps.
Remember to try to get all of your hair into the ponytail. Watch out for any stray hairs in your face and try to capture them in your ponytail.
Gather your hair at the proper ponytail height. This is where your bun will be. It can be in the middle of your head just above the line of your ears, or at the crown of your head.
Step 4: Secure Your Ponytail with an Elastic
This step is very important. You need to make sure that your ponytail is secure because this is the base of your bun.
Use a small elastic to tie up your ponytail. Wrap the elastic around your hair several times to make sure that the ponytail is tight. But don’t tie it too tight so that it’s sore or your hair breaks.
Once you’ve secured your ponytail, spray it with a bit of hairspray. This will secure it even further, and it will help give more hold for the next steps.
Step 5: Brush Your Ponytail
At this stage, it's a good idea to brush your ponytail again. This helps ensure that your ponytail is smooth and ready to create your bun.
Again, use a brush or comb to brush through your ponytail. Hold the ponytail elastic in one hand, and brush using your other hand. This way, you won’t accidentally loosen your ponytail.
Step 6: Twist Your Ponytail into a Hair Rope
Starting from around halfway down your ponytail, twist your hair so that it becomes a hair rope. Try to twist the hair quite tightly.
Doing this will make sure that you create a secure ballerina bun.
Step 7: Wrap Your Hair Rope Around Your Elastic
This is where you begin to make your ballet bun style.
You’re going to wrap your hair rope around your ponytail elastic. You must wrap the hair rope in the same direction that you twisted your hair.
Try to keep the hair rope as close to the ponytail elastic as you can. This will create a tighter and neater bun.
This can often be the most difficult step, so don't worry if you struggle here. Be patient and keep practicing.
Step 8: Secure Your Bun with Bobby Pins
Remember to always use bobby pins that match your hair color.
You're going to use bobby pins to secure your ballet bun. You do this by capturing hair from the bun and your head in each bobby pin.
Use as many pins as you need to until your bun feels secure.

Step 9: Use a Hairnet
This step is optional, but it's extremely helpful for many dancers. Again, remember to always use a hairnet that matches your hair color.
Capture your bun in the hairnet. Then stretch the hairnet, twist it, and capture your bun again. Repeat this until the entire hairnet has been used.
You can then secure this with more bobby pins like you did in step 8.
Using a hairnet gives your bun even more security. It also helps to tame any shorter pieces of hair or flyaways, making sure that they stay neat and smooth.
Step 10: Spray with Hairspray
Always finish your ballet bun with some hairspray. Again, this will make your bun secure and can smooth down any stray, frizzy or wispy hairs.
The Perfect Ballet Bun
Once you’ve followed these steps, you’ll have the perfect ballet bun. It will be neat, smooth, and streamlined. Plus, it will be safe and secure.
You’ll be able to dance without worrying that your hair is going to fall in your face, distracting you and your audience.
Now that you’ve mastered your ballet bun, find out more about why everyone should be doing ballet.