5 Ballet Arm Positions That Your Little Dancer Should Know
Table of contents

Your child has caught the dancing bug and is begging for lessons. You've invested in leotards, tights, and shoes, and are thrilled to watch your tiny dancer bloom.
Like any other athletic pursuit, ballet needs repetition every day for the muscles to retain movements, and for grace and poise to develop. With small children, it can be difficult to accomplish in-home practice time for all kinds of reasons.
What is very easy to practice at home are the 5 ballet positions for both the feet and the arms that all dancers need to know. In particular, the ballet arm poses are simple enough for both mom/dad and the student to do together, as a game, even while sitting on the couch.
Follow this easy guide to learn and practice these 5 ballet arm positions with your child.
Basics of Ballet Arm Positions
The arms in ballet are as important as the feet, and the object is to learn to move the arms with a graceful flow, no matter what position you are working on.
A great way to start involves the use of a swimming pool or shallow body of water. Try standing in water a little higher than your waist, move your hands and arm through the water, doing small movements, then more expansive ones. Feel how your arms and hands move through water, especially the resistance.
Even swimming lessons can help build grace in the arms, especially when learning basic strokes.
Outside the pool, you can practice graceful flow in each of your child's hands with a little Simon Says routine:
- Shake your hand out in front of you.
- Now that it is relaxed, let your hand go limp.
- Extend your index ("pointer")finger a bit, then do the same with your pinkie.
- Pull in your thumb so that it is underneath your index finger.
- Lift your wrist a wee bit.
- Count to 10 then let go with a shake!
After some easy exercises like these, you can move on to the 5 ballet arm poses.
First Position, or "Gateway"
First position of the arms is the most basic and is the resting stance used between the other, more complicated moves.
Make an oval with your arms, elbows slightly bent, and your fingers curved below the navel. Have your youngster imagine that they are sprouting wings while also holding a beach ball or a watermelon in front of their belly button.
If you are pregnant, or even if not, pretend you are cradling your pregnant belly/new baby from underneath, and have your dancer mirror you.
Second Position
From first position, bring the arms out to each side, imagining that you are pushing a set of doors outwards with the backs of your hands, or pushing water backward, as you did in the pool.
Or, from first position, pretend the watermelon or ball you are holding has become a huge redwood tree, and you are trying to gently hug that very thick tree.
Try to keep your dancer from stretching the arms out to resemble a "T", rather, keep the arms rounded, with the palms facing out. Think about a bird that is about to take off, and is gracefully opening their wings.
Second position is a good time to do the Simon Says hand routine outlined earlier.
Third Position
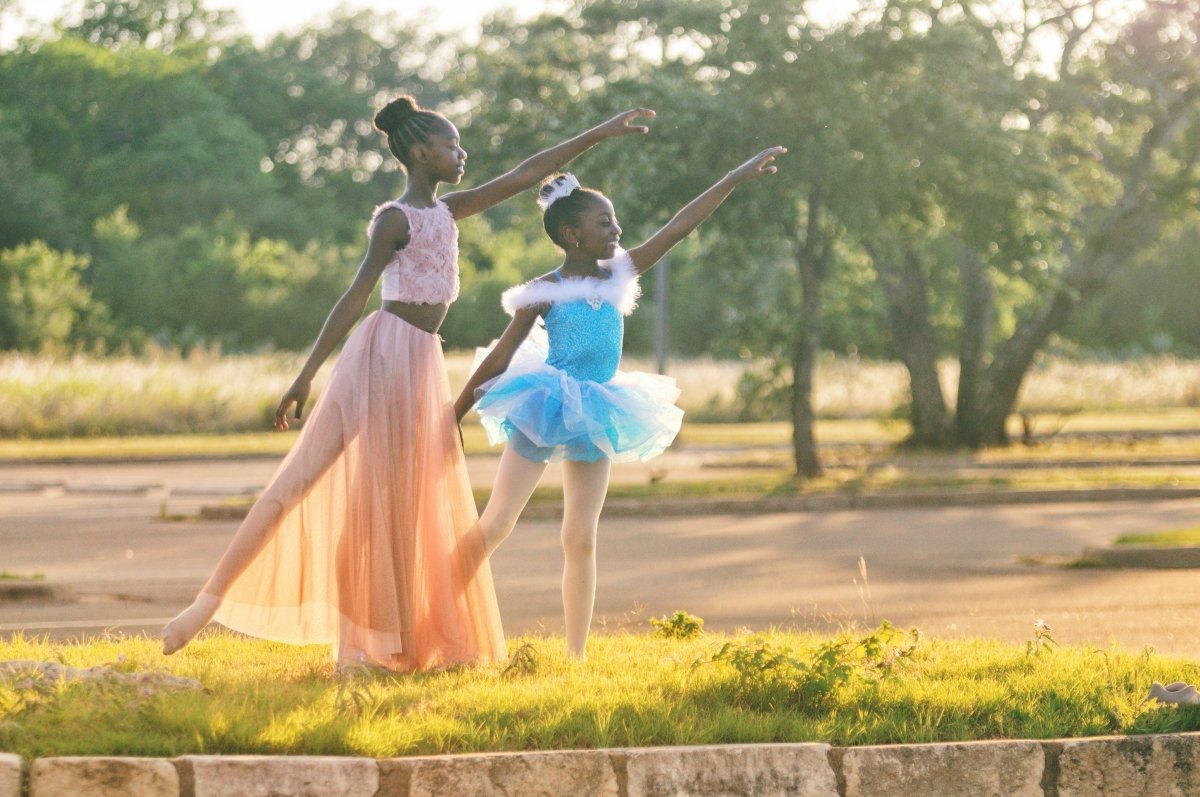
The arms in third position is a combination of the first and second position. One hand is held in first position in front of you, while the other is opened to the side, as in second.
Try switching this position from side to side, doing a "wave" movement, and see how "watery" your waves can be while still maintaining the position.
Fourth Position
Fourth position of the arms begins the process of creating graceful lines from the tip of the finger to the tip of the toe (if standing).
One arm is in first position as before, but now the other arm is lifted above the head. The arm above your head should not be fully stretched, but rounded, with the fingers floating gently above.
Pretend you have a brick or heavy item sitting on your shoulders, so that the shoulders do not ride up. Make a game of switching the arms again, as before, but this time do it in slow-motion.
Fifth Position
In the fifth and final position, you raise both arms above your head. Your arms should feel like you’re reaching for the ceiling without fully stretching them. Pretend to “grow tall." like a tree.
Because their core muscles are not as developed, younger dancers will need to keep the arms a little lower, not directly above the head, for less strain.
Make Practice Fun
The ballet arm positions are easy to perform and can be practiced in a mirror, or face-to-face, child to parent.
Working on ballet arm moves is a lot more fun for all if you do it to music, so add both slower and up-tempo songs or pieces to your playlist, not only working on arm position but just freestyling for fun and flexibility.
Using images helps convey the subtler movements to kids without having to do a lot of explanation. Birds, the wind, angels, or big hugs, are things your child can picture and imitate with their arms.
Check out ballet sites on YouTube especially for kids for more practice ideas, or if you are overwhelmed with being an in-home dance instructor!
Beyond Ballet Arm Positions: Long-Term Benefits of Ballet
The study of ballet brings several long-term benefits for kids.
Physically, ballet is great for growing body coordination and strength. Socially, children learn teamwork and communication and can overcome shyness or awkwardness.
The discipline of ballet training and the accomplishments achieved through that discipline instills pride in children, and it has been shown that dance and music study brings many cognitive benefits such as improved attention, memory, and learning.
If you have a budding ballet star at home, check us out for clothing, accessories, and topics that will inspire your child and you to keep dancing!


